
Navigation
Install the app
How to install the app on iOS
Follow along with the video below to see how to install our site as a web app on your home screen.

Note: This feature currently requires accessing the site using the built-in Safari browser.
More options
You are using an out of date browser. It may not display this or other websites correctly.
You should upgrade or use an alternative browser.
You should upgrade or use an alternative browser.
1937 Chev Custom Truck Build
- Thread starter K13
- Start date
bgbdlinc
Well-Known Member
...the headlight treatment is just great and I'm glad you kept the hood sides with the bezels (?). I get nightmares when I see blank hood sides where I knew there were very cool vents/louvers or cool bezels on the originals. The devil is in the details (and I mean that in a good way)......carry on. You're also off to a good start with the upholstery.....
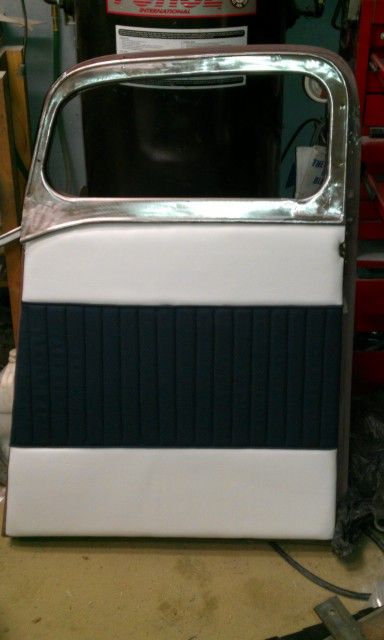
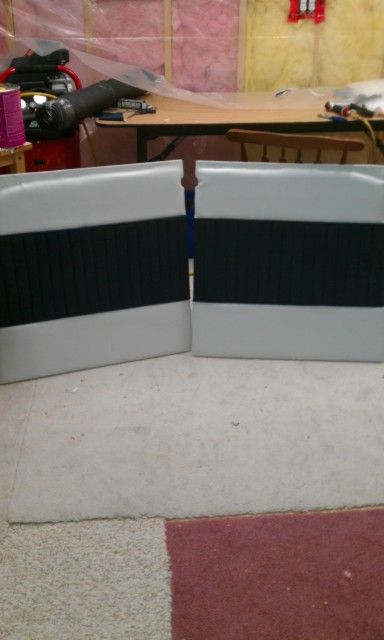
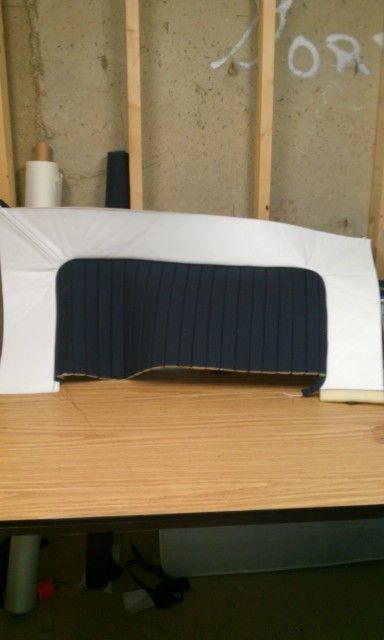
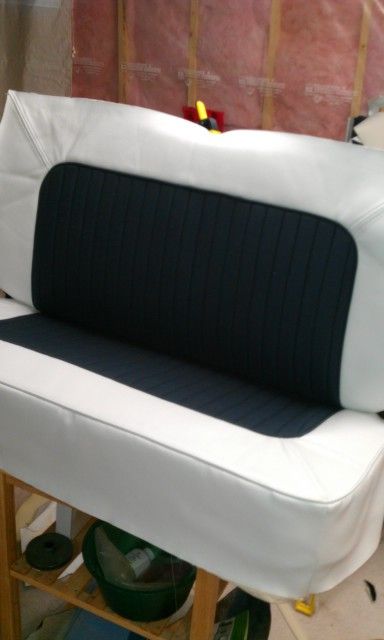
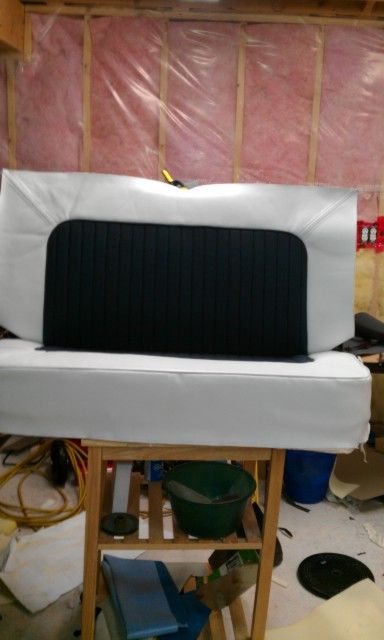
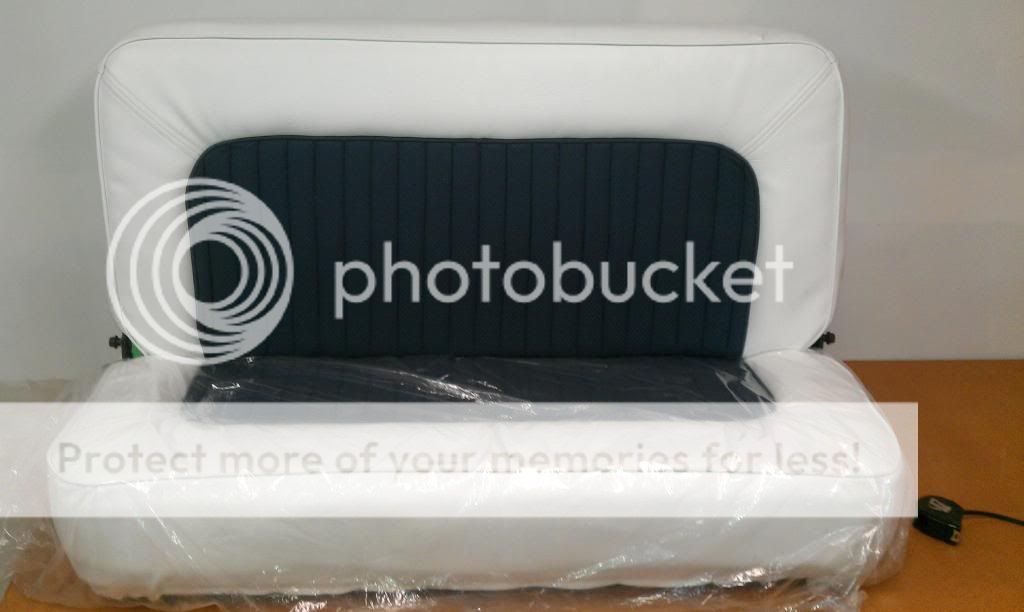
Well it has been ages since I did an update. I have been slowly plugging along with my upholstery and have completed the door panels and gotten some more done on the seat. The wrinkles on the seats are due to the fact that it is just temporarily clamped in place they will all pull out once I start fitting and stretching the covers into place.
Here are some pictures.
Here are some pictures.
Looks good, did you find some glue in town?
Not really I found a source for the 3M90 aerosol at a bit better price but it is still really expensive so I used it for the time being. I have a customer in Medicine Hat who is looking for an ongoing supply of fabric adhesive for one of his customers so I told him about J Ennis and he is probably going to set up an account and I will buy through him. At least that way the account will get some regular use so it won't get shut down for inactivity and I can get him to order me what I need.
John in Oz
Well-Known Member
K13, my son is an Auto upholsterer by trade, mind you he is now in sales but I know they used to use a heat gun at times on Vynil so if there are any slack spots once you fit that perhaps just holding a heat gun or hair drier away from the job about a foot or so could shrink any you may have. Now don't ask me anymore I just know I saw the guys at his shop do that, I know they also used to use it on leather as well, but no doubt there would be some kind of tecnique to doing that.
Last edited:
Thanks guys. John I have come to the realization that heat and steam seem to be the upholsters best friend  . I appreciate the advice I think most of them will come out just by stretching but it's good to know that if they don't there may be another way to help them along.
. I appreciate the advice I think most of them will come out just by stretching but it's good to know that if they don't there may be another way to help them along.modelAbone
Well-Known Member
nice project and looks good ..
Well it has been a while all sorts of other things have come up over the summer that have slowed this down to a crawl but I do have a couple of updates.
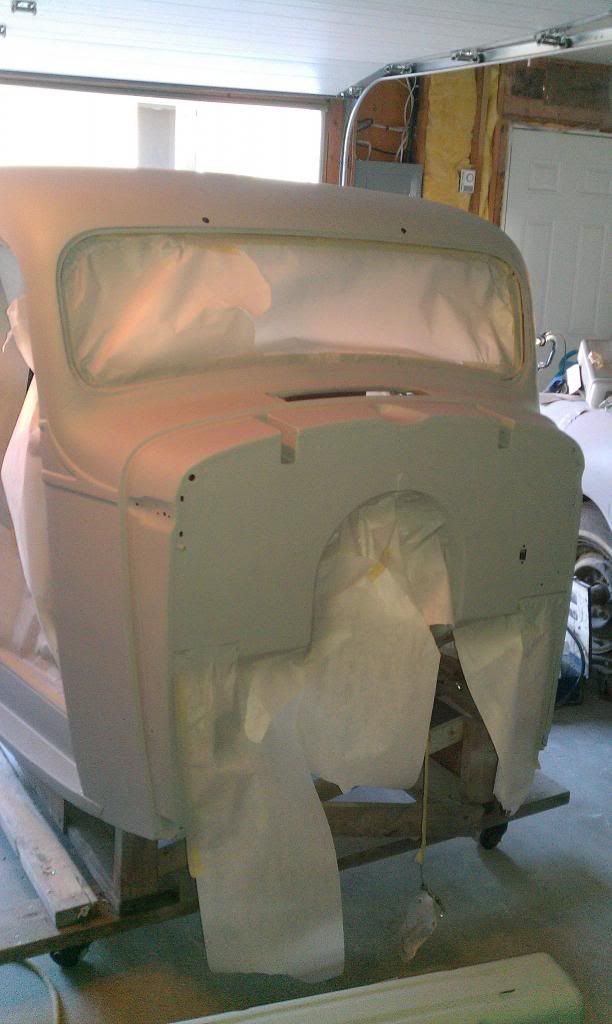
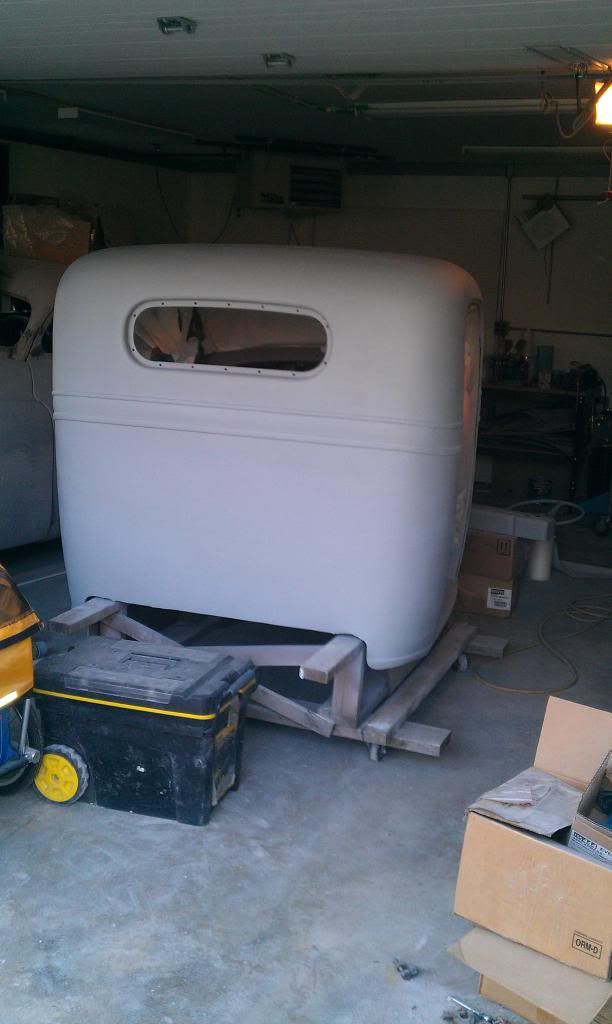
First I got some body work done on my cab and some primer sprayed so that is a step in the right direction.
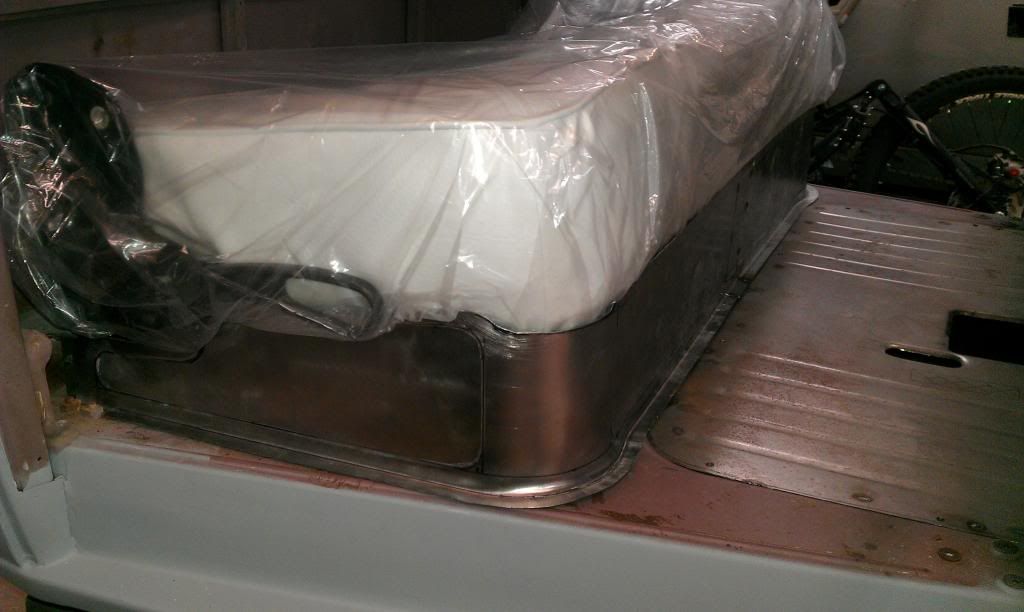
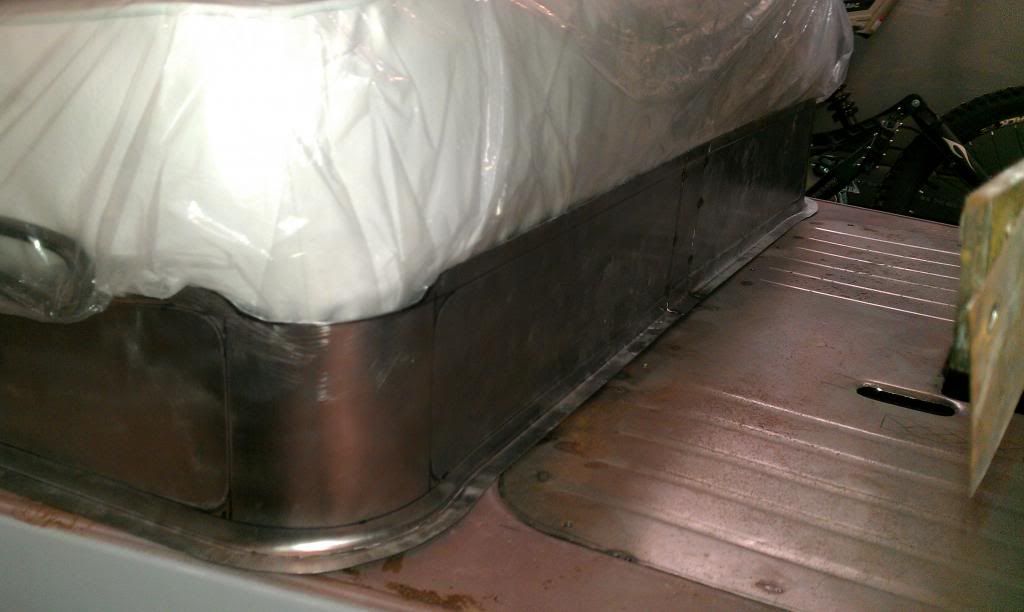
And I have been working on a surround to go below my seat because the original wasn't there and I am not using the stock seat so it wouldn't have worked anyways so here is what I came up with for that.
So that is where I am at and unfortunately it looks like I am going to be going back to sanding the cab again. I HATE body work!!!
First I got some body work done on my cab and some primer sprayed so that is a step in the right direction.
And I have been working on a surround to go below my seat because the original wasn't there and I am not using the stock seat so it wouldn't have worked anyways so here is what I came up with for that.
So that is where I am at and unfortunately it looks like I am going to be going back to sanding the cab again. I HATE body work!!!
Twin Turbo Skylark
Active Member
Great work!
John in Oz
Well-Known Member
Man oh man you are doing a great job there, thanks very much for keeping us up to date on this project.
Last edited:
Regards AL C
Well-Known Member
13
Welcome to the sand box. You sure got my attention with your build. Regards Al C
Welcome to the sand box. You sure got my attention with your build. Regards Al C
Not much to update. I am having a gas leak issue to the line to my garage that I won't be able to access to fix until summer so no heat = no work.
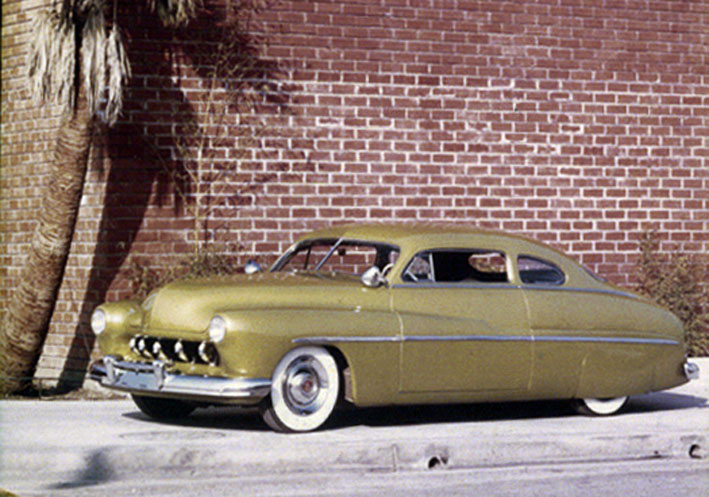
I have been trying to figure out a paint colour in the mean time. I am trying to reproduce a colour the Ayala's used on the Wally Welch and Louise Bettancourt Merc's back in the early '50's. It was a lime gold lacquer. There is only really one colour picture of either car Wally's Merc:
I have been researching this colour with a number of painter on a couple of other sites and have come up with some ideas on how it was done. It basically involved using a gold powder in lacquer toners. Unbelievably the gold powder that was used is still available as it is used in the interior decorating trade. The lime gold lacquer is another story that I am still working on. I was able to get some House of Kolor Lime Gold Kandy to play around with and found a similar powder to what was used at a art store in Calgary so I figured I would experiment a bit to see if any of this was even plausible. Now the candy is not really what would have been used but we will see how it goes.
Here are the materials:
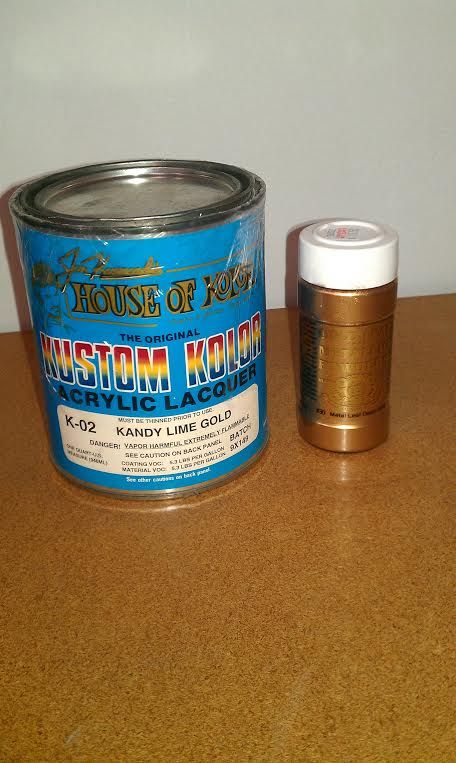
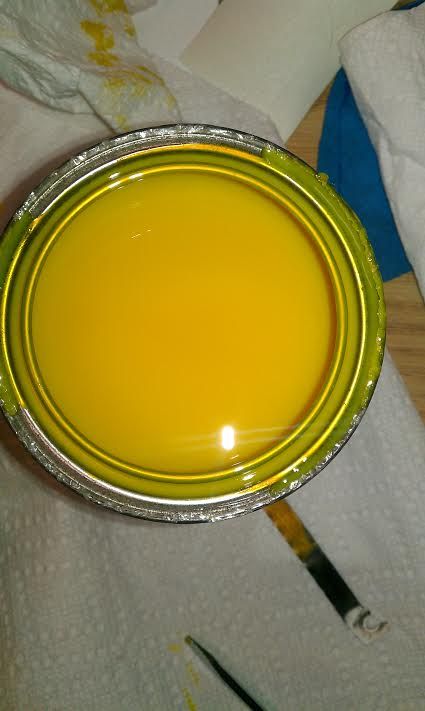
This is the candy: I was scared when I first opened it.
And with about 1/8 teaspoon of gold powder added to 2 oz of candy:
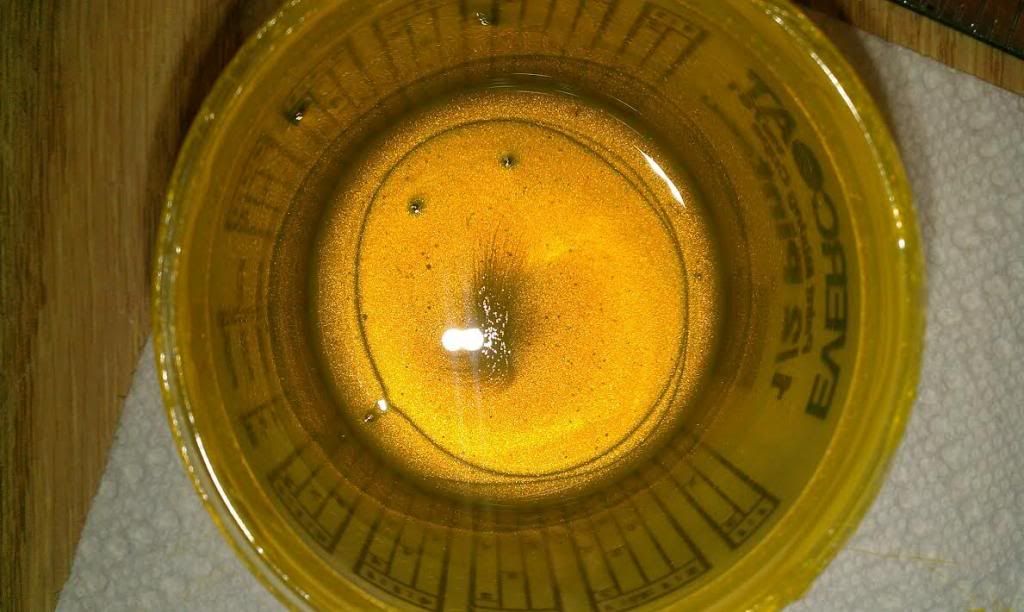
I think I added too much powder and the powder I have is darker than the original but I am quite pleased with the results so far. Not sure when I will get a chance to spray but I will let you know when I do.
So that's where I am at now.
I have been trying to figure out a paint colour in the mean time. I am trying to reproduce a colour the Ayala's used on the Wally Welch and Louise Bettancourt Merc's back in the early '50's. It was a lime gold lacquer. There is only really one colour picture of either car Wally's Merc:
I have been researching this colour with a number of painter on a couple of other sites and have come up with some ideas on how it was done. It basically involved using a gold powder in lacquer toners. Unbelievably the gold powder that was used is still available as it is used in the interior decorating trade. The lime gold lacquer is another story that I am still working on. I was able to get some House of Kolor Lime Gold Kandy to play around with and found a similar powder to what was used at a art store in Calgary so I figured I would experiment a bit to see if any of this was even plausible. Now the candy is not really what would have been used but we will see how it goes.
Here are the materials:
This is the candy: I was scared when I first opened it.
And with about 1/8 teaspoon of gold powder added to 2 oz of candy:
I think I added too much powder and the powder I have is darker than the original but I am quite pleased with the results so far. Not sure when I will get a chance to spray but I will let you know when I do.
So that's where I am at now.