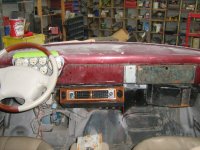
EBEARS 53 f100 build

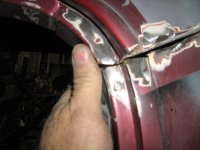
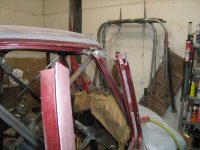
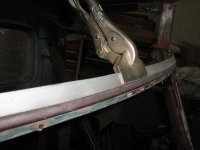
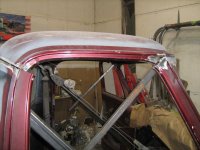
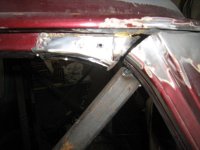
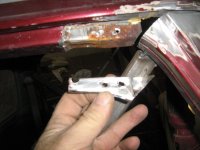
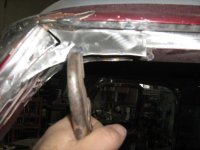
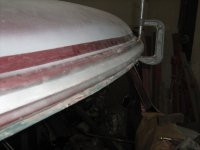
The obvious easier way to get this small front chop was to section the a pillar but then we need to deal with pillar angle and cut a windshield one of the things I really didn't want . I don't recall why I picked 1 1/4 " but part of it was I could always cut more . As it worked out it came down just where it would still tuck under the driprail . Because the small front chop a thick cutoff wheel allowed enough on the rear seam . IMG_1165.JPGIMG_1169.JPGIMG_1166.JPG
 
Last edited:
A few more pics IMG_1164.JPGIMG_1167.JPG Because of only the front coming down the center needed a little more off because of being longer . Nothing that a little grinding didn't take care of .
 
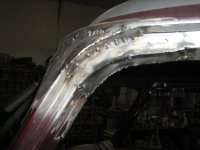
Now that I'm reasonably sure I won't have to weld the cut out pieces back in I need to fix the door openings and make the doors fit . Got lucky here . When I removed the over lapped piece on the front the inner lined up almost perfectly . So some filler and reinforcement pieces were made . Much more finishing but you get the idea .IMG_1170.JPGIMG_1171.JPGIMG_1180.JPG I apologize for the side to side pics but as I mentions documentation is not my strong point .
 

Attachments

  • IMG_1181.JPG
    IMG_1181.JPG
    63.9 KB · Views: 61
Last edited:
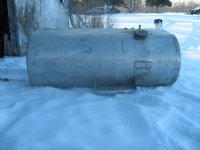
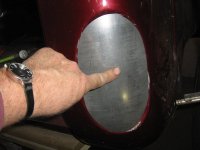
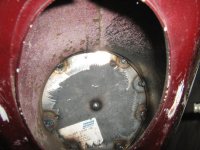
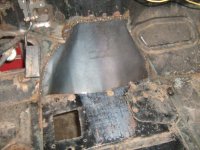
As always life seems to get in the way . This case however is some what less excusable since it's just updating work that's all ready been done as the current progress is limited but not stopped . Because of the previously mentioned engine height fiasco there was a bit of trans tunnel surgery required . Then came the patching of the fuel filler hole . Patch for inside and bought piece for the outside . I thought my time was better used else where so I purchased a prebuilt piece . Do not buy this piece , the time it took to " fix " it was as much as building it from scratch . Buy a cab corner and use what you need or build it . My plan is to use the new side mount plastic fuel tank that came with the truck meant for the drivers side on the passenger side . After a little test fitting I think it will work quite well . The fuel filler neck will point to the back inward and with a little " ha ha " manufacturing the filler will be in the front passenger side of the box in some sort of permanent storage for battery , tools luggage etc . Possibly made from this fuel tank . As a little bonus the tank inlet - fuel gauge ends up accessable through the original battery cover . I will try to improve my update frequency . lol
 

Attachments

  • IMG_0622.JPG
    IMG_0622.JPG
    72.1 KB · Views: 62
  • IMG_0829.JPG
    IMG_0829.JPG
    66.6 KB · Views: 64
  • IMG_0828.JPG
    IMG_0828.JPG
    96.4 KB · Views: 58
  • IMG_0825.JPG
    IMG_0825.JPG
    89.6 KB · Views: 59
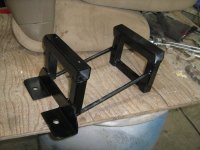
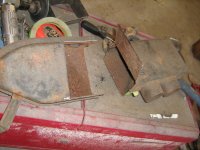
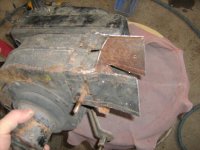
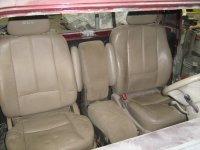
So the center consul - seat needed a bracket to get it to proper level . This was a fairly simple project compared to most . The heater on the other hand was a little more involved . Since I'm using the underdash AC it was too large and needed a little shrinking . I have no intentions of driving the truck in cold weather but with the experience gained with the coupe there are allot of mornings or late nights that a little heat would be great . With the advice of others with vintage air or other brands fogging can be an issue I retained the fresh air part of my heater and left the exterior side grill so I could pull in fresh air with the heater fan . A little surgery and test fitting .I guess I should look back before posting as I already showed some of this . LOLIMG_1014.JPGIMG_0833.JPGIMG_0834.JPGIMG_1021.JPGIMG_1029.JPG
 
Last edited: