
Navigation
Install the app
How to install the app on iOS
Follow along with the video below to see how to install our site as a web app on your home screen.

Note: This feature currently requires accessing the site using the built-in Safari browser.
More options
You are using an out of date browser. It may not display this or other websites correctly.
You should upgrade or use an alternative browser.
You should upgrade or use an alternative browser.
1948 Chev P/U Extended Cab Build
- Thread starter Alaska Gasser
- Start date
John in Oz
Well-Known Member
Are you going to fit side window demisters into that dash area Eugene, man that is looking good.
Alaska Gasser
Well-Known Member
Sorry for the issues with photobucket. Jackie has been working on it.
John, I have no idea what demisters are.
John, I have no idea what demisters are.
Alaska Gasser
Well-Known Member
Here are the last two pictures that disappeared.

The steering is in and hooked up. I plan to notch the frame when I pull everything back apart.

The pictures are all caught up now. I'm dropping this and jumping on Diana's International. The plan is to have it running and driving next year.

The steering is in and hooked up. I plan to notch the frame when I pull everything back apart.

The pictures are all caught up now. I'm dropping this and jumping on Diana's International. The plan is to have it running and driving next year.
Alaska Gasser
Well-Known Member
Well, it looks like I have the front fenders and hood sold off the truck, (I have better ones) so I jumped back to it for a few days. I screwed up when I built my motor mounts. I set the motor in regards to the firewall instead of the radiator, so I can only run an electric fan instead of a mechanical one and I do not want that. The only alternative was to move the radiator forward. I decided to get this done before tearing the frontend apart.
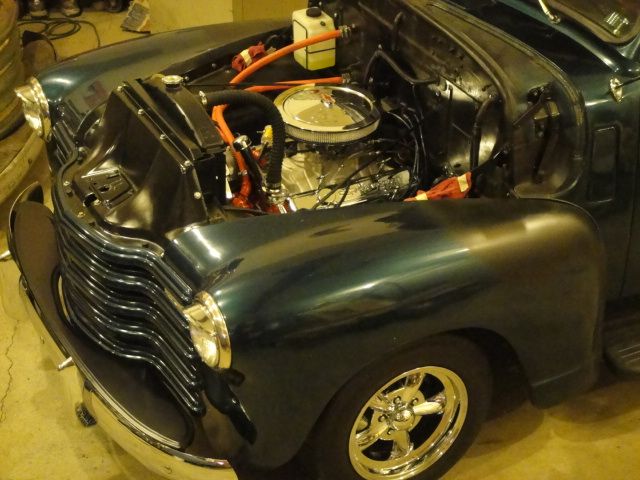
Stock Chevy.
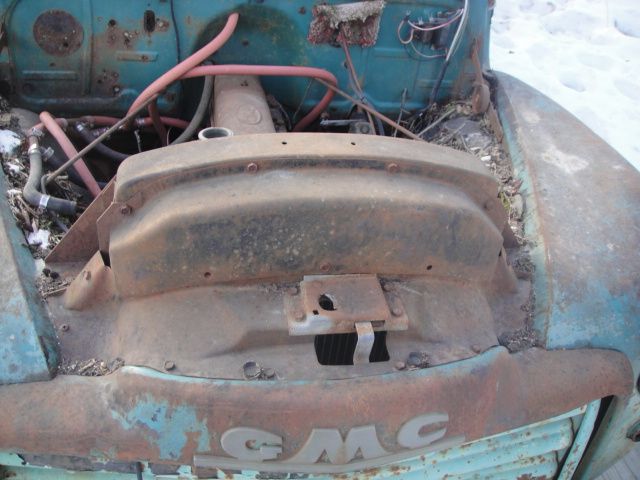
Stock GMC. I decided to use these parts from the suburban I hauled home earlier.
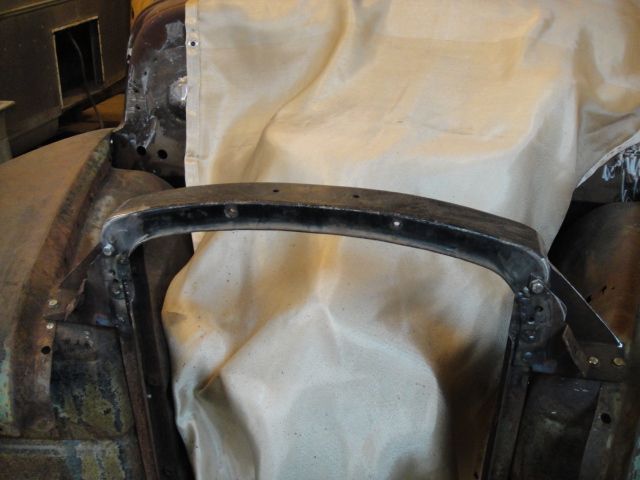
I changed the side supports and upper bar to the GMC.
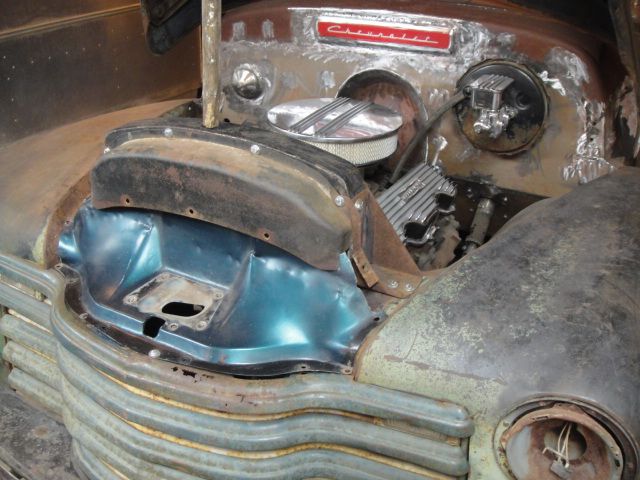
I added a cut up Chevy lower half to get an idea of how it will look.
I didn't like how tall it was, so I cut 1 3/8 " off the upper support and this placed the upper support bolts in the lower support bolt holes.
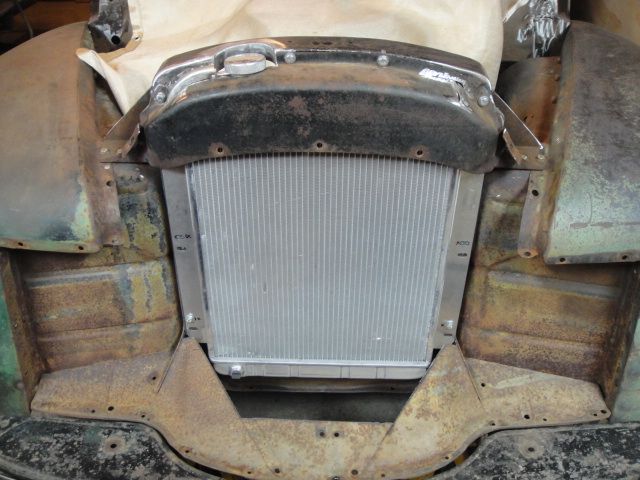
Once the bodywork is done and the new front sheet metal is together, I'll blend the GMC upper portion with the Chevy lower half. Time to jump back on Diana's truck and the Airstream.
Stock Chevy.

Stock GMC. I decided to use these parts from the suburban I hauled home earlier.

I changed the side supports and upper bar to the GMC.

I added a cut up Chevy lower half to get an idea of how it will look.

I didn't like how tall it was, so I cut 1 3/8 " off the upper support and this placed the upper support bolts in the lower support bolt holes.


Once the bodywork is done and the new front sheet metal is together, I'll blend the GMC upper portion with the Chevy lower half. Time to jump back on Diana's truck and the Airstream.
Coming along, nice thinking there. Thanks
Alaska Gasser
Well-Known Member
Thanks. Another plus to using the GMC parts is that they are way stronger than the Chevy ones. Since I am eliminating the two support rods that go from the fenders to the firewall, this helps beef up the strength.
John in Oz
Well-Known Member
I love the dash blending into the door panels, that's a sweet touch.
I think Oz is referring to defrosters .. but if it's a summer ride who needs them.
Hhaha, and to think wars start over not understanding the other side, haha, No these would be what you guys call Defrosters. Oh well interpretations eh, it is like a Frost plug, Welsh Plug and Freeze plugs and anti freeze plugs, all the same things just called different names. See I am Bi Lingual,
 Or Tire and Tyre.
I like how you have done the Dash also Eugene that is why I wondered if you would be fitting them to keep the side windows clear for rainy days etc.
Nailhead
Active Member
Thanks. Another plus to using the GMC parts is that they are way stronger than the Chevy ones. Since I am eliminating the two support rods that go from the fenders to the firewall, this helps beef up the strength.
.......my 2 cents , but I would keep the 2 support rods. They really help hold that front end on solid and keep aligned.
Alaska Gasser
Well-Known Member
Nailhead- Thanks for the suggestion, but deleting these rods is a must. If this causes an issue with support, I'll add some more later.
Alaska Gasser
Well-Known Member
Where has the last year gone? I was surprised to see it has been that long since updating this build. My camera broke and the replacement sucked, so I don't have all the pic's I should have.
My friend with the '50 Chev truck decided to leave Alaska this summer and always wanted to go on a cruise with our two trucks,
so the mad scramble began to get mine running began. I was shooting for our anniversary in April.
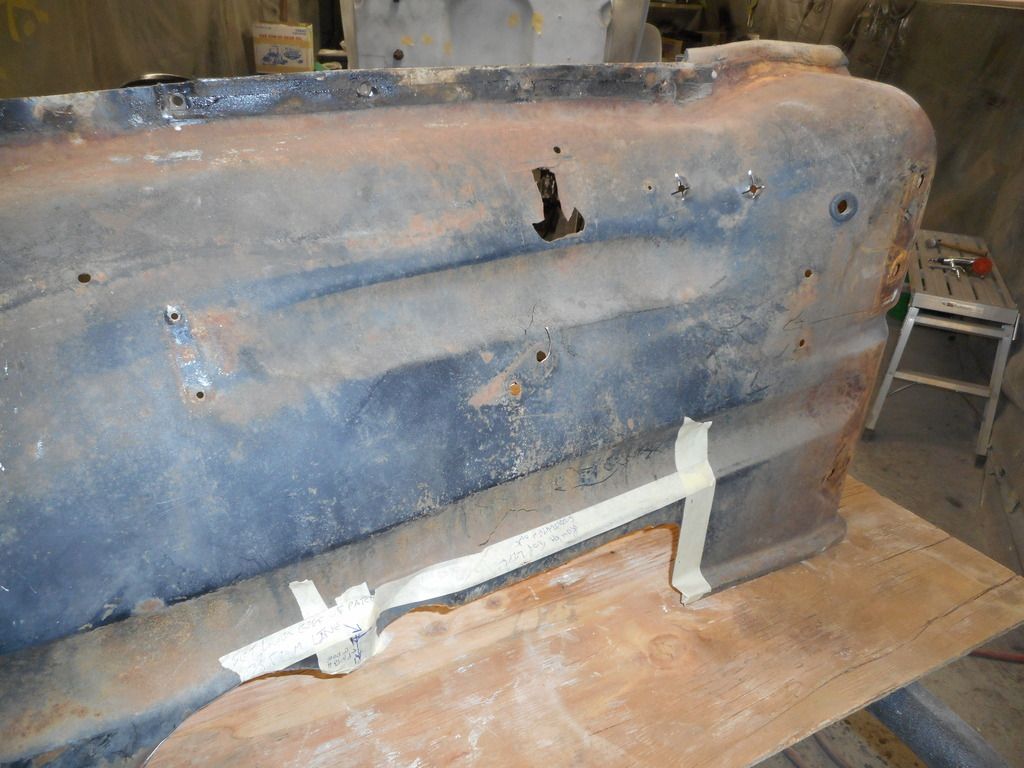
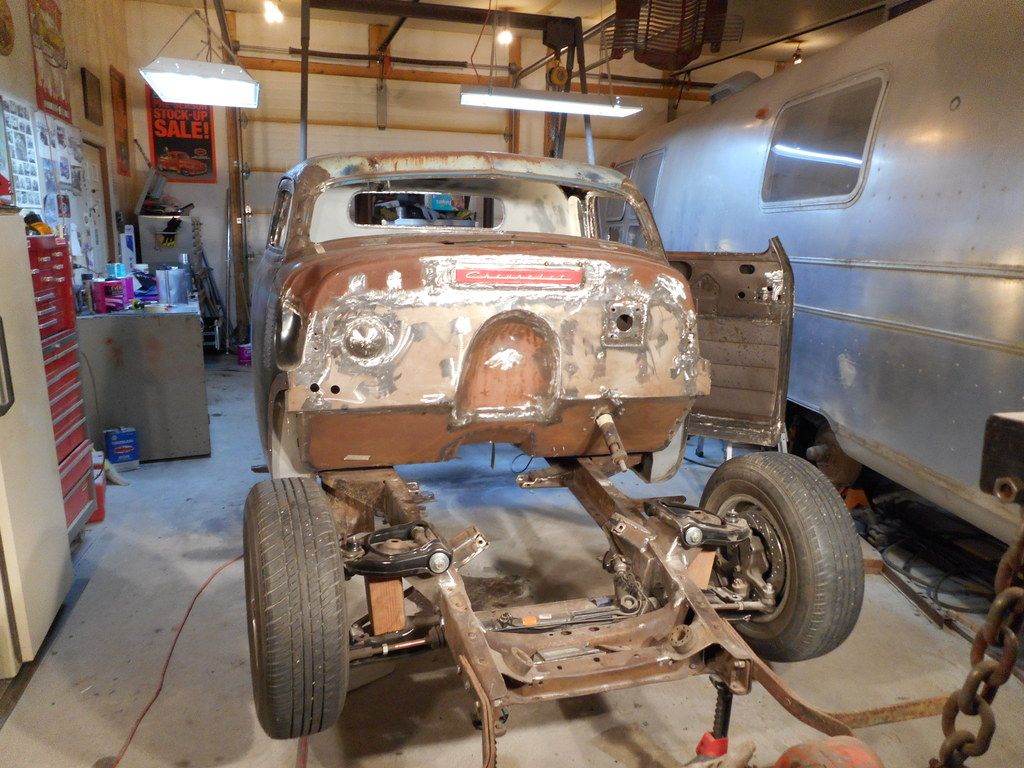
Both rear fenders are in primer finally. I wanted to replace them, but couldn't see paying $1,000 each with shipping. One came off a truck that burned, so every bolt hole was rusted out as well as the lower front and back edges. Ten patches later, it is solid again. The rad support is finished and in paint.
Here is the drivers inner fender.
Smoothed and patched.
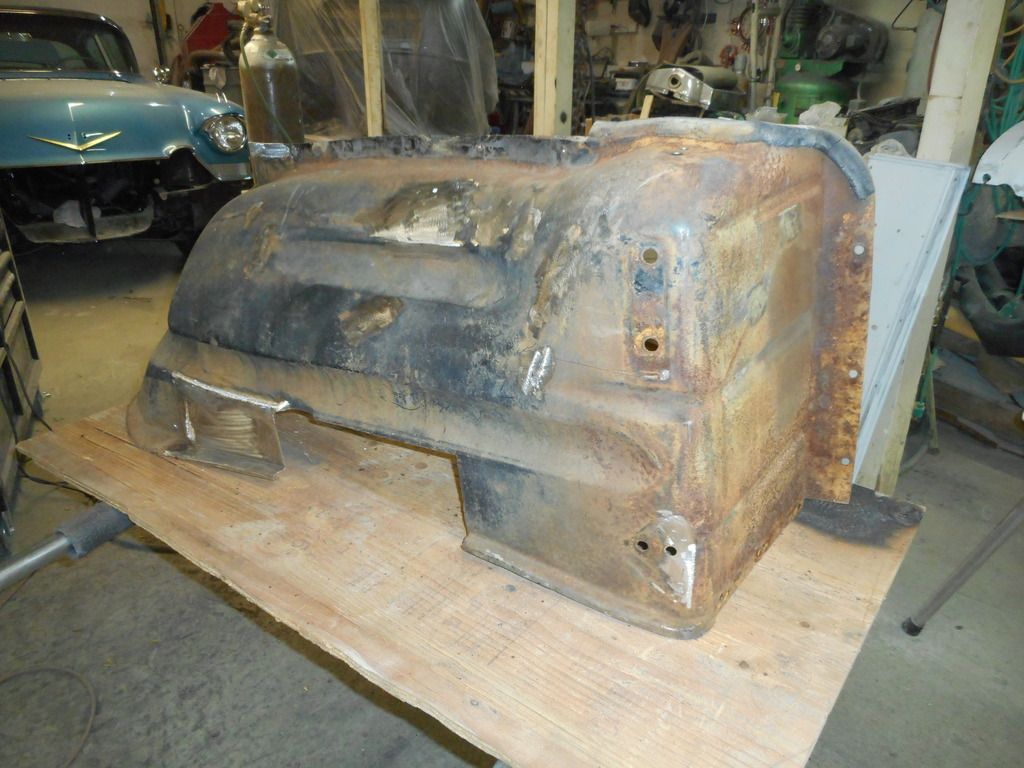
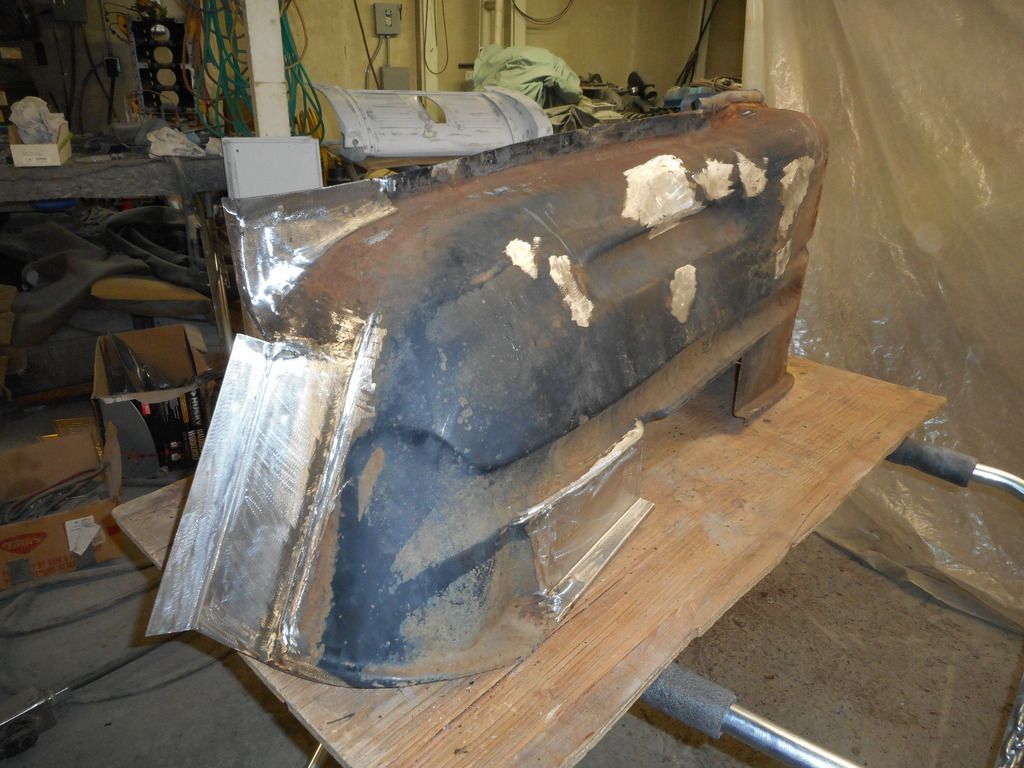
The passenger side was just as bad and both are in primer now.
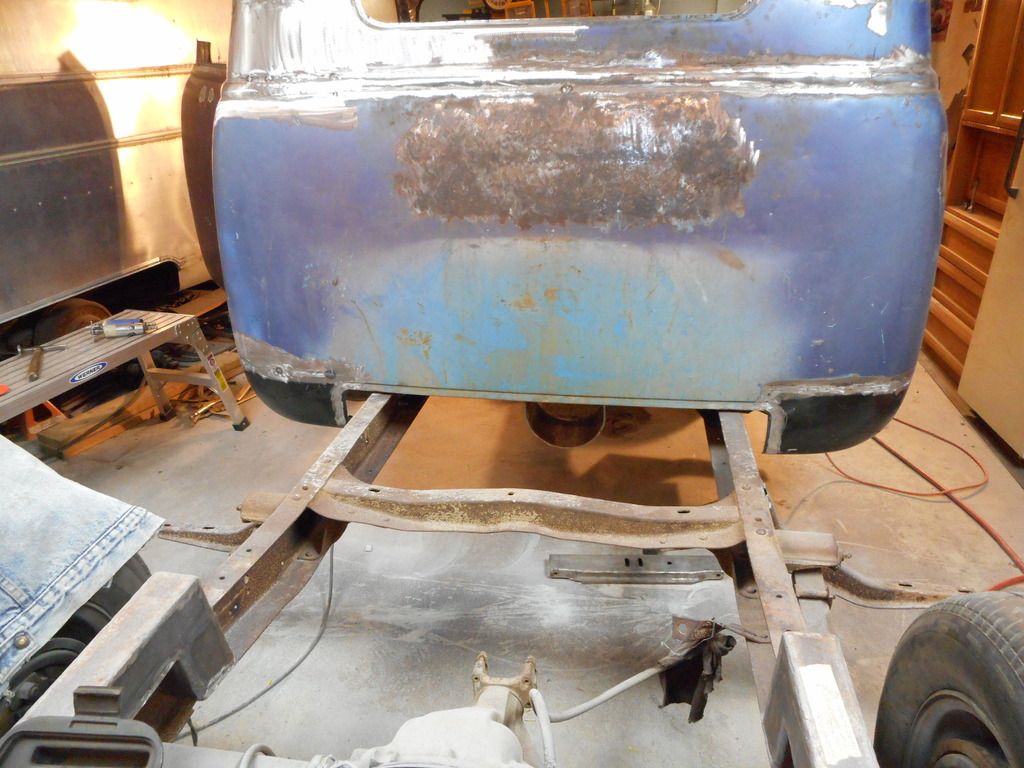
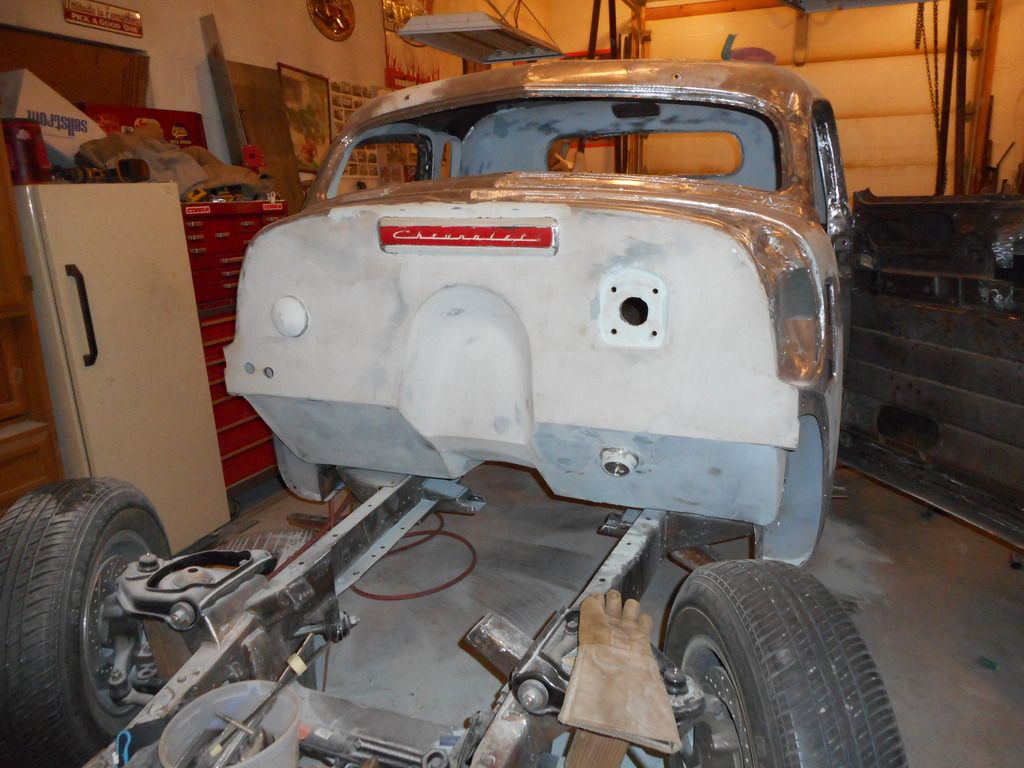
Rear cab corners are in.
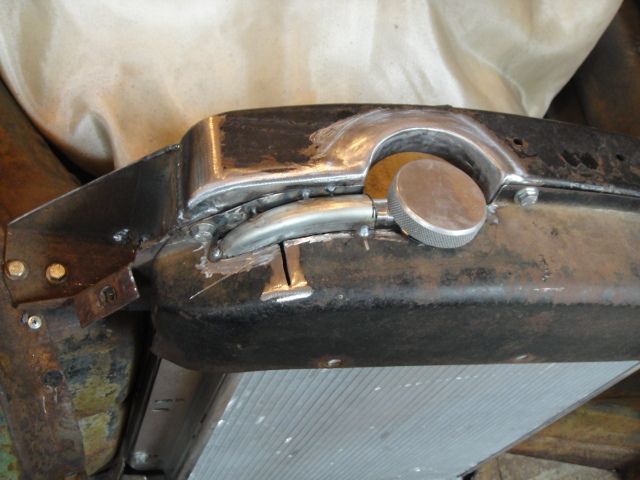
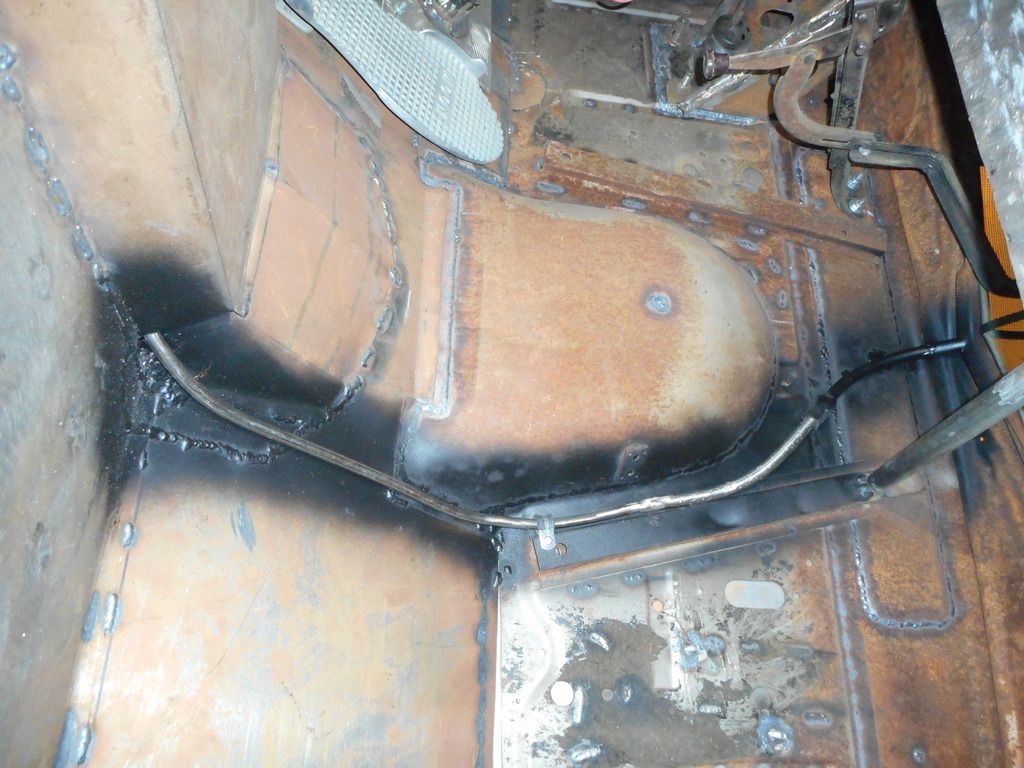
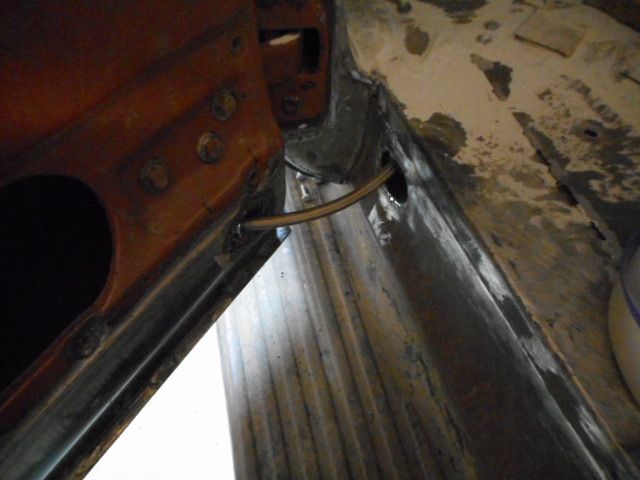
Tilt your head to the right. This is the new drain tube for the cowl vent. If anyone has ever had a leak here, it is probably due to Chevrolet's great wisdom of using round sheet metal instead of a solid tube to mount the drain hose to. Of course the seam is on the firewall side and no room to really get to it, so I added a liberal amount of windshield urethane to seal it up as a safety precaution.
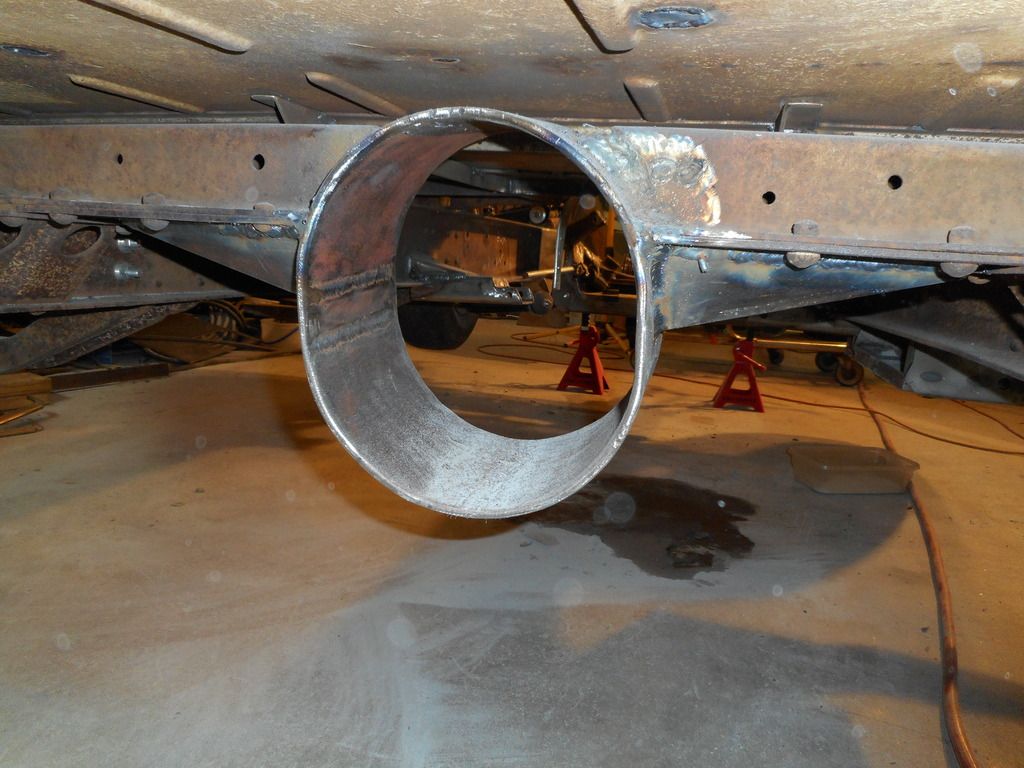
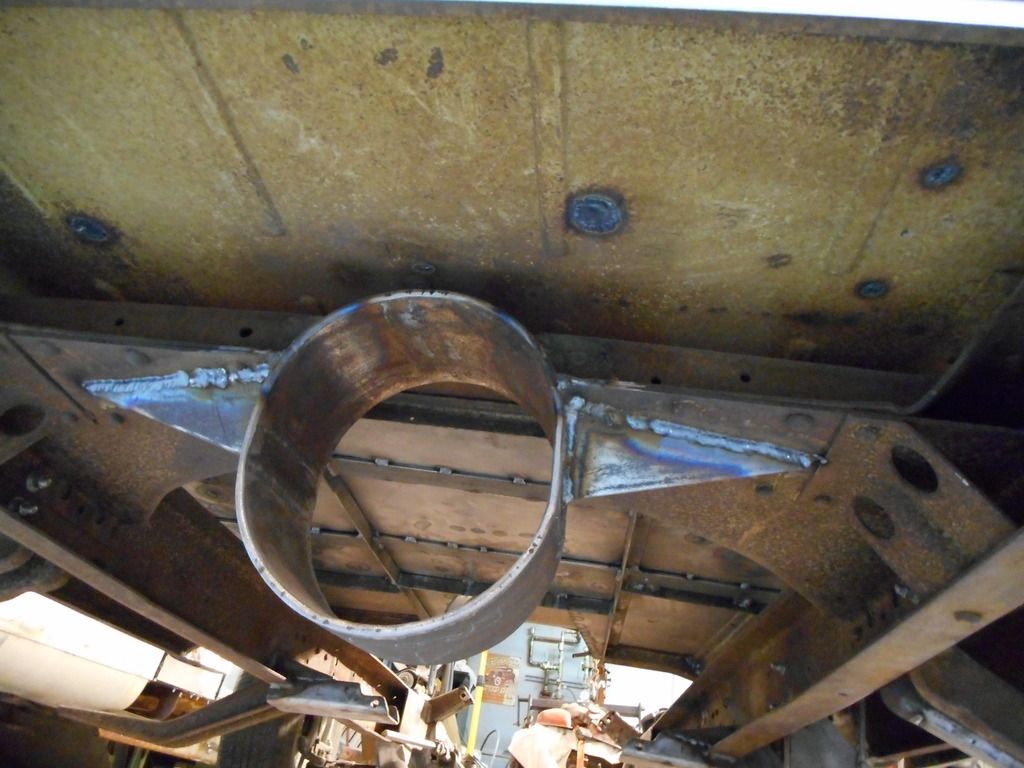
I got my driveshaft made and then added a driveshaft loop to help create the needed clearance as it was hitting the cross member near the back of the cab and wouldn't even mount up. I used a piece of heavy well casing 8 inches across. I split it in half and added 1 3/4 inches to get more clearance.
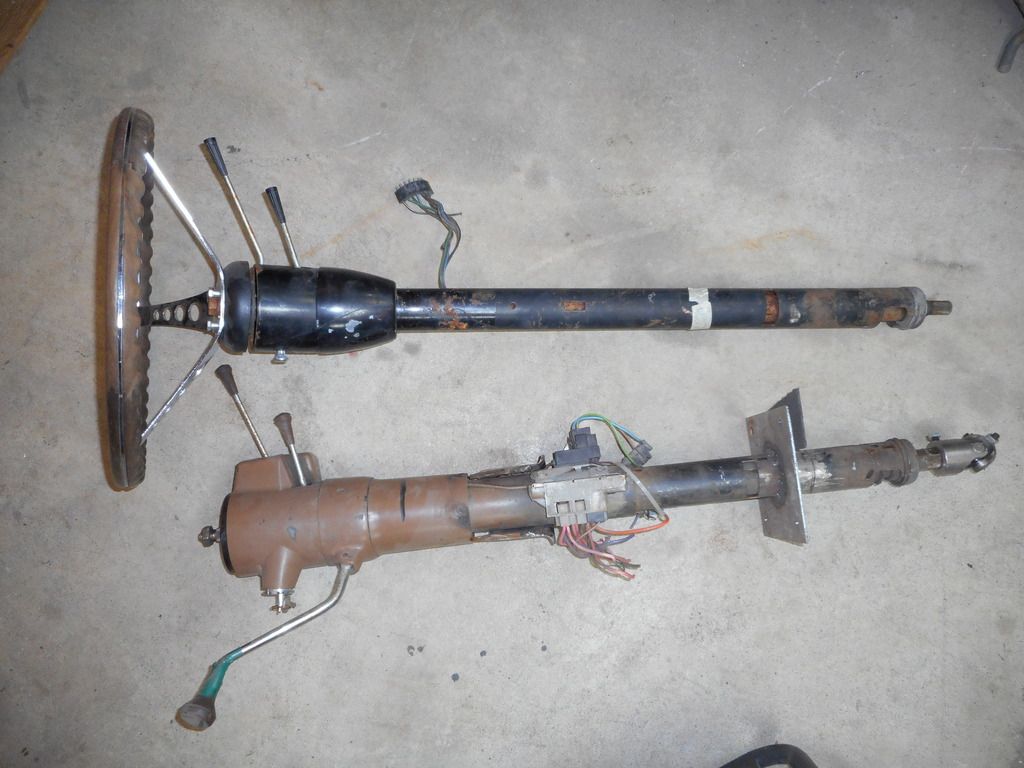
I have complained about the steering column ever since I installed it as I never liked the dimmer switch in it. This added two large boxes on the side of it and it was a column shift (I'm going with a floor shift) and I already have my Cal Custom dimmer switch cover (Floor switch) that goes with my Moon gas pedal.
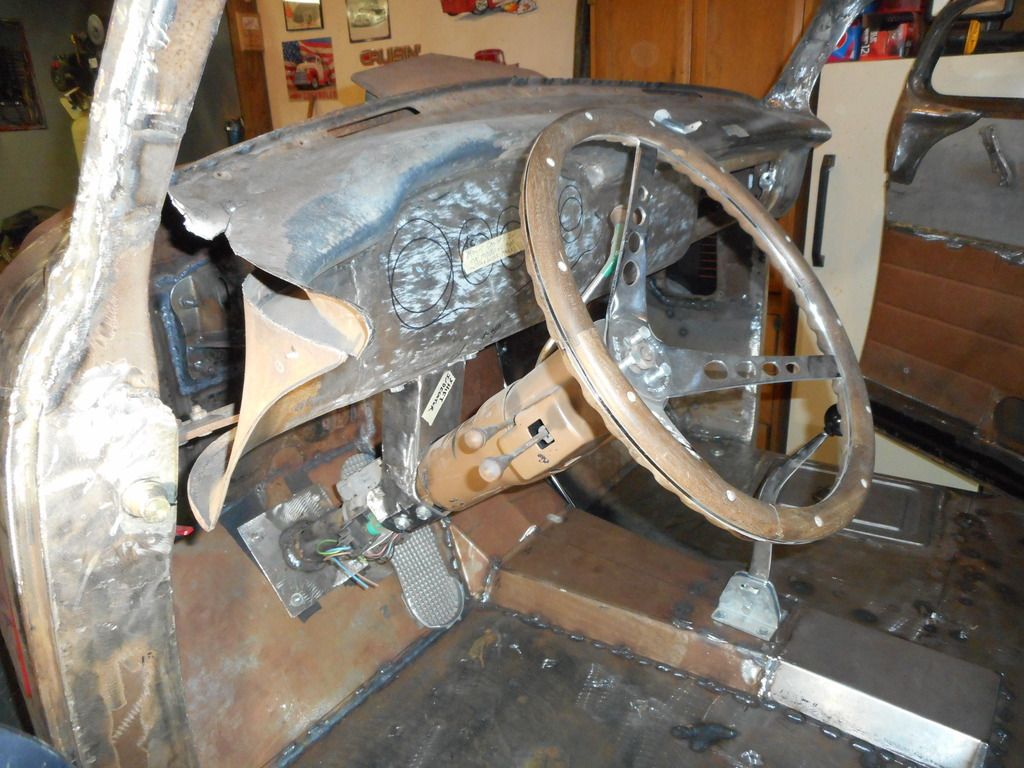
Last summer I obtained a late 60's floor shift tilt column and after complaining again to a buddy when he was at the shop, I ripped the old column out and started the change over. When I told Jackie about it, she wanted to know if that was part of the Must Do list? I told her it is now.
Mocked up. I planned to use the original dash mount I had made, but didn't like the looks of it going back so far.

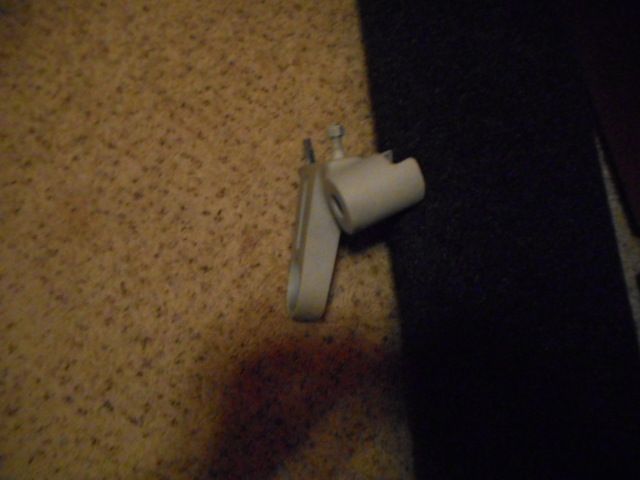
Here is the old mount after cutting it all apart and rebuilding it so it is thinner and leans forward. The tube on the side is for my ignition switch.
My friend with the '50 Chev truck decided to leave Alaska this summer and always wanted to go on a cruise with our two trucks,

so the mad scramble began to get mine running began. I was shooting for our anniversary in April.
Both rear fenders are in primer finally. I wanted to replace them, but couldn't see paying $1,000 each with shipping. One came off a truck that burned, so every bolt hole was rusted out as well as the lower front and back edges. Ten patches later, it is solid again. The rad support is finished and in paint.
Here is the drivers inner fender.

Smoothed and patched.


The passenger side was just as bad and both are in primer now.
Rear cab corners are in.

Tilt your head to the right. This is the new drain tube for the cowl vent. If anyone has ever had a leak here, it is probably due to Chevrolet's great wisdom of using round sheet metal instead of a solid tube to mount the drain hose to. Of course the seam is on the firewall side and no room to really get to it, so I added a liberal amount of windshield urethane to seal it up as a safety precaution.

I got my driveshaft made and then added a driveshaft loop to help create the needed clearance as it was hitting the cross member near the back of the cab and wouldn't even mount up. I used a piece of heavy well casing 8 inches across. I split it in half and added 1 3/4 inches to get more clearance.


I have complained about the steering column ever since I installed it as I never liked the dimmer switch in it. This added two large boxes on the side of it and it was a column shift (I'm going with a floor shift) and I already have my Cal Custom dimmer switch cover (Floor switch) that goes with my Moon gas pedal.

Last summer I obtained a late 60's floor shift tilt column and after complaining again to a buddy when he was at the shop, I ripped the old column out and started the change over. When I told Jackie about it, she wanted to know if that was part of the Must Do list? I told her it is now.

Mocked up. I planned to use the original dash mount I had made, but didn't like the looks of it going back so far.

Here is the old mount after cutting it all apart and rebuilding it so it is thinner and leans forward. The tube on the side is for my ignition switch.


Last edited:
Alaska Gasser
Well-Known Member
I'm still trying to catch up on pictures.
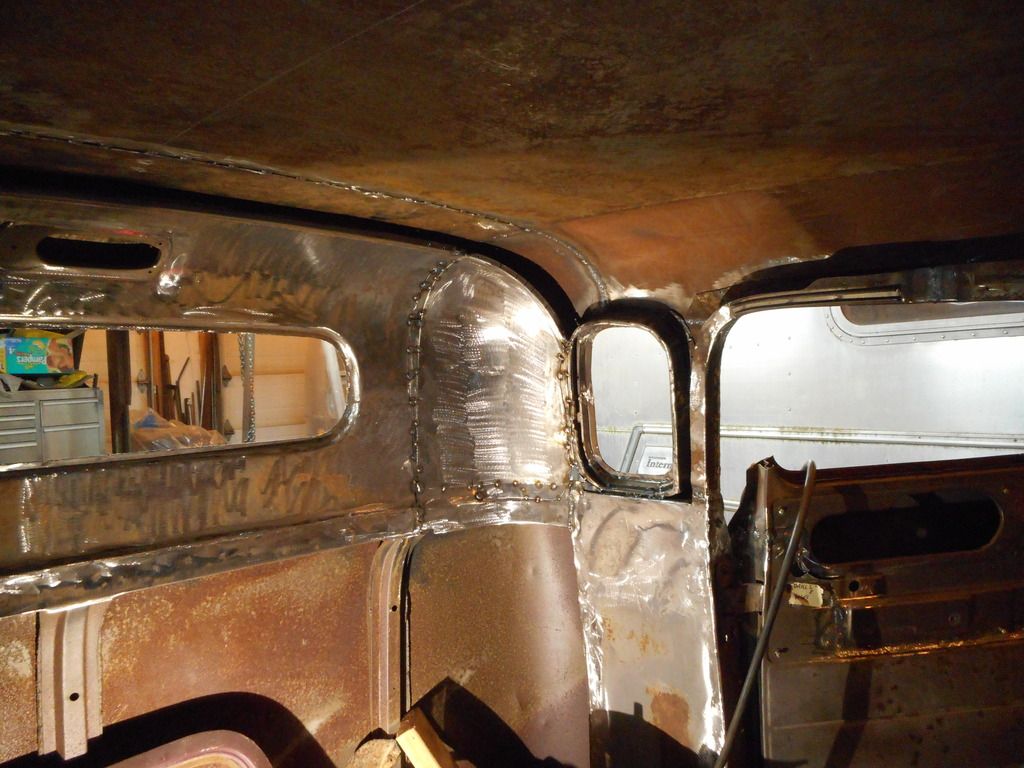
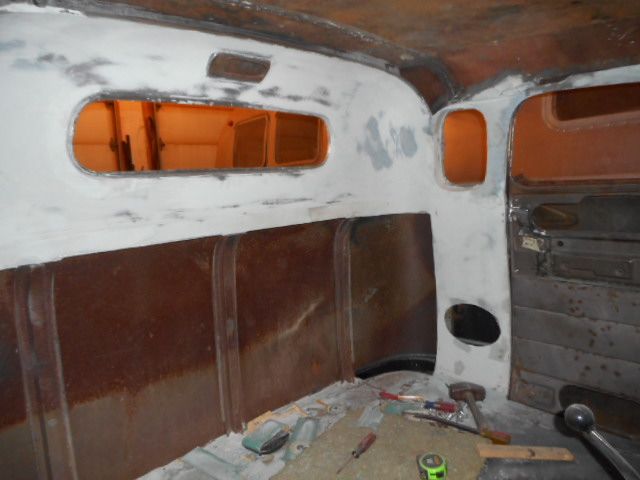
I welded the two corner pieces back in and did the bodywork.
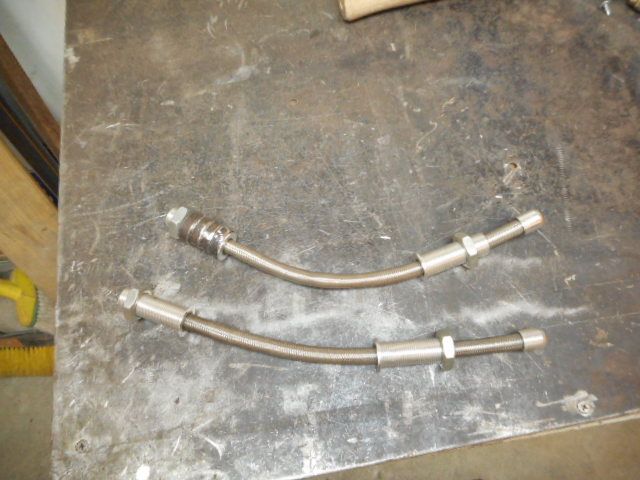
I needed to find a way to get the wiring into the doors, so I decided to use these looms since I had them. To get the angles right, I welded two 45 degree sleeves on both ends.
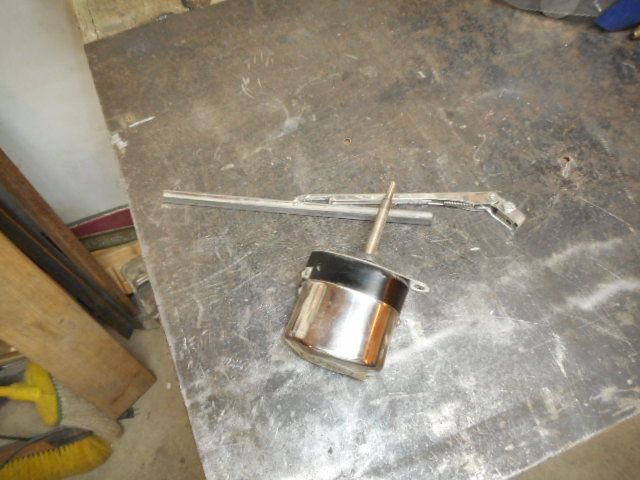
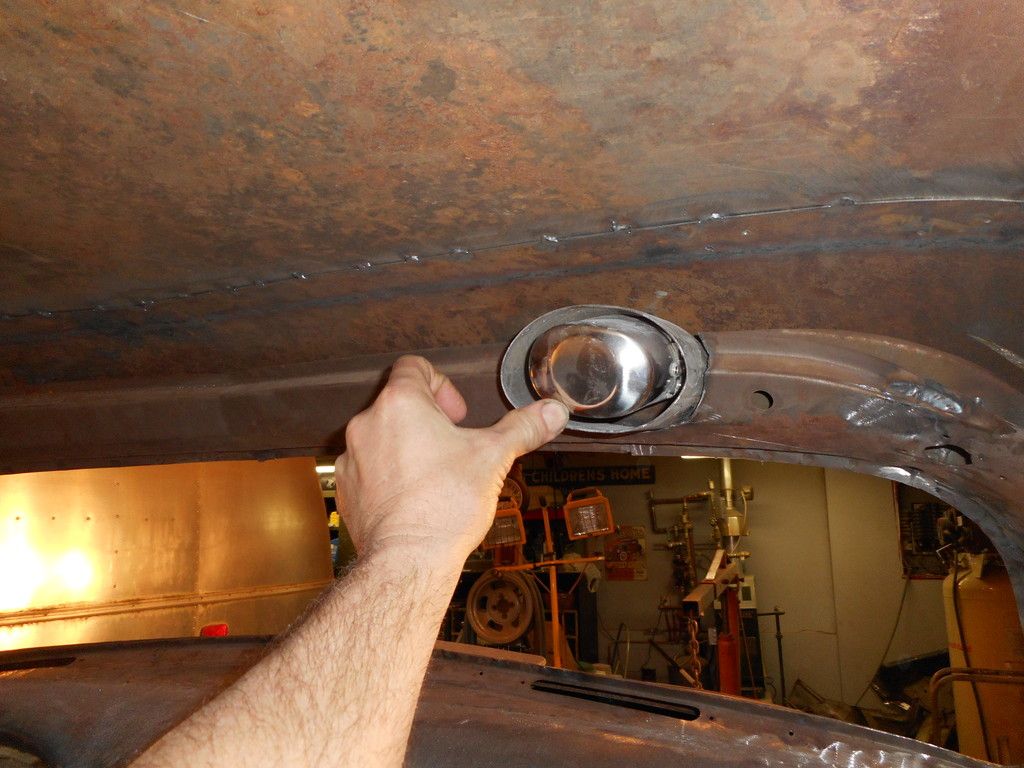
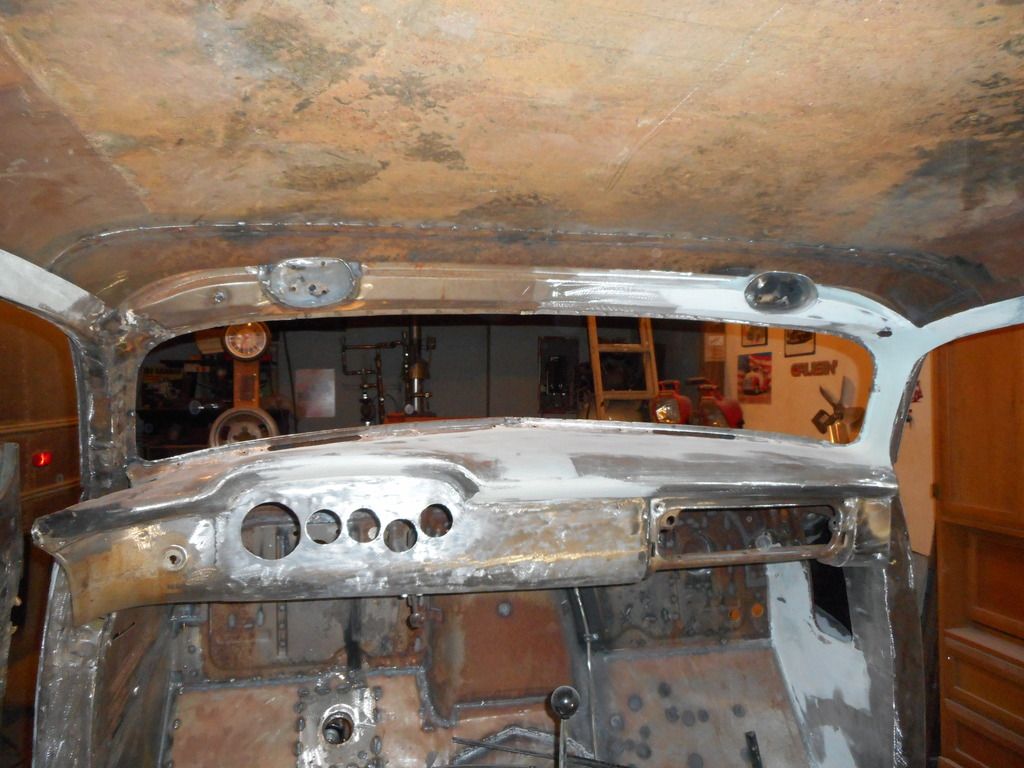
With the serious chop, the windshield wipers needed to shift sideways. After welding up the old holes, I went with single motor after market wipers because they were cheaper and I decided to mount them above the windshield so they can't be seen once the visor is installed.
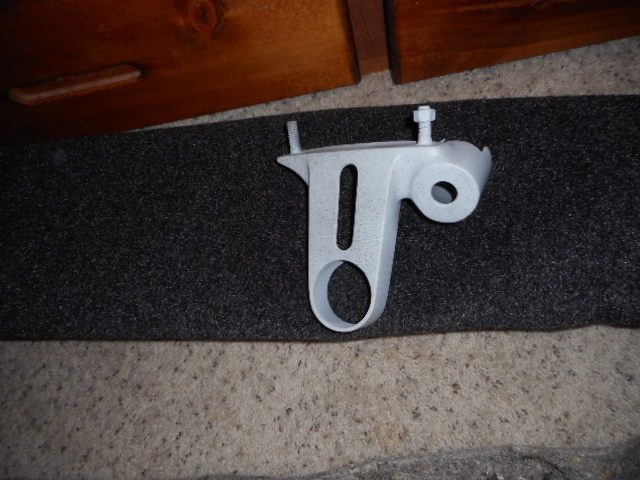
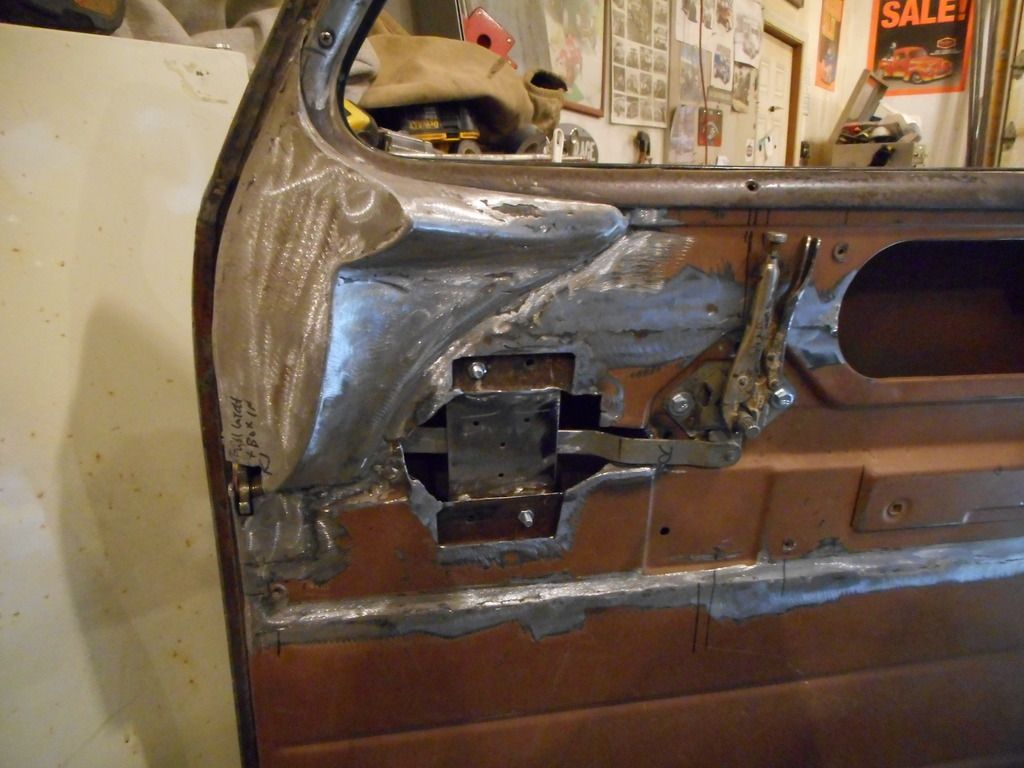
Due to the door handle mechanism going through where the stock window mechanism goes, I had to switch to power windows. I want them to look stock, so I'm using the switch that utilizes the stock handle. Here is the new mounting plate for it.
Two weeks ago I pulled the motor out and finished welding the motor mounts, firewall and floor / trans tunnel.
It's nice to see some serious changes again.
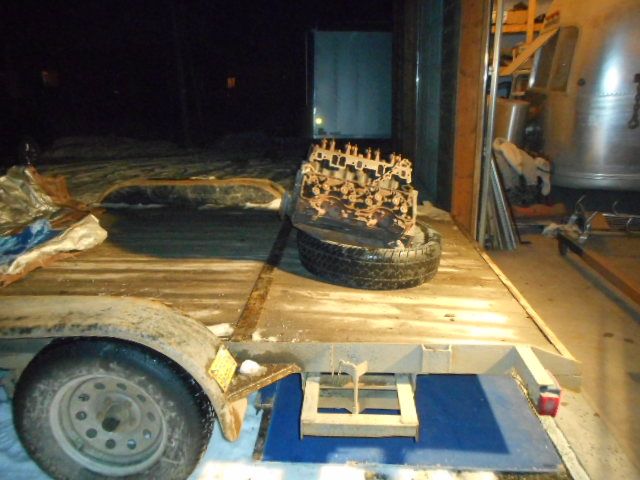
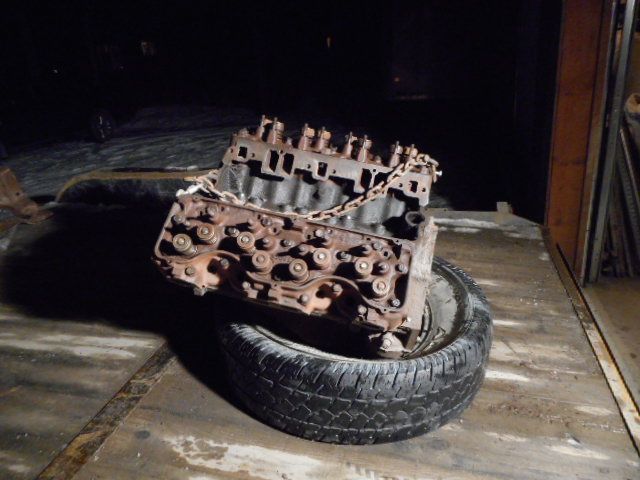
I sent the motor out to be rebuilt since it was about time for it.
More to come as time permits. I'm pounding hard on the truck as we just put our house up for sale and are moving back to Arizona once it sells.
I welded the two corner pieces back in and did the bodywork.


I needed to find a way to get the wiring into the doors, so I decided to use these looms since I had them. To get the angles right, I welded two 45 degree sleeves on both ends.


With the serious chop, the windshield wipers needed to shift sideways. After welding up the old holes, I went with single motor after market wipers because they were cheaper and I decided to mount them above the windshield so they can't be seen once the visor is installed.


Due to the door handle mechanism going through where the stock window mechanism goes, I had to switch to power windows. I want them to look stock, so I'm using the switch that utilizes the stock handle. Here is the new mounting plate for it.

Two weeks ago I pulled the motor out and finished welding the motor mounts, firewall and floor / trans tunnel.

It's nice to see some serious changes again.

I sent the motor out to be rebuilt since it was about time for it.


More to come as time permits. I'm pounding hard on the truck as we just put our house up for sale and are moving back to Arizona once it sells.
Last edited:
John in Oz
Well-Known Member
That is going to be a very cool truck when you are done, a load of work gone in there. Why did you bog up the inside of the cab are you just going to paint that as opposed to trimming it. Good for you and thanks for the report.
There's a move....one extreme to the other". Alaska to Arizona....sled dogs to sand buggys....wow....very nice job on the dash and roof...
Alaska Gasser
Well-Known Member
There's a move....one extreme to the other". Alaska to Arizona....sled dogs to sand buggys.
We moved from there to here and are just headed back. I have problems getting warm anymore and Jackie has fallen fairly bad a few times due to the ice.