1930 Ford Model A Vicky Build

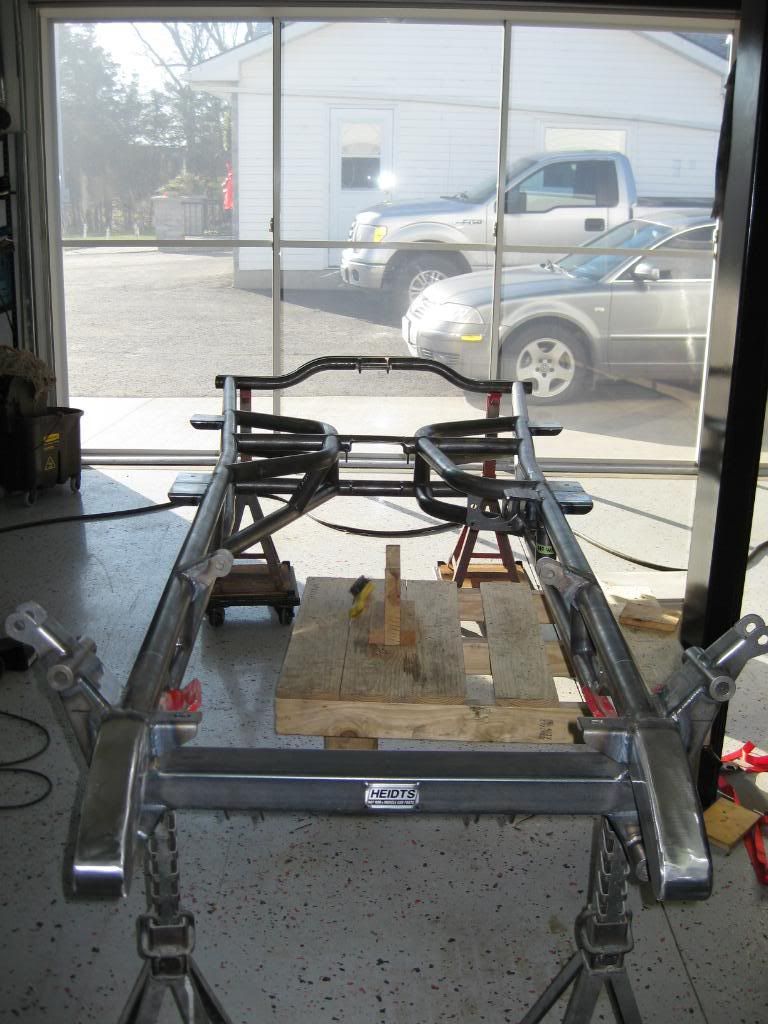
In post #28, showing the tube frame on the jig, I'm wondering if the frame "rails" are parallel, or do the taper as the original "A" frame rails do?
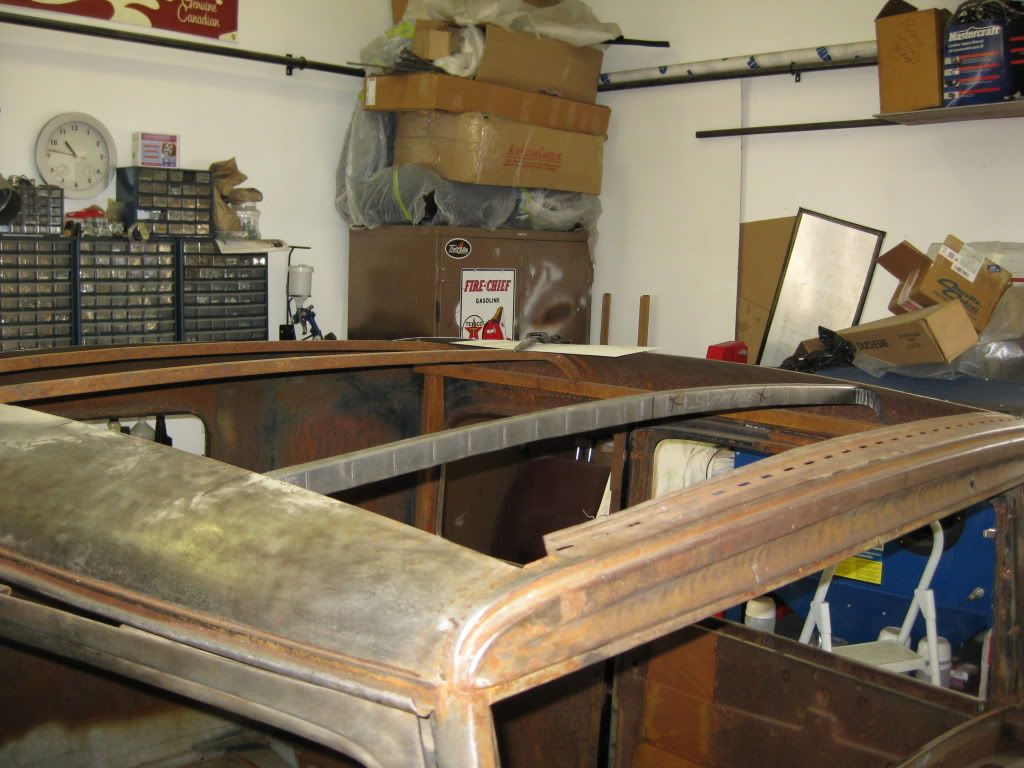
This frame fabrication certainly pays credit to the fine work exhibited in the
fabrication of the body! Nice work.

Bgbkwndo.

There is a 5 deg bend to match the original in both upper and lower rails
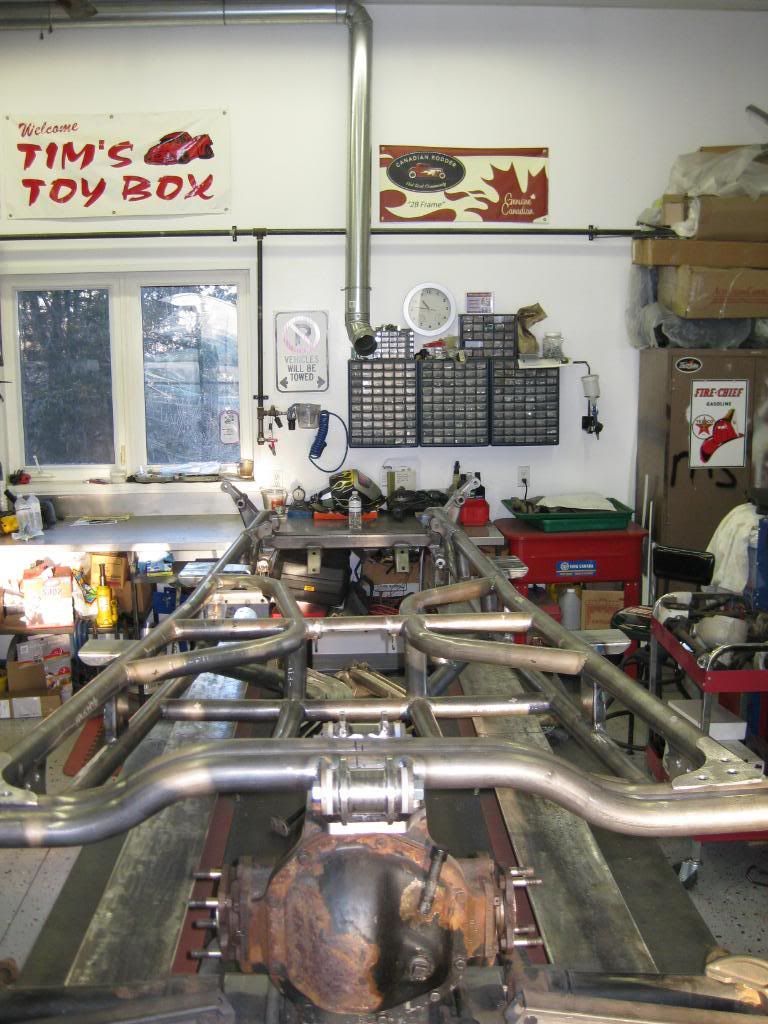
 
Well the major part of the frame is welded completely thanks to Barry showing up most of the last 2 weeks.:) Tubes cut, fit, tacked then removed to make room for things like the booster and master. This all took a lot longer than I expected :confused:

IMG_2710.jpg


The goal of having this done by Christmas was accomplished today with some finish welding. The frame is back in the jig to start the supports for the rear end and rear shock mounts.

IMG_2711.jpg


Thanks for every ones interest
Merry Christmas to all and may you have a safe and happy New Year

Tim

PS Daryl Still no SNOW
 
Over a month has gone by........


......... I'm ready for an update.


Tim? Tim? Tim?

Daryl Sorry for the delay in updates :D
1 1/2 wks in the sun ( Cuba) and also started a new job :confused::confused: so the progress has slowed.

We finished up the mounts for the front of the rear end measured for the drive shafts and lower control arms and sent them off to my machinist for shortening
http://i1137.photobucket.com/albums/n512/tooltime109/30 Vicky build 2011/IMG_2776.jpg

http://i1137.photobucket.com/albums/n512/tooltime109/30 Vicky build 2011/IMG_2753.jpg

fit the lower radius rods after the control arms were shortened

http://i1137.photobucket.com/albums/n512/tooltime109/30 Vicky build 2011/IMG_2775.jpg


http://i1137.photobucket.com/albums/n512/tooltime109/30 Vicky build 2011/IMG_2770.jpg

fastened the upper shock mounts to the tube cross member

http://i1137.photobucket.com/albums/n512/tooltime109/30 Vicky build 2011/IMG_2772.jpg

Mid Jan I had a visit from a guy I have known in town as a mechanic. Come to find out he is building a 32 from scratch and he asked if he could experiment with building the roof panel.? Larry is his name and we moved his English wheel over to my garage and on the last few weekends we have been attempting to create the roof panel ( with limited success).
We are certainly open to helpful suggestions ( Invision )

http://i1137.photobucket.com/albums/n512/tooltime109/30 Vicky build 2011/IMG_2777.jpg

http://i1137.photobucket.com/albums/n512/tooltime109/30 Vicky build 2011/IMG_2778.jpg

Tim
 
Not sure why the pics didn't appear in my post only the links:confused::confused::(

Because you used URL tags instead of IMG tags.


Daryl Sorry for the delay in updates :D
1 1/2 wks in the sun ( Cuba) and also started a new job :confused::confused: so the progress has slowed.

We finished up the mounts for the front of the rear end measured for the drive shafts and lower control arms and sent them off to my machinist for shortening
IMG_2776.jpg


IMG_2753.jpg


fit the lower radius rods after the control arms were shortened

IMG_2775.jpg


IMG_2770.jpg


fastened the upper shock mounts to the tube cross member

IMG_2772.jpg


Mid Jan I had a visit from a guy I have known in town as a mechanic. Come to find out he is building a 32 from scratch and he asked if he could experiment with building the roof panel.? Larry is his name and we moved his English wheel over to my garage and on the last few weekends we have been attempting to create the roof panel ( with limited success).
We are certainly open to helpful suggestions ( Invision )

IMG_2777.jpg


IMG_2778.jpg


Tim
 
Looking great Tim!!

Honestly one of these day I will make my way out there, I call first now that you are a working man again?
 
Tim, was thinking you had gone into hibernation , however you continue to
give me inspiration every time I see your work. Thanks for the update,
really a great frame and project.

Brian
 
Tim,
Nice work there young man.... that thing is gonna be really sweet! A whole lot to be proud of.
If i'm in the area I'd like to tag along with that Jamie guy for a peek at this project.
Thanks for sharing with us,
Clarke
 
Jamie
My schedule is fairly flexable. The lads from Kingston are stopping in Thursday AM
Clarke
Our doors are always open.
 
Tim, was thinking you had gone into hibernation , however you continue to
give me inspiration every time I see your work. Thanks for the update,
really a great frame and project.

Brian
Brian
Looking at your progress on the 29 I am along way behind.:eek: But that also allows me to steal ideas;);):D
 
Brian
Looking at your progress on the 29 I am along way behind.:eek: But that also allows me to steal ideas;);):D

Tim, the progess on the A project , has had some nasty setbacks.
Most of the items are a result of the work been done over an extended time period. Thus, resulting in changes that have come to haunt the project.
However , I am continuing with the end results the way I want them.
I will elaborate and post some stuff that has been giving me so much
trouble when I get it all sorted out.

Brian
 
Time for another update:D
Progress has slowed down but we are moving forward:confused:

We have cut out the perimeter of the roof and started fitting cross ribs made from 20 ga. They are a 2 pcs design to create a Z shape when welded together

IMG_2974.jpg


We are fitting each rib then we will finish the roof shaping to fit them

IMG_2975.jpg


There are 2 finished and #3 is almost fit ( top section only of Z )

IMG_2979.jpg


Once the 5 ribs are installed we will scribe the roof panel and cut it to fit

What suggestions are there for fastening the roof panel to the ribs ie small tacks on the edges of the ribs, epoxy etc

Also in the first picture you can see the surface rust on the inside. Any suggestions as to the best way on dealing with it before we get too far

Tim
 
You should leave a gap between the ribs and the roof sheet. There are special foam based adhesives that are made to install in this gap. I would not tack weld or epoxy them together. If they are solidly mounted together, due to expansion and contraction in heat and cold, the ribs can telegraph their position; making them visible on the roof skin.
 
Tim, on the A project I used a self sticking type of tape, just thin enough to allow some movement for roof metel expansion in the heat. If I were to do it again, the use of stick-on Velco ( loop side) applied to the top of the ribs. With the small amount of surface resistance ,I think it would work well.
Tack welding the roof to the ribs may not provide the metal expansion that would be required. Also I'm sure it would involve numerous hours of metal / boby work due to the weld heat generated by the tack welds.

Regards,

Brian
 
You should leave a gap between the ribs and the roof sheet. There are special foam based adhesives that are made to install in this gap. I would not tack weld or epoxy them together. If they are solidly mounted together, due to expansion and contraction in heat and cold, the ribs can telegraph their position; making them visible on the roof skin.


Thanks Scotty
Any idea as to the name of the tape
Tim