1958 Chevy Suburban Build

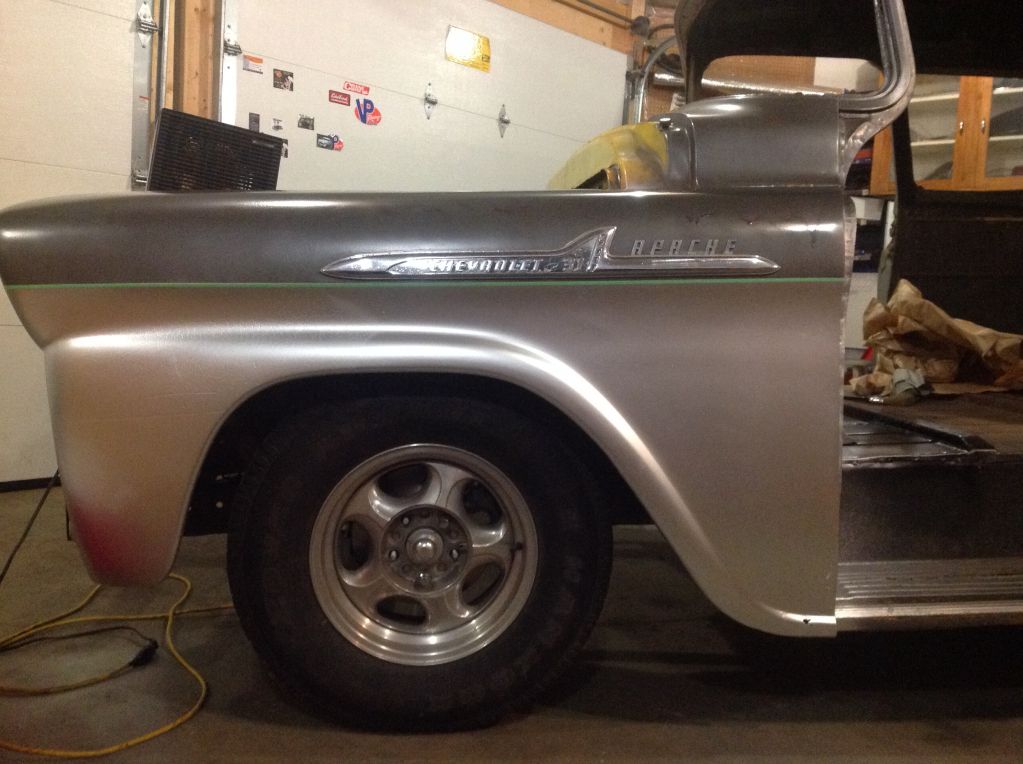
Keeping budget mindedness I'm putting a rattle can rustoleum paint finish on it and yup, it sounds like a disaster waiting to happen "but" looky.
The top is metallic anthracite grey and the bottom is aluminum. The green is masking tape but am probably going to pinstripe it that colour.
The panels have had no prep done to them so have scratches and stuff under the paint. The anthracite grey paint has been on the window columns and up body for around 12 weeks and its rock hard. It's meant as a wheel paint so I. Thinking it'll be ok. The aluminum is meant as an outside paint and has a brushed look to it.


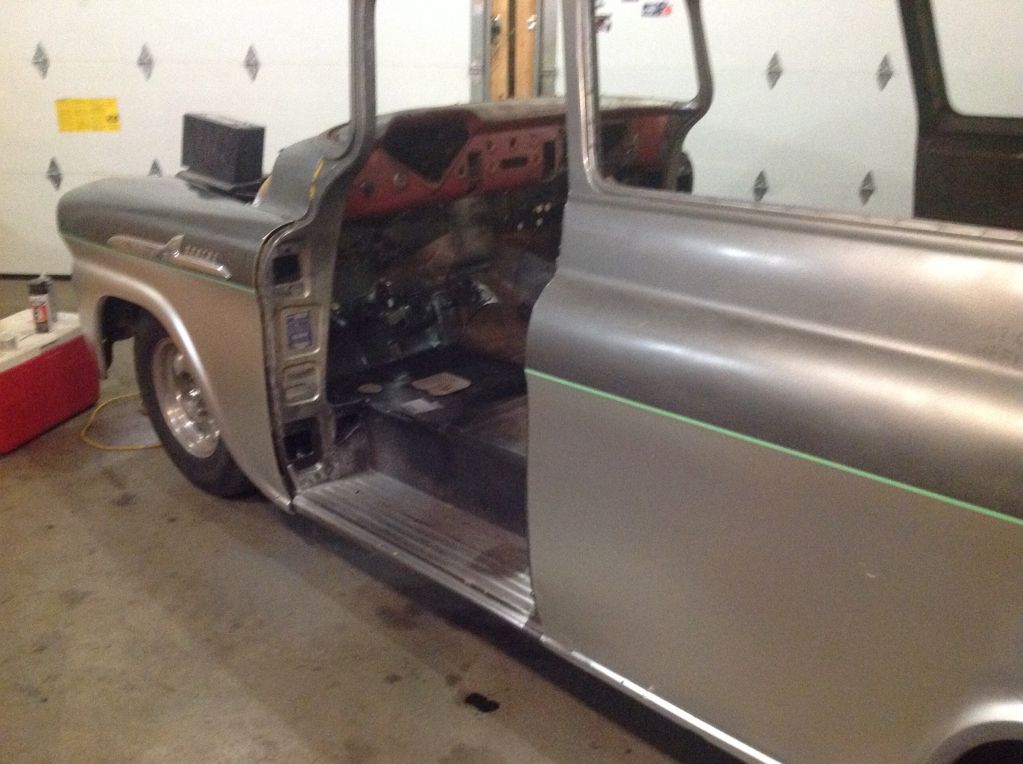
That's pretty much where I'm at right now. Lots more to do before I get round to sticking paint on for real. Have a bunch of new seals ect and will be putting solid glass without sliders initially. Later I will get around to repairing the rusted out passengers sliding windows. Got my new lower hinges as they were beyond hinge pin replacement, quite pleased with them.
Pretty much off to work again for another 8 weeks so no more will be happening till I get back, will be taking a couple of bits with me to play with though.
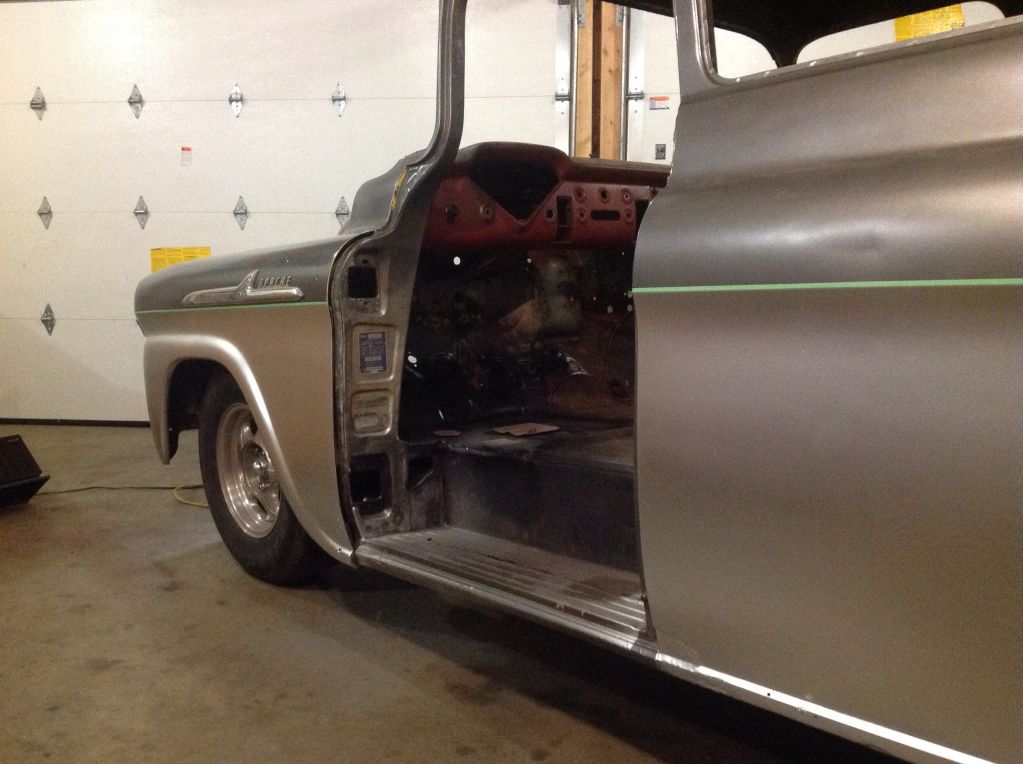
 
Woo hoo great project Martin thanks for posting. Love the colour choice. She's gonna be a great family truckster!


Bash
 
Edited:

After what seemed like forever I had it sorta done. I'm going to try and lead fill the pits so that any water under the new seal won't pop out any fibre glass filler.


I had a ton of small pinholes along the bottom inside of the doors, way to many and too small to weld.
I used All-Metal filler and built it up over several applications.
It's a bitch to sand if you put too much on, hence the build up.
 
I'll have to look for the metal filler, thought about something like that but had no idea what it was called. Think I'll try it away from that area though, off the vehicle attempt me thinks.

Thanks for the positive input/comments thus far.:D
 
Edited:


I had a ton of small pinholes along the bottom inside of the doors, way to many and too small to weld.
I used All-Metal filler and built it up over several applications.
It's a bitch to sand if you put too much on, hence the build up.

Is that the same as - or similar to - JB weld?
 
If it is the stuff I'm thinking of, it comes in a can with hardener like any body filler. The difference is that instead of talc, or fiberglass as the filler in the resins; it has ground up metal. You use it like any filler, but as 1BAD56 says, sanding it is a bitch because you are trying to sand metal. It wears out your sandpaper faster than you can sand the filler down.
 
That JB weld is a b***h to sand as well. It can be drilled and tapped just like any other metal.
 
If it is the stuff I'm thinking of, it comes in a can with hardener like any body filler. The difference is that instead of talc, or fiberglass as the filler in the resins; it has ground up metal. You use it like any filler, but as 1BAD56 says, sanding it is a bitch because you are trying to sand metal. It wears out your sandpaper faster than you can sand the filler down.

USC All-Metal filler is an aluminium based filler. Can drill and tap, rustproof and waterproof.

Another brand, Evercoat Everlast is a short strand fiberglass reinforced body filler that can also be used for small holes. Not as bad as All-Metal for sanding but then you're dealing with fiberglass particles.

There is another metal based filler out there too but can't remember it.
 
Just playing around on the passenger door as it now needs some work on the underside lip plus some dent removal.
Rubbed out as seen at the beginning of the post still there, I was going to put a little hot rod totem pole on the door but stopped after the first two bits as it looked enough.
Then played with trying to paint a carbon fibre effect. Would have been better with Matt black rather
Than gloss and probably semi gloss clear coat instead of gloss.
Might use the effect somewhere but not sure, just playing an having fun;)


Last edited:
Martin might I suggest that if at all possible shoot something (ie: Por 15 or some like rust paint) down the inside of the Windshield pillar after your repair to insure some longevity? Just a thought.


Bash
 
I like the totem on the cardboard as well as the one on paper ... great door art.
Oh and I definitely like the Suburban ... my uncle had a school bus service in Mervin Sask. back in the 50's and had a late 40's early 50's Chevy Suburbus.
 
Last edited:
Another project getting the treatment in your garage! Good stuff Martin, that Burb will look great out on the roads. Thanks for all the great pictures and stories, a pleasure to read.
Greg
 
Should be back off to work this weekend for another 8 weeks so decided I need to take parts with me to do up. I took the heater box and heater motor housing apart to take that and was very surprised to find what looked like an almost new heater core in there. Must have been put in very shortly before the Sub was taken off the road.
Washed the dust off, removed the mouse house and there was a black un corroded heater core. Flushed it out and nothing but clear water. Made me happy.

Any idea how to pressure test this at home?
 
Martin I just had a thought about while you were away, I know some years ago I slowly went through all of the electric motors in a car I had, windows, wipers Starter Motor etc while I was firing boilers in a Power House because we really didn't do much when on shift but maybe that would be a little something you could take up. Just a thought for you, I had to cut some bushes down from bigger ones but that was no worries when you have blow all to do, better than sitting around drinking grog in the mess I would think.