
Navigation
Install the app
How to install the app on iOS
Follow along with the video below to see how to install our site as a web app on your home screen.

Note: This feature currently requires accessing the site using the built-in Safari browser.
More options
You are using an out of date browser. It may not display this or other websites correctly.
You should upgrade or use an alternative browser.
You should upgrade or use an alternative browser.
1948 Chev P/U Extended Cab Build
- Thread starter Alaska Gasser
- Start date
Alaska Gasser
Well-Known Member
That is looking lean and mean, very cool look, surprising how a stretch can also make it look lower. Is that new section from a different year model because the swag looks thiner or maybe it is the piece you have screwed in there make it look that way, this is one of my favorite trucks and you sure are making it look better.
John,
It's just an optical allusion with the way the window is temporarily screwed on. The pictures don't give the true impression of how much the windows lean forward now.
old tin 38
Well-Known Member
I s it a family thing between you and uncle Bob to visualize then build killer chop-top Chevs ? Lookin' goood !!
Looks great, now the question, who is going to finish first, you or Bob? Either way I look forward to seeing the finished product, may have to check it out in person.
Alaska Gasser
Well-Known Member
Looks great, now the question, who is going to finish first, you or Bob? Either way I look forward to seeing the finished product, may have to check it out in person.
That is a good question. Either way, they will look good cruising together.
Give a holler if you're out this way. We would be glad to have you stop by.
Eugene
Righto Eugene, your on, I have got to get back to see how Bob is going sooner or later so why not.
Alaska Gasser
Well-Known Member
'48 Chev p/up extended cab/chop Part 2
We have a good internet connection again so here's an update on the extended cab.
As last seen...
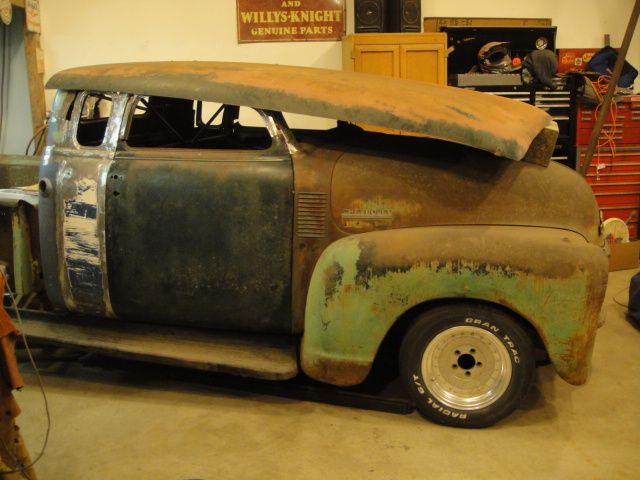
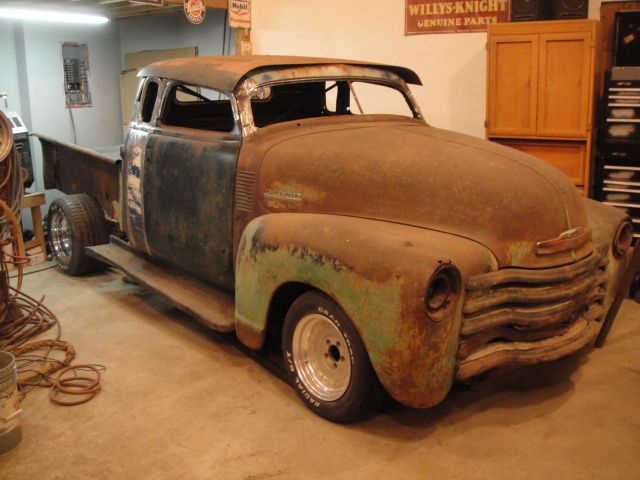
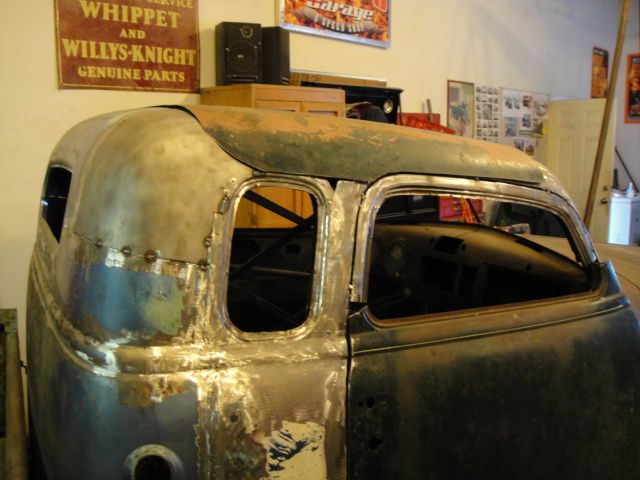
The filler piece from the door to back of the cab is in on the driver's side and the 1/4 window is also. This is a good indication of the new angle of the roof and chop.
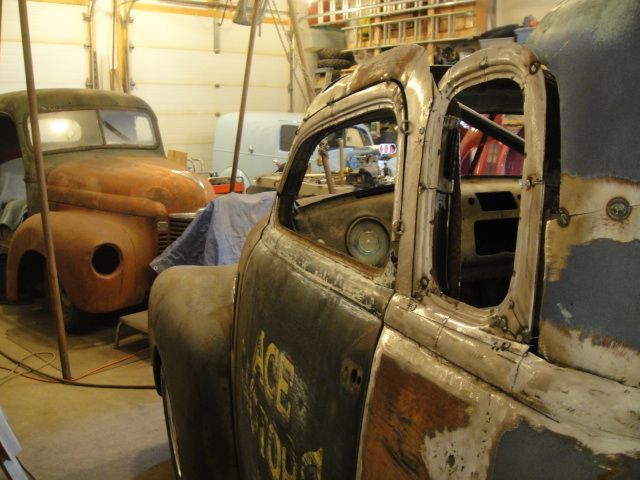
I cut the inner half of both doors and tacked the drivers side onto the passenger outer shell.
A suicide door.
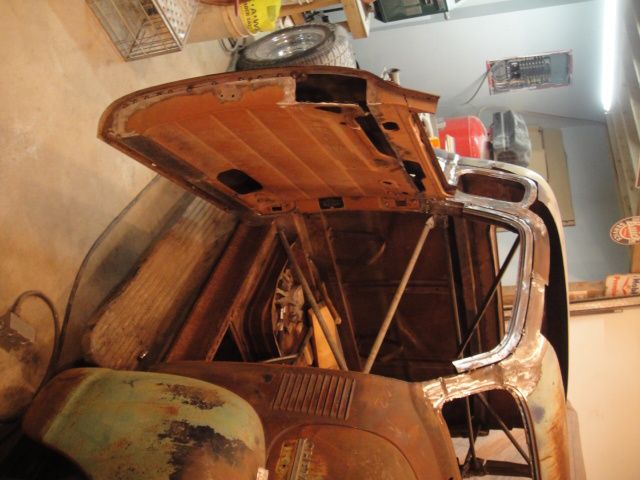
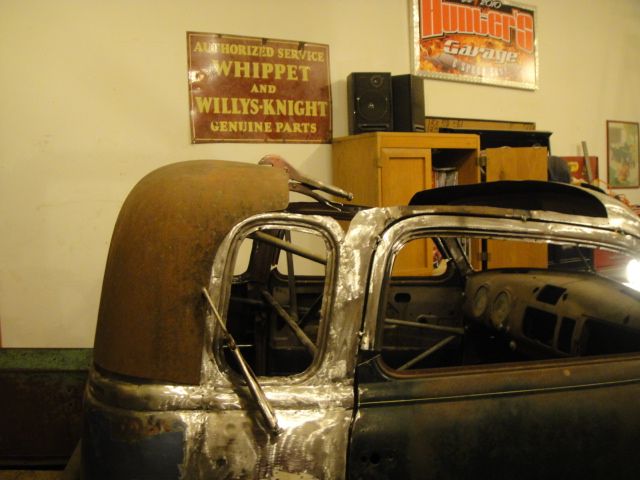
To make some floor space, I threw the roof off the panel on for a look. I've heard of a large sunvisor / brow, but this may be a little too much.
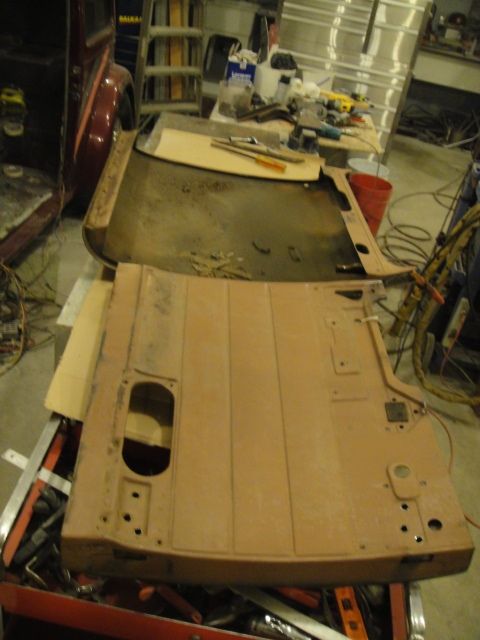
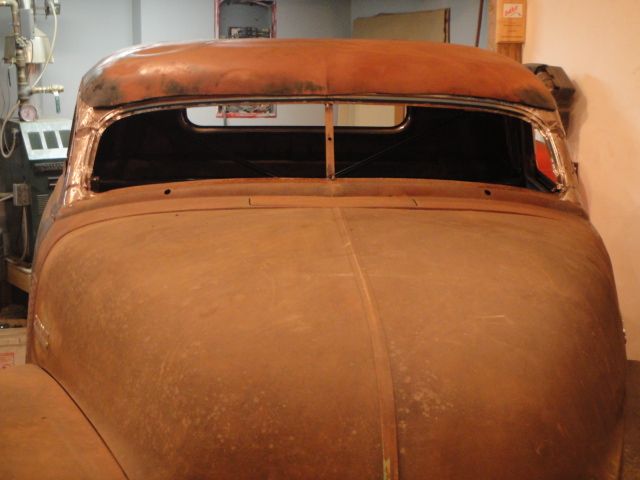
This is the back half...
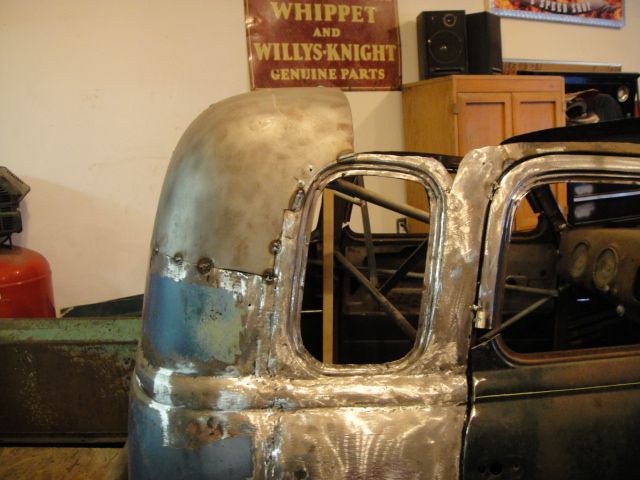
Here is the front half. It has too much lift, so the back half will be used.
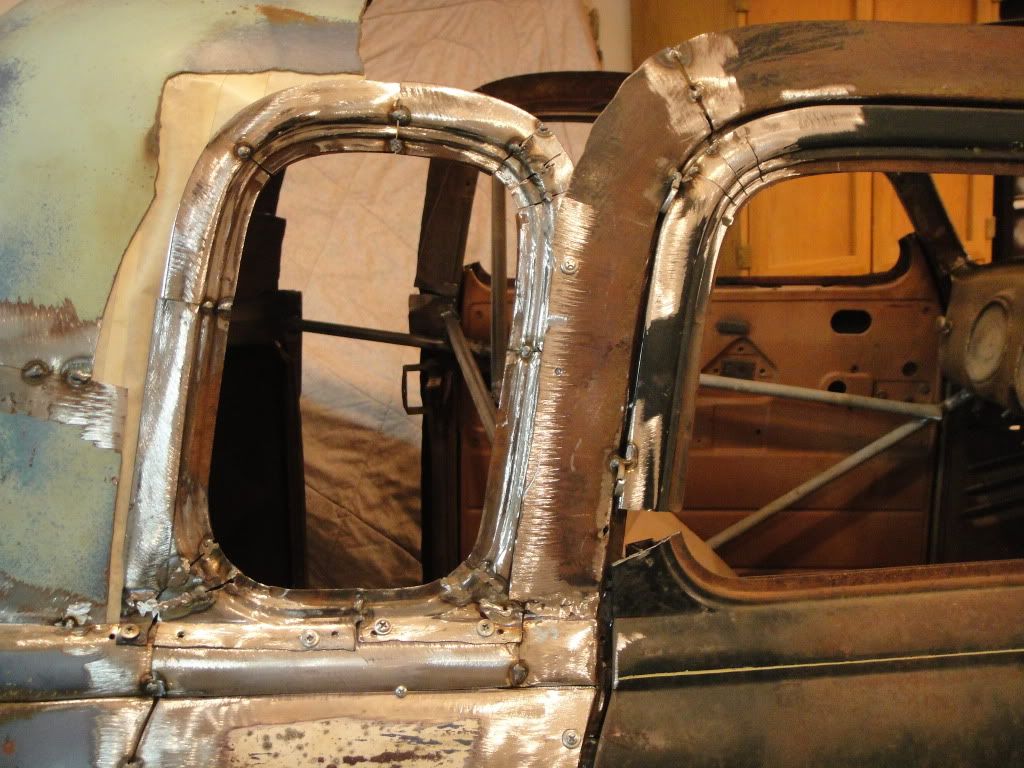
The stock cab corner is coming in 1" too far on the 1/4 window.
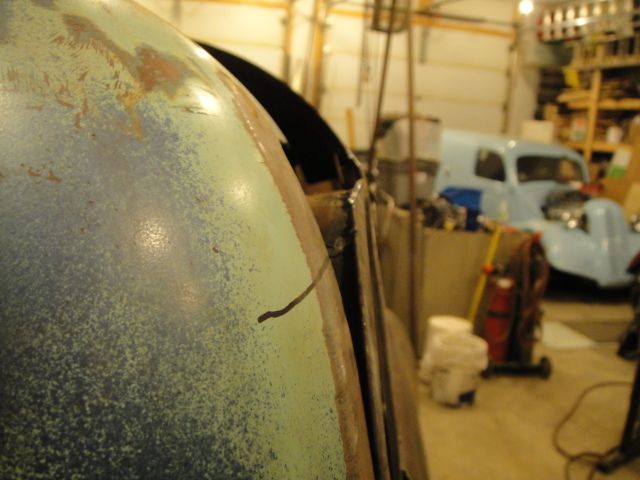
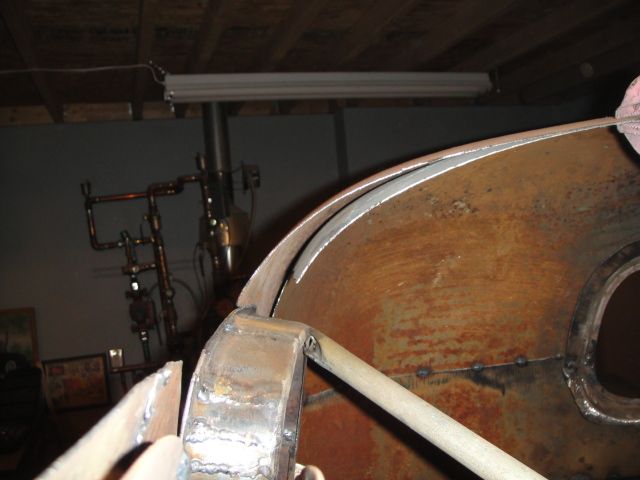
I decided the easiest fix would be to use the corners from another cab and only have one weld all the way around.
That's it for now.
We have a good internet connection again so here's an update on the extended cab.
As last seen...
The filler piece from the door to back of the cab is in on the driver's side and the 1/4 window is also. This is a good indication of the new angle of the roof and chop.
I cut the inner half of both doors and tacked the drivers side onto the passenger outer shell.
A suicide door.
To make some floor space, I threw the roof off the panel on for a look. I've heard of a large sunvisor / brow, but this may be a little too much.
This is the back half...
Here is the front half. It has too much lift, so the back half will be used.
The stock cab corner is coming in 1" too far on the 1/4 window.
I decided the easiest fix would be to use the corners from another cab and only have one weld all the way around.
That's it for now.
Last edited:
John in Oz
Well-Known Member
Thanks for the update, for a minute I thought there was going to be a competion between you and Hunter as to who was going to have the best sunvisor  , that is going to be a great truck when you are done with plenty of inside storage.
Now what is happening with the Inter, it doesn't look like Number 1 daughter has been doing much with it tucked away there.
, that is going to be a great truck when you are done with plenty of inside storage.Now what is happening with the Inter, it doesn't look like Number 1 daughter has been doing much with it tucked away there.
old tin 38
Well-Known Member
Looking great You and Hunter sure like a slice and dice challenge. Now....that Whippet/Willys Knight sign on your wall....???$$$
Alaska Gasser
Well-Known Member
Looking great You and Hunter sure like a slice and dice challenge. Now....that Whippet/Willys Knight sign on your wall....???$$$
It's an interesting topic when you ask people how many parts their vehicle has been cut into.
The sign is an original and was one of the last gifts my father in law gave me before passing away.
Regards AL C
Well-Known Member
Chevy
Wow, keep us posted on this one. Regards Al C
Wow, keep us posted on this one. Regards Al C
Alaska Gasser
Well-Known Member
Now what is happening with the Inter, it doesn't look like Number 1 daughter has been doing much with it tucked away there.
Thanks for that! Haha! I've been busy with college, work, and helping around the house. We should be starting up again soon.
-Diana
bullet
Well-Known Member
looking good--and I thought I had lots of welding to do--long winter ahead will help with your shop time--now go get firewood for the shop
Bob, they're in Alaska, so you have to say MUSH instead of GO.
Last edited:
Alaska Gasser
Well-Known Member
I was able to get the corners sandblasted and cut to fit.
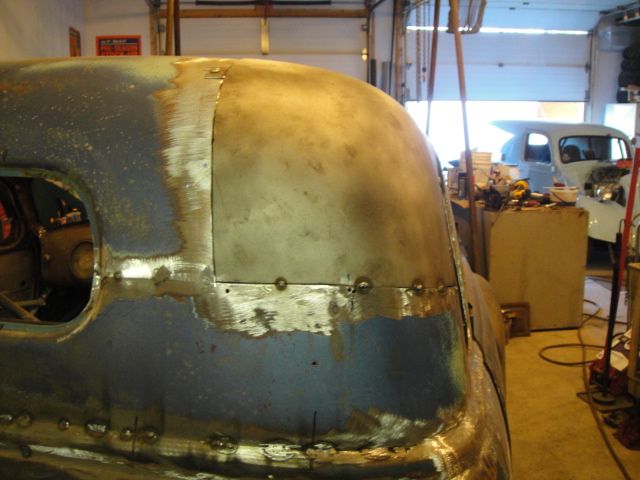
Once they are tacked in enough, the roof panel will receive the final trim and it will go on for the last time.
Once they are tacked in enough, the roof panel will receive the final trim and it will go on for the last time.
Last edited: