| |
Some
Odds and Ends
 by Frank Colgoni by Frank Colgoni |
| |
|
|
|
While
sifting through the hundreds (thousands?) of photos that we've
taken of our project, we came across a number that we'd thought
we'd share. The reason we've entitled this article "some
odds & ends" is that we're going to present these photos,
not in context of an overall article topic, but as a series of
somewhat disjointed mini-topics.
|
| |
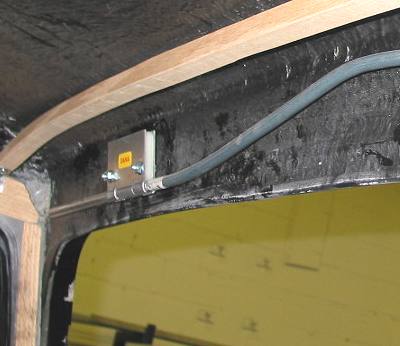
Wipers
This is the Specialty Power Windows' wiper motor which has been
mounted remotely behind the passenger's right side. The tube
which carries the drive cable can be seen exiting through the top.
 |
| |
The
tube continues along the right side of the roof, above the bows,
and terminates in the first gearbox (for the right wiper).

|
| |
The tube then contines to the driver's side gearbox, ending just
past it to
provide room for the cable to move. Note that the the left gearbox
is
oriented up and the right (above) is oriented down. This sets
the travel
pattern for the arms.
|
| |
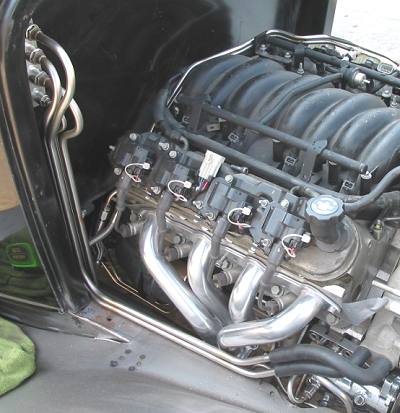
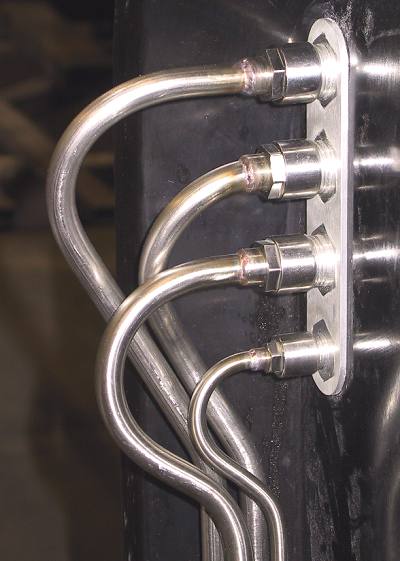
Hardlines
The picture below shows the hardlines bent up by Lowdown for heat
and air.
You can see the heater lines terminating with rubber hoses at the
water
pump. The rubber hoses will provide the flex needed to isolate the
engine
from the hardlines and the body (not that the engine will move much
the way
it's mounted). The lines running to the AC compressor are isolated
by
flex coupling pieces (not shown). The lines are stainless but not
cleaned up at this point. I'll be polishing these later.
 |
| |
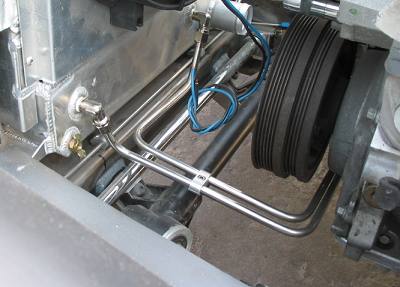
The
are the transmission cooling lines running to our Be Cool rad.
 |
| |
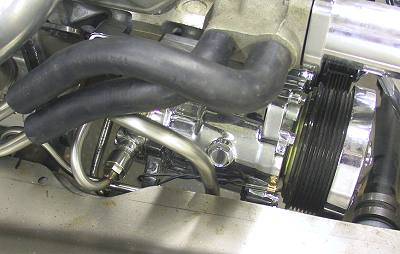
The plumbing around the AC compressor is tricky to say the least.
The frame was relieved slightly to accomodate one of the bends.
|
| |
This
is the detail of the fitting at the firewall. Scott at Lowdown did
a nice job
on the these lines.
|
| |
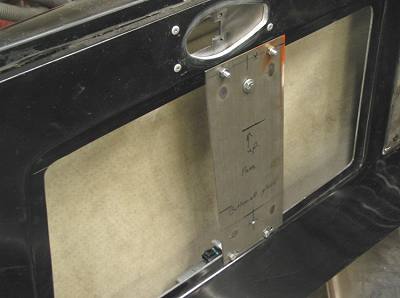
Window Mechanisms
We used a Specialty Power Windows' kit. This is the bracket that
fabricated
to support the SPW upright. The motor can be seen at the bottom.
|
| |
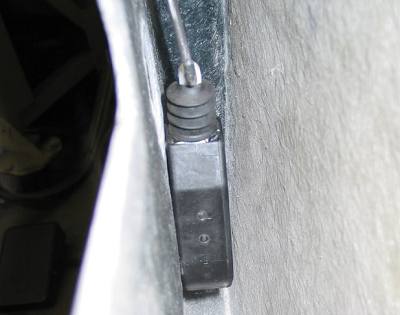
Door
Actuators
Autoloc actuators were fitted in a line directly beneath the door
latch.
 |
| |
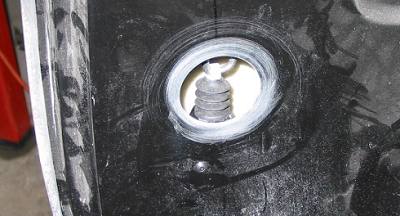
This
is a view of the actuator inside the door.
 |
| |
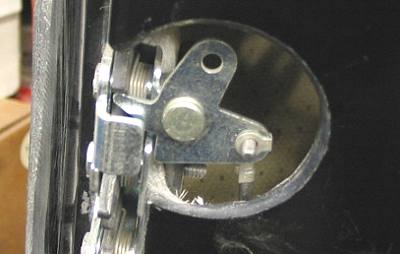
The
actuator terminates at the lower hole in our two-stage door latches.
 |
| |
|
