Like
a lot of things when building from scratch, deciding on seating
can be more involved than you might think. I always find it interesting
to gaze into cars and consider what I would have done with the
interior. While the exterior speaks louder and is what ultimately
defines the car, the interior should (in my humble opinion) complement
the exterior and suit the theme and overall feeling of the car.
Certainly,
at the end of the day, it's up to the individual to determine
what works best for them in terms of type of seating, comfort,
availability, cost and serviceability of materials. Also, not
everyone cares as much about what the inside looks like versus
the outside. The nice thing about hot rodding is that you can
do what you please. As we've said over and over, it's part of
what defines the hobby.
In
our case, we had a fairly basic hurdle to get over when we started
thinking about a seat. That is, did we want bucket or bench? Had
we wanted buckets, we would then have been limited to the variations
of new aftermarket and used OEM that would fit in a thirties coupe.
While we did toss the idea of buckets around (and around), we
kept coming back to a bench for no other reason than we felt that
a bench looked better in a coupe. Once again, this is a matter
of personal preference. There's no right answer. With the decision
made to go to a bench, the next decision become one of acquiring
a seat out of production vehicle and modifying it or buying new.
One
of the things you learn when you do a complete build-up is that
there are some things that you need, and should, fuss and others
that are simply not worth it in terms of time and money. As we
had decided on a bench, we knew that there were a number of ready-made
solutions that would fit. You will likely know who supplies these
solutions if you've ever perused a hot rod magazine.
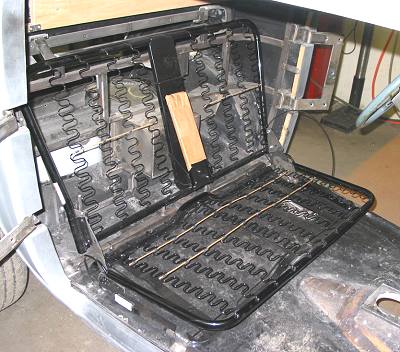
To
cut to the chase, after considering our bench options, we chose
a relatively new frame from Glide Engineering. It was very much
like other early thirties styles offered by Glide but came with
a notch to accommodate a tunnel. We don't have a full-cabin tunnel
but, if you've read article 32, you'll recall that we are running
our wiring through the centre of the cabin. Using this frame,
we could then mate up with the false tunnel created as an extension
of the tranny tunnel without altering the seat frame. We ordered
the Glide foam with the frame.
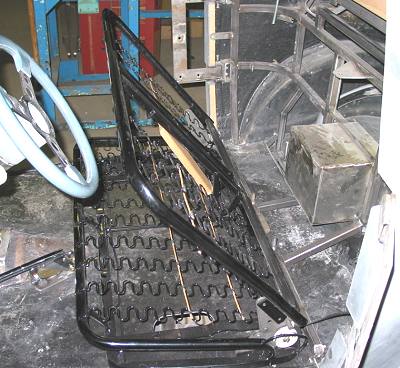
The
frame is a quality piece and the fit is about perfect for the
coupe. Also as mentioned in article 32, we had originally planned
to use two seat supports that ran across the cabin floor anchoring
into the top of the frame rail. As we decided not to use seat-adjusting
rails, we really didn't need the forward support so it was removed.
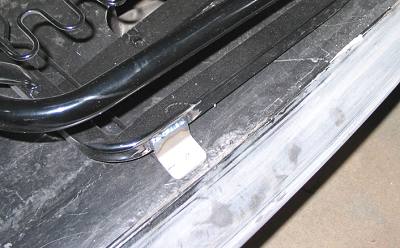
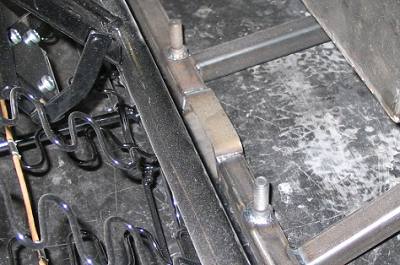
As
we wanted to be able to remove the seat fairly easily, pins were
welded horizontally (facing forward) to the rear support. Complementary
holes were drilled into the rear of the seat frame to accept the
pins. At the front of the seat, tabs were added to the sides of
the frame in a location which corresponded with the holes into
the frame. In this way, the seat is anchored to the frame, not
the floor.