| |
Starting
on the bodywork
by Frank Colgoni |
| |
|
| |
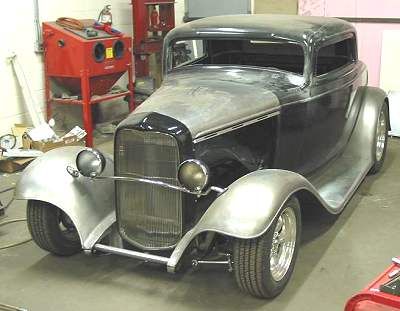
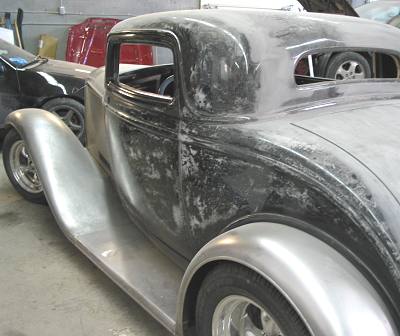
At
some point in a complete car build-up process, you will conclude that
you have gone far enough with fabrication and mocking-up of component
parts. That is, everything that needs to be fitted first has been
fitted and major fabrication has taken place. For our project, we
essentially had gone as far as we needed to go as shown in the picture
below. Short of running wires, all major and minor components were
on the car. |
| |
|
| |
In fact,
the car looked pretty good at this point (it looked like a car finally)
and it seemed a shame that it would have to come apart. However,
we were ready to move on and, as such, it was time to move the car
to the body shop and into the hands of our painter, Dave Bell.
Before taking the car apart however, there was work
to do to get everything flat, the surfaces smooth and the gaps acceptable.
It’s amazing actually because you can look at a 'glass body
in gel coat and it looks ready to paint (with a little work) although
I imagine (I know) that bodies vary from manufacturer to manufacturer
in terms of the amount of work required to get them to your satisfaction.
Ours looked pretty good. Naturally, we all have differing standards
of what is smooth and in alignment and what the gaps should be.
Time is money if you're not doing the work yourself.
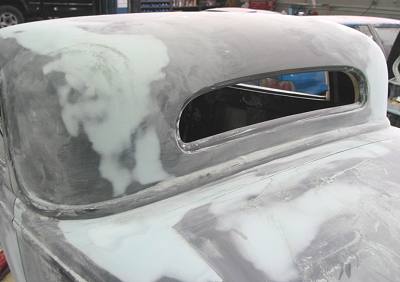
The first task is to flatten the mold lines and do
a general scuffing to identify any obvious low/high spots. You don't
want to be too aggressive here to avoid damaging the gel coat. Once
this is done, you’ll have a much better idea of what you’re
dealing with (see pics below).
|
| |
Flattening a mold line |
| |
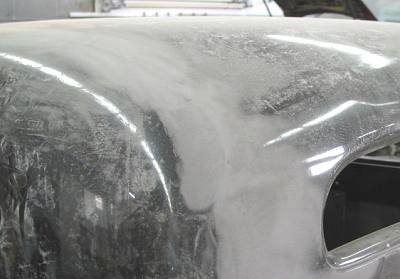
General scuffing to determine high and low spots and
panel-to-panel height variations. |
| |
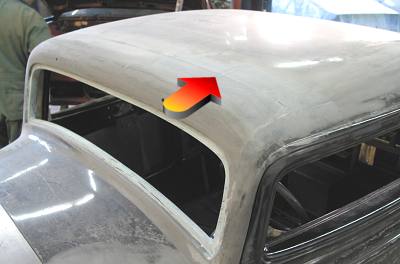
Mold line still visible. |
| |
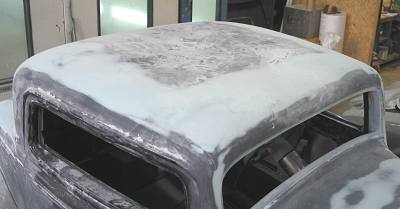
All these surfaces will get the same treatment. |
| |
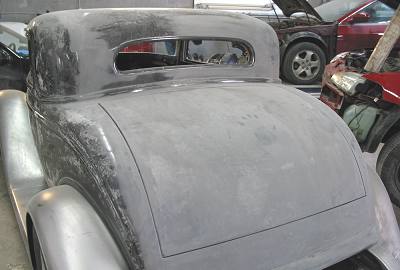
At the completion of this step, it's time to start
adding material to level out everthing. As you'll see in the pictures
below, there can be subtle variations (or more than subtle depending
upon your body) within panels and across panels. |
| |
This takes care of the mold lines and other height variations
between mold pieces. That is, roof to side or roof to cowl, etc.
|
| |
|
| |
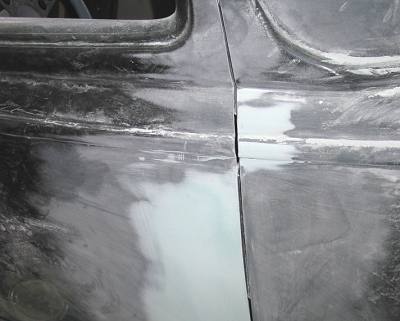
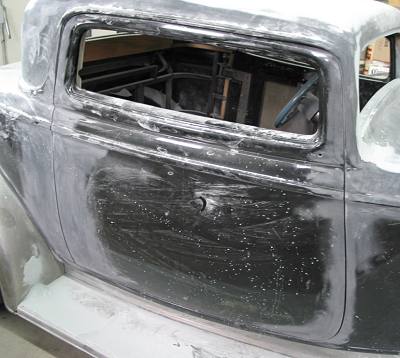
Here you can see that the quarter above the bead was low, below
the bead
was fine but the door below the bead was a bit shallow.
|
| |
This side ended up being fine with no material required. |
| |
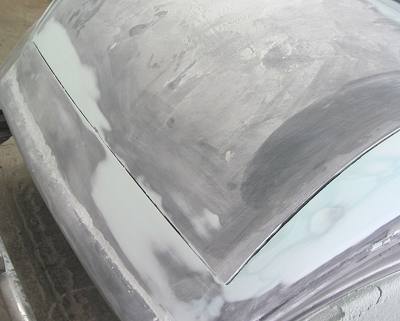
Once again, you can see that from side to side there were slight
variations in height that needed attention.
In the next article, the body will get some primer.
|
| |
|