| |
Fitting
Fenders
by Frank Colgoni
|
| |
|
|
|
It's
been many years since fiberglass replacement parts hit the aftermarket.
In the early days, some were good, some were not so good and some
were awful. Having said that, they were a saviour for many people
who had managed to snag a body but were not as lucky to find decent
steel (original) fenders. And, in those days, steel fenders were
not being remanufactured. So, it was common to find steel bodied
cars with 'glass fenders.
As you're likely aware, steel fenders are, in some cases and for
some cars, being remanufactured today. In fact, complete bodies
have appeared. In the case of the '32 Ford, steel fenders and
running boards are available from a number of sources. OK, so
we're going to turn the steel body / 'glass fender thing around
and do the opposite. We had already decided that we would use
a steel hood and sides, steel frame horn covers out back and a
steel front valance (splash apron). After some thought, we decided
to complete the perimeter in steel. Yes, if you're thinking this
is the more expensive route, you're correct.
We
contacted Brookville Roadster about the parts we needed (Brookville
has been an industry leader for over a decade). Ultimately, we
ordered their own rear fenders and also 'boards and front fenders.
They arrived all boxed up to protect them from damage. We were
then able to get to work on the fitting.
A
word about fitting if you've never been there. Despite the fact
that you might have an accurately made body, a chassis that has
been put together carefully to maintain the correct dimensions
and body panels that could pass as originals, there will likely
be some fiddling and "tweaking" to get everthing to
come together harmoniously. If you're lucky, the fiddling will
be minimal. If you're not, take a deep breath and set the tools
down gently. In our case, we were fortunate and the fitting, while
involving a significant amount of time, was relatively straightforward.
|
| |
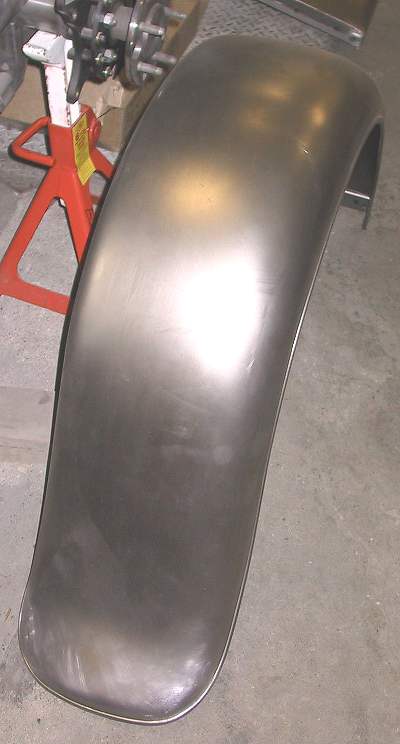
 This
is a Brookville rear passenger side fender
This
is a Brookville rear passenger side fender
looking good out of the box. |
| |
From
the back side.
|
| |
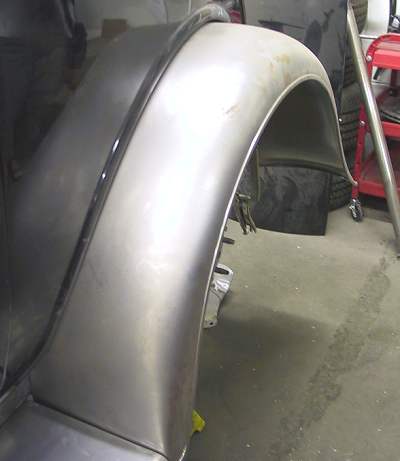
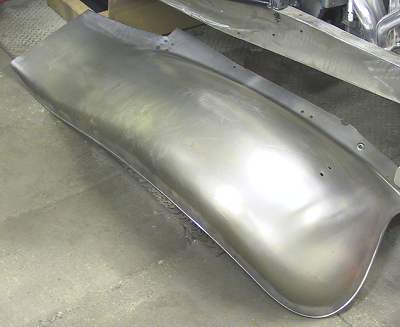 This
is a front fender supplied by Brookville (not manufactured by them).
This
is a front fender supplied by Brookville (not manufactured by them).
It's also a nice piece. |
| |
 The
fitting process begins. You can see in this photo where our
The
fitting process begins. You can see in this photo where our
rear wheel well was moved in to accomodate our tires. |
| |
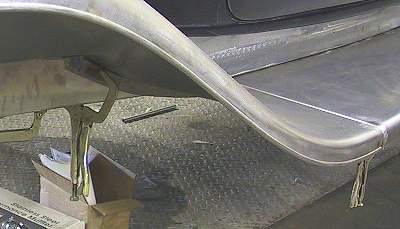
This is a shot of the rear of the front fender simply sitting
on
a jack stand. The fit is close without being bolted-up. A good sign.
|
| |
All
the fenders and boards were clamped / supported in place first
to determine what, if anything, needs to be tweaked.
|
| |

We were very pleased with the way things came together.
No gaping holes but a little bit of finessing would be required
for a really nice fit. However, compliments to Brookville and
our frame builder, Lowdown, at this point. |
| |
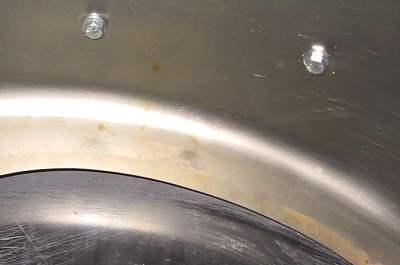
A look inside a rear fender.
More about what we have to do here in a few pics. |
| |
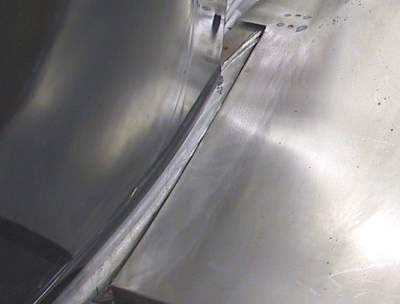
This is the only place that the fenders and body interface -
in the rear wheelwell. The Brookville rears, on initial fitting,
fit very well. This speaks well for the body also. |
| |
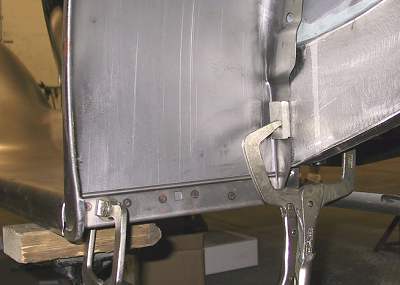
After everything was lined up and moved around and clamped and
reclamped, it was possible to start adding bolts. Here we have the
inside of the front fender and the front end of the board. |
| |
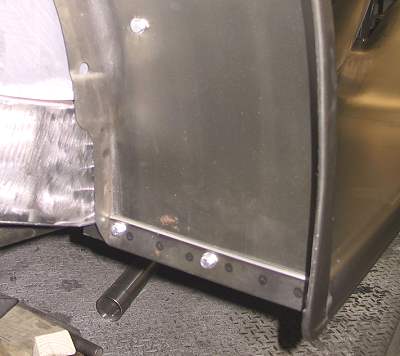
Inside the rear fender and the board. Notice that fender is
being bolted up into the wheelwell versus through the side.
See also the pic immediatley below. |
| |
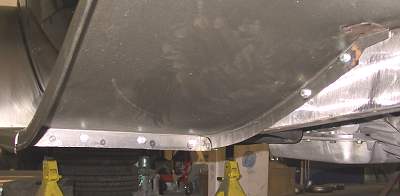
More fender bolts locations going up into the wheelwell. Because
the
wells were move in to line up with the framerails (to accomade the
tires),
the fender flange, in some places, is away from the well as seen
at the
left side of the pics above. After the rear fenders are in their
final position,
the flange will be removed as it won't be used for mounting. |
| |
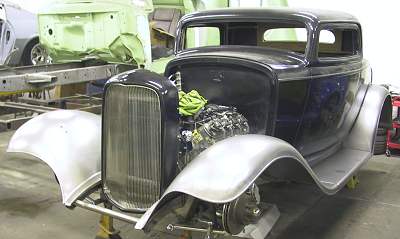
Everything is bolted together and bolted to the
frame rails and body. Starting to come together. |
| |
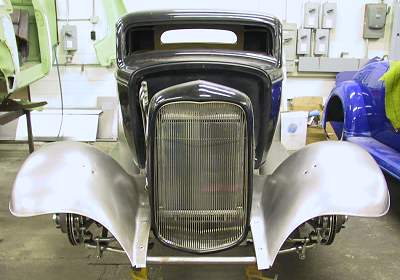
A view from the front. If you look closely on the top of
the fenders over the frame rails, you'll notice that bolts
are missing. These will go in after the front apron is fitted. |
| |
|
