| |
Finishing
up our chassis / "Exhaust"ing Work
by Frank Colgoni
|
| |
|
|
|
While
our body has been on and off the frame numerous times this year,
it makes sense to complete any other work involving the frame
before bolting the body down, aligning doors, fitting fenders
and carrying on with other work inside the body.
For
us, this means adding additional plumbing to the frame in the
form of fuel delivery and return lines and building an exhaust
system.
|
| |
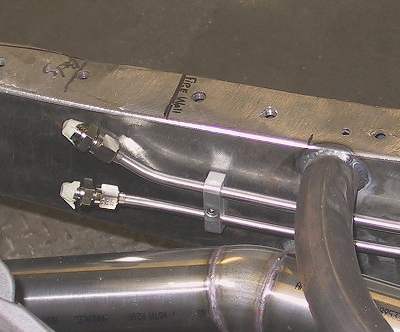 Our
fuel injection setup requires both fuel feed and fuel return. Our
Our
fuel injection setup requires both fuel feed and fuel return. Our
Tanks tank is set up for this also. This is the front end of the
hard line
where the two will meet flexible connections up to the motor. |
| |
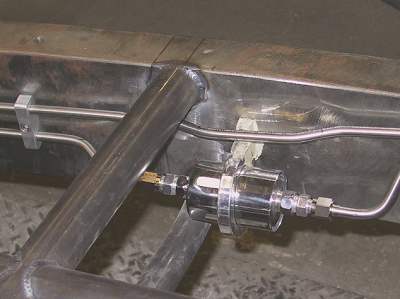
This is essentially a GM-type fuel injection filter plumbed into
the supply line about half way down the passenger side frame rail.
|
| |
 Behind
the filter, the lines terminate just ahead of the tank. Once again,
Behind
the filter, the lines terminate just ahead of the tank. Once again,
flexible line will connect the hard line to the tank and in-tank
fuel pump.
The lines are custom bent stainless and the clamps are aluminum. |
| |
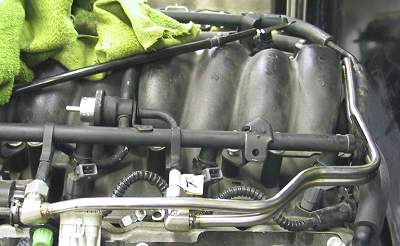 On
the engine end, the lines terminate at the fuel rail.
On
the engine end, the lines terminate at the fuel rail.
As mentioned above, these join the hardline on
the frame with flexible line. |
| |
Moving on to our exhaust system, as mentioned in article 19,
we chose a
coated header from Street and Performance. The collectors are stainless
steel. The collector, with a bung for the oxygen sensor can be seen
above.
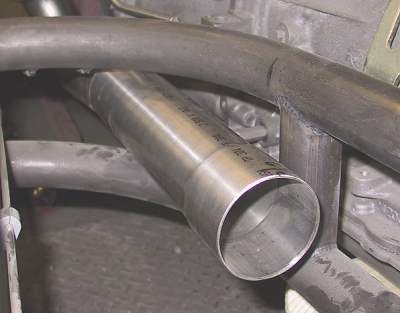
From the collector back, our system is fabricated from 2 1/2"
stainless
with mandrel bent fittings to maintain the same ID throughout the
system. A
small angled piece is inserted to change the direction.
|
| |
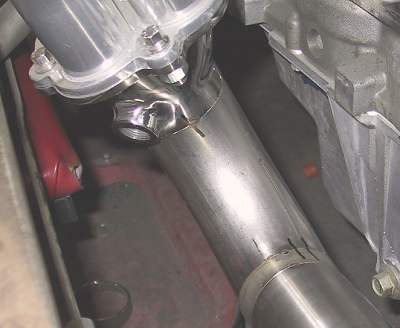
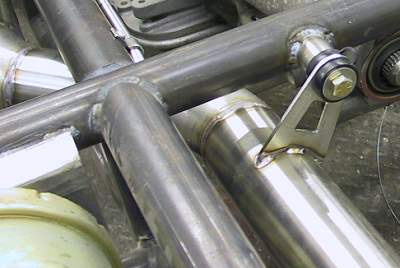
 Another
direction change. This is beside the tranny. The
Another
direction change. This is beside the tranny. The
brake pedal mount is seen in the right foreground. |
| |
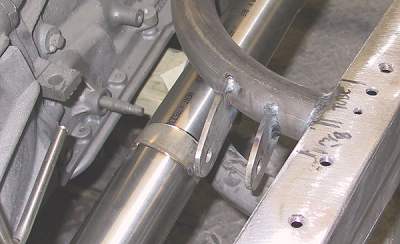
The first connection point. You can see the flared end. Just after
this
point, the system will turn inward through the crossmember. |
| |
These are the first set of hangers. Small, threaded, tubes were
welded to a crossmember just behind the tranny. |
| |

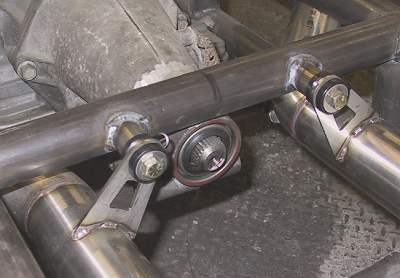
A band-style clamp will be used on these connections
to prevent distortions in the pipe which could prevent
disconnection when required. |
| |
As mentioned above, the system turns inboard just after the tranny.
The full ID of the pipe is maintained. |
| |
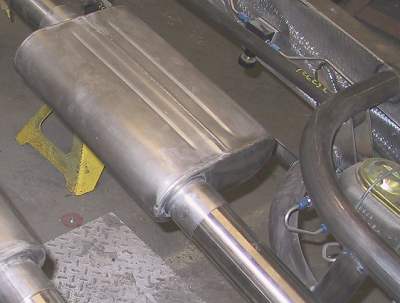
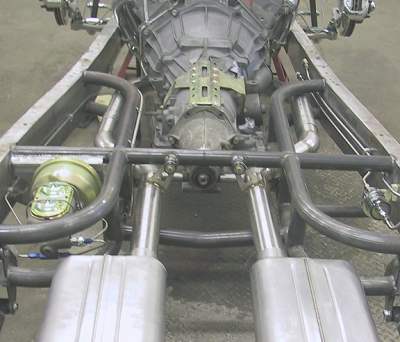
We've utilized a set of Edelbrock stainless steel mufflers. These
come as a left and right set to match the application. In our case,
we're increasing the distance between the rear pipes by selecting
an
offset inlet / centre outlet muffler. |
| |
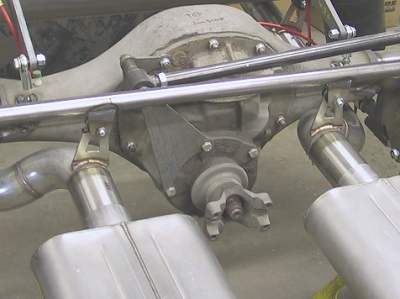
The back end of the system exiting the mufflers and flaring out
to the sides. Tailpipes will be added. An additional, small diameter,
crossmember was added for the second set of hangers. |
| |
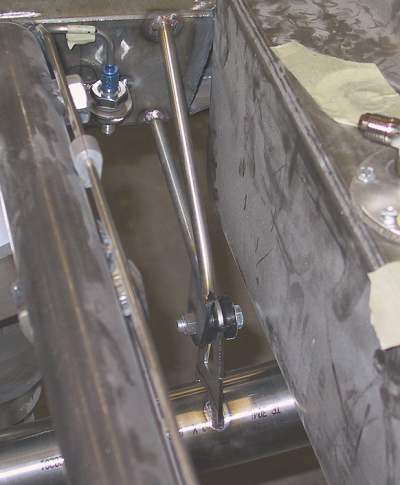
The last hanger is placed between the rear suspension crossmember
and the tank. Rod was used to form an extension from the rail with
a tab attached. Small and tidy but effective.
|
| |
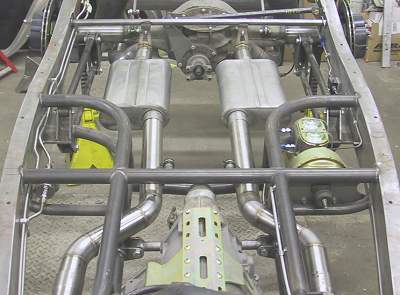
A view front to back. |
| |
Looking forward. |
| |
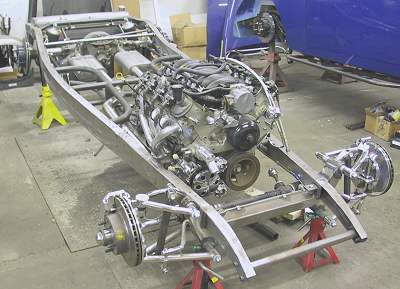
The chassis is now essentially complete ready for the body to go
back on. In the next article, we'll introduce you to fenders and
running
boards and preliminary fitting. |
| |
|
