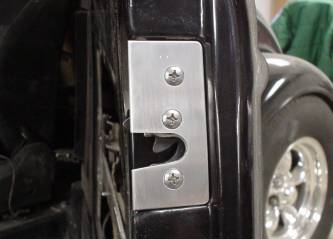
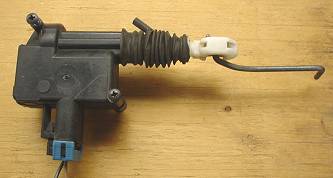
We are now getting down to small parts but important ones. As you have seen this 34 have suicide doors. For those who don't know why they are called that, I will tell you, because the doors open the other way hinge behind you, it would be suicide to open it at 60 miles per hour. In order to prevent the doors from opening while driving we have installed locking pins. These pins will lock and unlock by the way of solenoids. They also have manual overrides just in case you lose power.
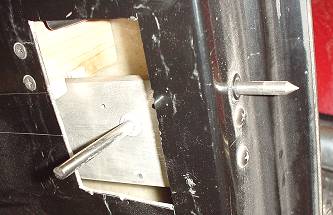
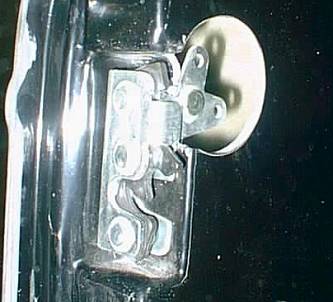
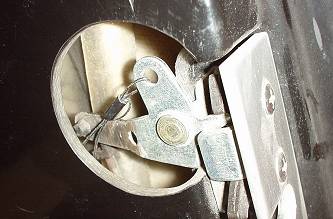
Now we have installed a double bear claw latch. The original latch is a single type, meaning that if the latch closed it latched only once. A double latch will click twice thus giving you a safety margin. Modern cars today use the same double latch. Carefully look at the "L" shaped lever with holes in it. This is where the door handles and door release solenoids are connected to but I'm leading up to something. Normally to release this type of latch you will require a fairly heavy expensive solenoid. These in my opinion are selling for more than they are worth.
If you look carefully I have added a length to one of the arms on the lever. By doing this you increase the fulcrum of the arm and I chose to double its length. On doing this you can put a solenoid that is smaller and less powerful and cheaper. As you can see the top part of the lever has a cable attached to it. This goes to the inside door handle release.
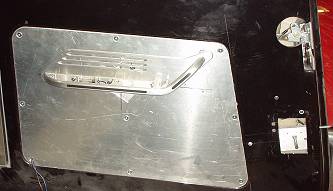
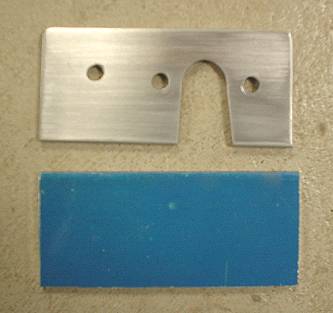
On the door was a fairly large access hole to get at all the workings in the door like the glass, power window operators and solenoids. We cut a sheet of 3/16" thick aluminum to cover the opening. We chose this thickness for two reasons, one because it was thick to make it flush with the rest of the surface and second we wanted it strong because the door handle mounted to it and we didn't want it to have a loose feeling.