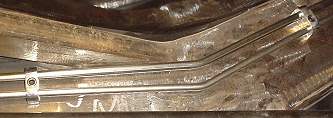
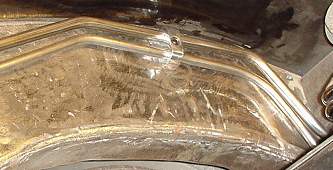
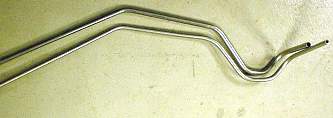
The motor's in and the fuel tank as well. It's time to install the fuel lines. The lines chosen were stainless steel. Since the engine is fuel injected, a feed line of 3/8" and a return line of 5/16" were bent to follow the frame. The lines are very hard to bend and the first tube bender made from cast aluminum broke. After getting a steel type they looked somewhat like this.
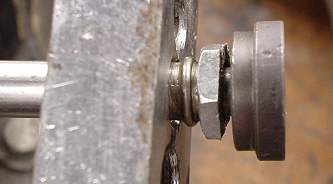
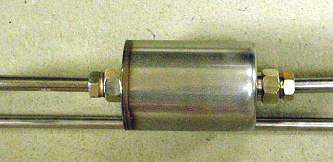
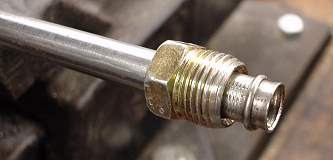
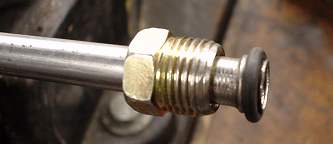
The fuel filter chosen was a GM type because it is made of stainless steel and will polish well. The pressure fitting is special but can be duplicated. This pix shows how it was made and is pulled out slightly for display. The tube, after being placed in the swage block should protrude about 3/8". A nut was drilled exactly the outsize diameter of the tube and the double flair nipple that will fit in the tube tight was inserted with pressure.
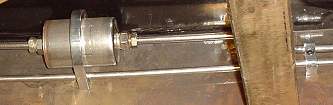
The swage block had to be put into the vise and clamped very tight. This will prevent the tube from sliding in the block. Stainless is very hard to compress but it will and will turn out like factory. You could go out and buy the proper tools but they run around $500.00 US. A bit pricey.
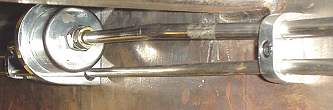
The fuel filter was polished and the lines were installed. Everything was hung into place under the frame and checked for there proper bends. Slight bends can be made as you go along to make the lines fit.