| |
|
|
|
Plug Wire Brackets
|
|
Text
and photos by Bob Klowak
|
|
We
had in mind that we wanted to make some brackets to hold the spark plug
wires in place and frankly the commercial ones were pretty expensive for
what they give you but I guess they have to eat too. We started off with
some 3/8" thick by 2" stock aluminum and set the saw stop for
½" cut. This keeps all the pieces the same.
|
|
|
|
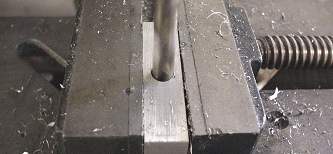
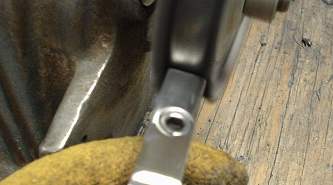
Then the vise was clamped to the drill press and the first piece was setup
to be drilled in the center. The Allen bolt head was measured for its
size and the appropriate drill was selected. All the pieces were drilled
in the same spot.
|
|
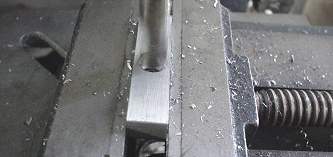
The
next step was to countersink the heads, so measuring the Allen head and
picking the next drill size larger and setting the depth the same. If
you have a depth lock on your drill press this saves you from trying the
bolt each time you drill it. You only need to do half of your pieces.
In this case only 4 had to be countersunk.
|
|
|
|
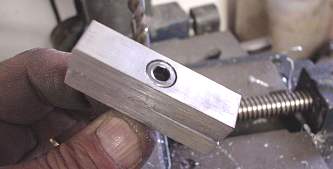
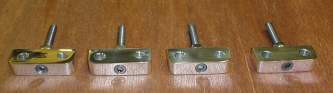
Then
you take the Allen bolt that you will be mounting the bracket and join the
two pieces together and tighten a nut to hold them firmly together. If you
cut and drilled them accurately then there will be very little difference
between the two sandwiched together and less sanding will be necessary.
|
|
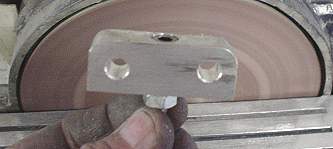
The two pieces will be sanded together after you drill the size of holes
you need in the sides. In this case the plug wires were 8mm. Paper size
was 80 grit for the first sanding and then the belt was changed to 150
grit. Now you will do what I call a production run, which is the same
thing, done in stages so you don't have to keep changing your setup for
each operation. So cutting all the pieces and drilling and sanding is
done in stages
|
|
|
|
The corners are now rounded on the disk sander using 80 grit paper. Once
they are to the shape you want on all your pieces you switch to 150 grit
and then to 320 grit paper. After your happy with the look of the surfaces
and all scratches are out your ready for the next stage. |
| At
this point your ready for polishing. You again apply your polishing compound
to your buffing wheel and begin in one direction and then cross ways. The
more you buff the better it gets. This procedure took about 3 minutes per
piece. The Allen bolt head also gets polished but being steel it will rust
in time so you can either replace it with stainless bolts or put a good
hard wax on the bolt or spray it with clear lacquer. |
|
|
|
When
you're done you will have the satisfaction of making the brackets. These
took a total time of about 1 hr to make. The metal was short scrap pieces.
|
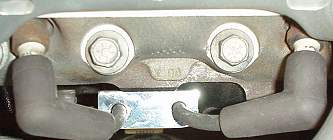
| The
brackets were installed, and in this case the holes were in the block. In
some cases the holes may be off center so check before you start. In the
next write up we will be making brackets for the fuel lines the same way. |
|
|
|
|
|
|
|