Well, I'm back. I have been slightly indisposed as of the last few months due to knee replacement. I guess everything breaks.
Well enough of that, I can't get sympathy here. Since crawling was not on the agenda, all I could do was sit-down jobs and what better job than polishing.
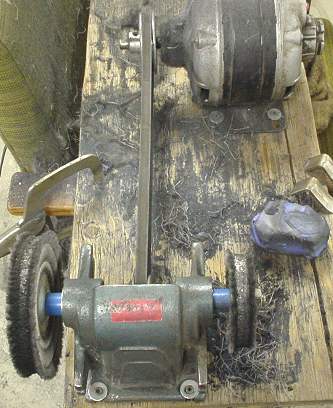
Do you remember all that pretty 6061 aluminum I had cut out? It was time to polish it. Everyone thinks you have to go out and bankroll for expensive equipment. As you can see I used an old grinding wheel arbor, a ¼ hp electric motor and a couple of polishing wheels. The wheel on the left is a 6" diameter and the right one is a 4" diameter. All of this was screwed down to a scrap piece of plywood. This in turn wasclamped to a chair, which I had plenty of around to sit and think on.
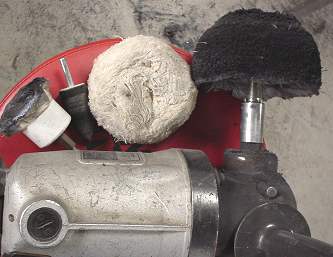
This pic shows the other types of polishing wheels used. One on my heavy body grinder and a couple of smaller types to use on a die grinder or electric drill. You also need the polishing resin which is sold at most auto flea markets or automotive suppliers. Each type of material uses a different color compound. You cannot polish without it. You might want to get a pair of gloves and if your doing a lot of items, get a mask because this is very dirty.
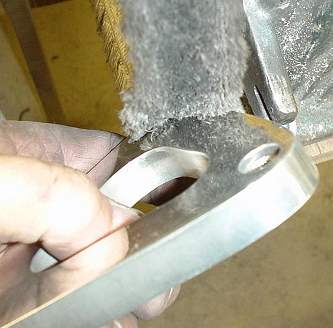
To start, I sanded the material to take out any deep scratches in the metal. I used an air body sander with the stick on discs and started with 80 grit papers. You sand until the surface is uniform. Then switch to 150 grit, then 220 grit and finally 320 grit. This only takes a few minutes between stages. It is surprising how quickly it goes.
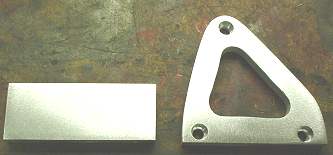
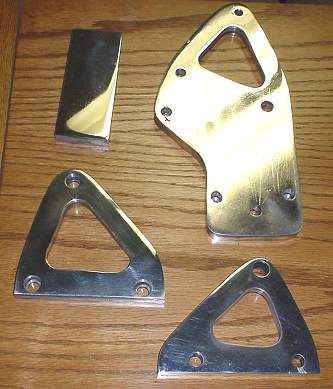
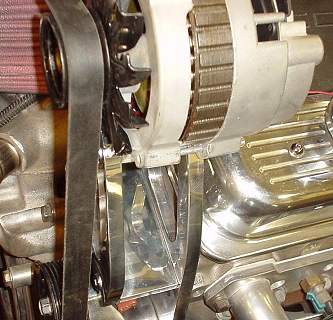
In a couple of hours all the brackets for the alternator and AC compressor were polished to this shine. Depending how much of a shine you want / being scratch free will be determined by how much time you spend on pre-sanding the surface. You could go to a finer stage of sandpaper and this will change how the luster looks. You can also go up to 1000 grit paper and this will look polished at this stage and the fianl result will even look better. This all depends on how fussy you are. From a foot away these pieces look great.