|
|
|
|
Alternator Bracket
|
|
Text
and photos by Bob Klowak
|
|
This
is the beginning of more aluminum creations. You guessed right - 6061
quality, the good stuff. I get a bit carried away sometimes. Well we started
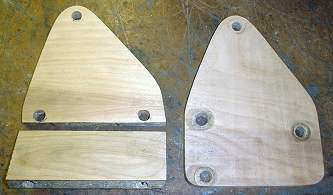
out with a piece of ½" plywood and cut out what we thought
would fit. It was a bit of measuring and scribing to get it to fit . I
find cutting template from plywood is easy and quick and saves doing things
twice.
|
|
|
|
Once the first bracket that mounted to the head was fitting properly,
the last other one was close to match. The spreader pieces were fairly
straight forward.
|
|
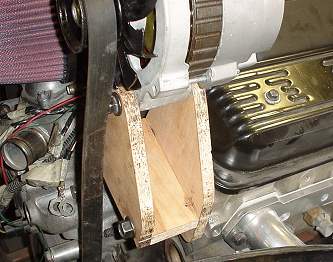
The
three plywood templates were bolted to the head and the alternator was
put in place and the belt was fitted. Everything seemed to be alrigh .
Belt clearance was good and alignment seemed to be close.
|
|
|
|
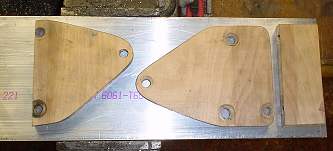
At
this point, the wood templates were removed then scribed on to the ½"
plate of 6061 aluminum. |
|
The pieces were then cut out and sanded together to match. The holes were
marked but careful measurements were made to ensure a good match to the
head bolts. Drilling the holes slightly larger made up for any errors
in measurement.
|
|
|
|
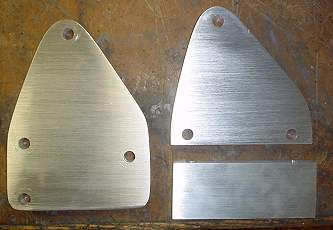
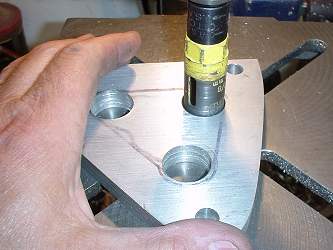
After the pieces were tried for fitting and all went well, holes were scribed
and drilled with a hole saw. Keep in mind to keep the drill speed to an
absolute slow speed and put a lubricant on the cutters. After cutting out
the holes a jig saw was used to complete the cut and sanding drums were
used in the drill press to sand the interior. |
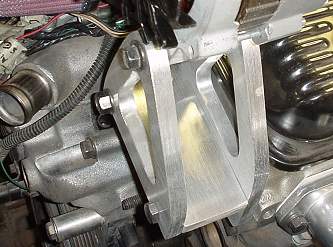
| After
the sanding was done the brackets were assembled and fit very well except
for one thing, the belt was very close to the front bracket . It was ¼"
away and at high rpm's I felt the belt may wander and get cut up so I removed
the rear bracket and extended it down in order to mount a belt tensioner.
|
|
|
|
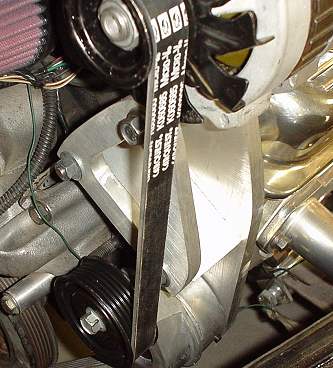
As
you can see a belt tensioner from a newer Ford truck seemed to just fit
perfectly without any modifications. I did a torque check on most tensioners
and found them to be at 30lbs. This also kept the belt in alignment and
hopefully keep it from wandering. |
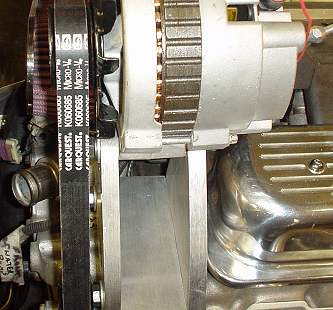
| After
reinstalling the mount, I found the rear bracket was pressing against the
rocker covers, so some thick washers were put between the plate and head(only
one per hole was needed). This gave the clearance needed and also moved
the whole assembly forward. Careful measurements to a reference point on
the crank pulley and then the alternator pulley found they were dead on.
We are now going to whip up the AC brackets so we can complete the pulley
system. |
|
|
|
|
|
|
Copyright
© 2001-2003
canadianrodder.com/eFX Design
|