"Hiding" Our Audio - Secretaudio SS by Custom Autosound
by Frank Colgoni


This will be the last article in our series on the build of our 1932 Ford Coupe project (I know, boo, hiss) and we do want to thank you for the tons of emails that we have received about this series. We hope you'll like this last article. (Editor's Note: we received tons of emails about this article also - all favourable and hopefully inspiring ideas for your installation)

So, on to our audio. If you have followed this extensive series, you will know that we have planned out even the smallest detail as there are a LOT of details. The same holds true here.

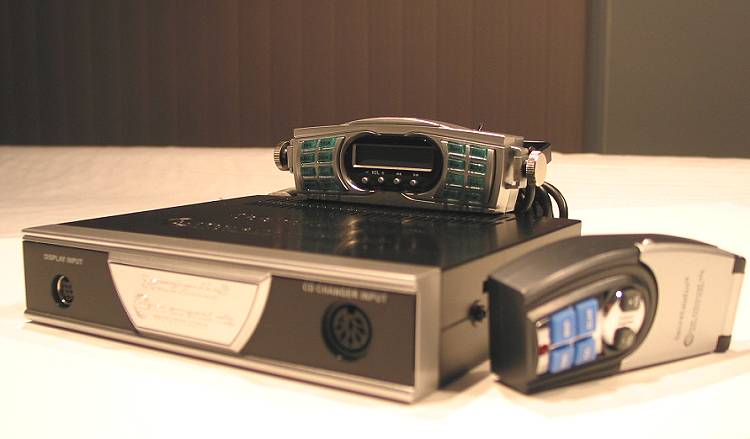
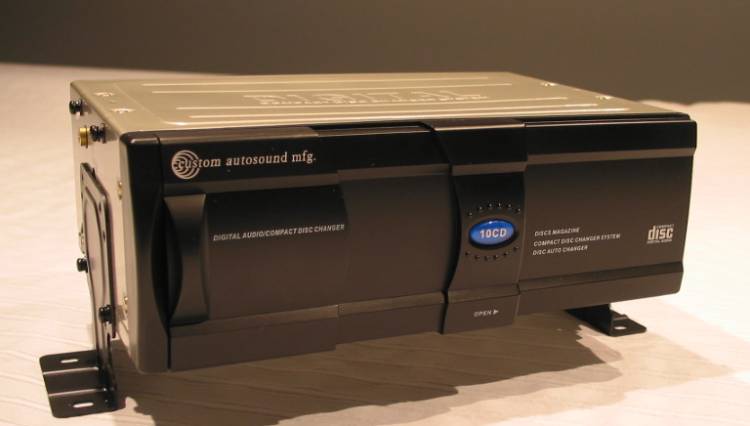
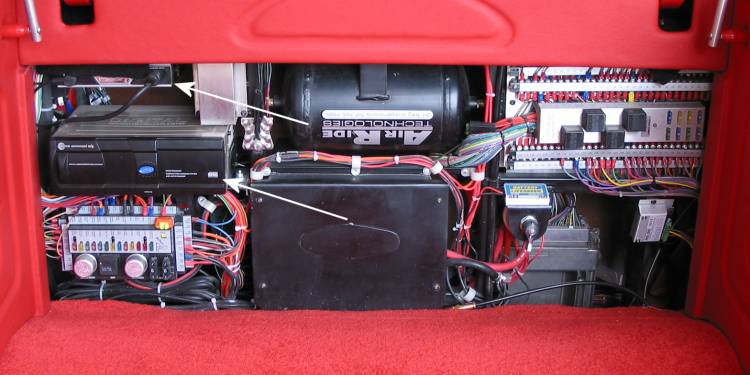
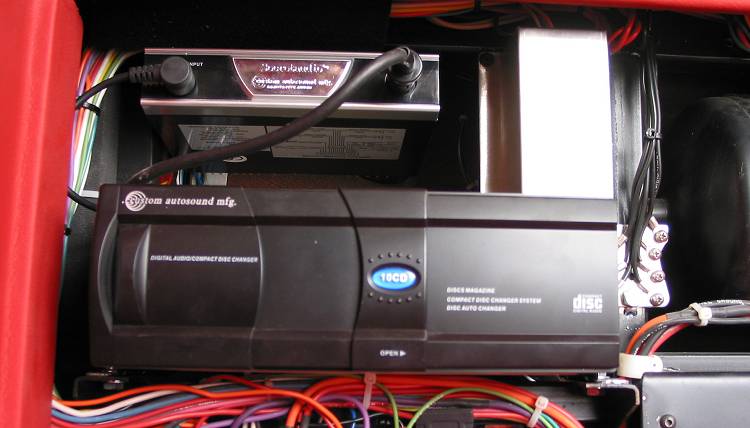
We knew at the beginning that a "normal" receiver / head unit would not work, either in size or aesthetic. After a lot of looking around, we came across this marvel: Secretaudio SS by Custom Autosound (visit them HERE).

We had already decided on a mighty JL audio amplifier, speakers and crossovers and this completed our package.

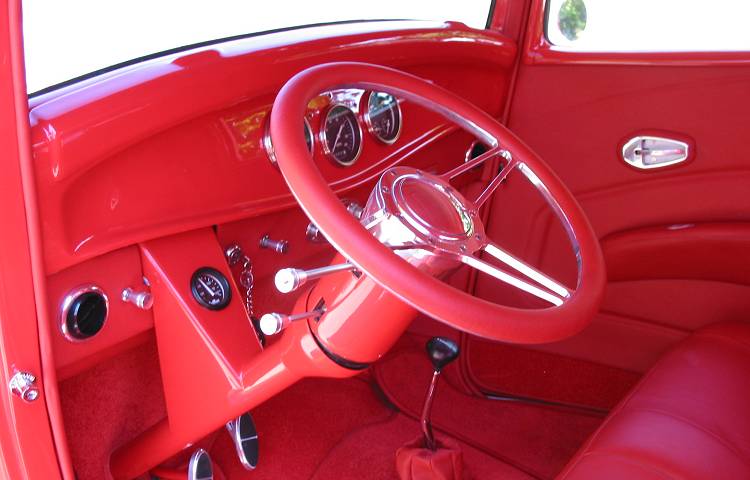
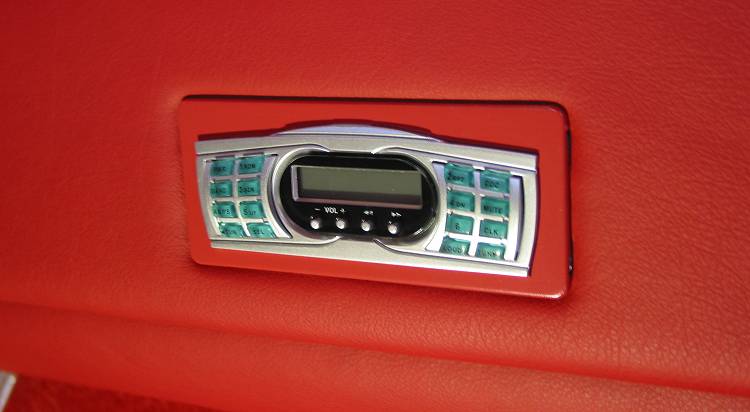
The beauty of the Secretaudio is, amongst other things, that you place the head unit just about anywhere which leaves only a tidy little display/control unit to mount (or HIDE). As our under dash area was already full, this was perfect as we had room for the display / controller. Also, there is a small remote that means that you don't have to touch the display at all in everyday use.

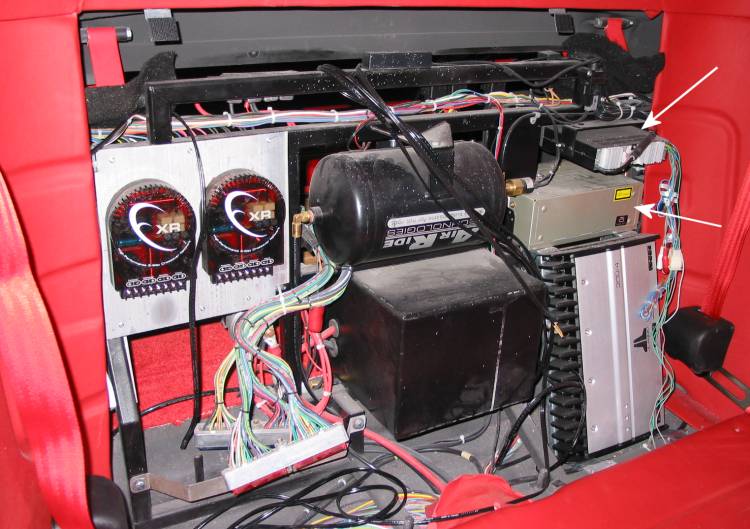
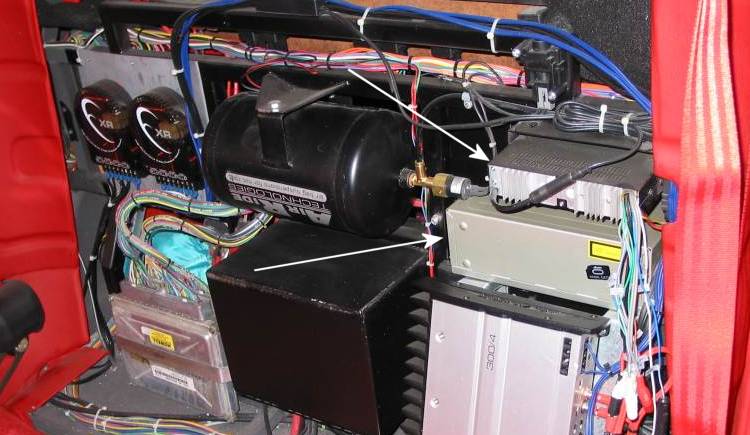
We'll leave it up to you to vist Custom Autosound to explore the unit in more detail and will show you some photos of our install.

 
Below: the SS head unit, the display/control on top and the remote on the right side. The remote has a flip-down panel for more functions beyond the basic.
 
Below: 10 disk CD changer - also by Custom Autosound. It connects by cable to the front of the head unit and is ALSO controlled by the display and remote.
 
Below: Look in the upper right and you'll find two white arrows indicating the placement of the head unit and changer below. This is the cabin side of the install.
 
Below: Another shot of the units. The JL amp is below and the JL crossovers are the two round units on the left.
 
Below: this is the view from the trunk side. Once again, the arrows point to the two units.
 
Below: a closer look. The left cable on the head unit goes to the display/controller, the right cable to the CD changer.:
 
Below: Our completed interior. You'll notice a skirt panel running below the dash. It is covered in leather and, just out of sight on the other side is... (see next photo)
 
Below: the display / controller mounted in the supplied bezel which has been painted to match our interior.
 
Below: the completed car at Toronto's Performance World Custom Car show. Guess what, we received best street rod audio! (amongst a bunch of other awards).
 
Below: as our sign says, "Special Thanks To" Custom Autosound for supporting this project.