Thanks to
Creations Autobody
Toronto
416-207-0611

for the generous use
of their facility
during this process


The Making of a Flame Job - Part 1
by Frank Colgoni


Introduction
Where do you start when talking about flame jobs? You could write a book about it but the purpose of these articles isn’t to say everything there is to say about flame jobs but to provide a decent overview of the process and what we had done to our project car.

Up until now, we haven’t mentioned that the car would be flamed but it has been a given from day 1. We love flames on a hot rod. Let me qualify that. We love good flames on a hot rod. Nothing can 
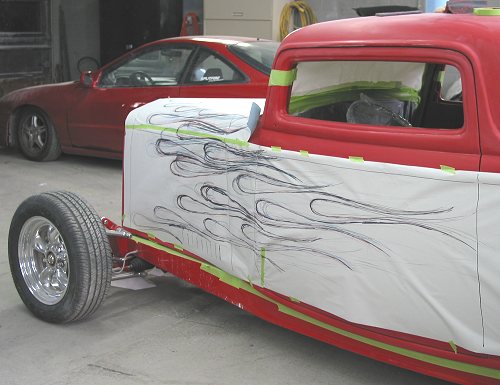
spoil a car quicker than a bad flame job. We’ve all seen them and they are typically characterized by a bad layout. There aren’t many people who can lay out a flame in such a way that it suits the vehicle, flows nicely and almost has motion.
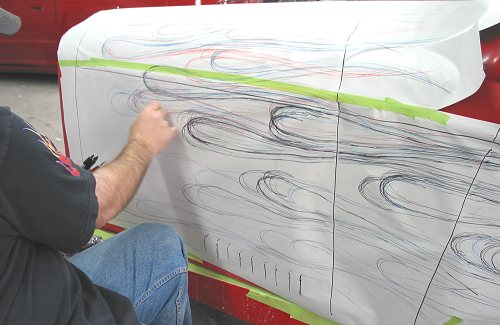
Also, there are many types of flames. That is, traditional, ghost, tribal and variations on the traditional such as Ohio flames with very long narrow licks. In fact, there are almost endless variations although, in my estimation, there are only so many that work. Call me a flame snob – no prob.

For our car, we’ve always figured on a flame design based on the traditional but not necessarily following traditional colour combinations or the order that the colours are presented. It wasn’t until we had decided on our car colour that we started to think about flame colours. We’ll get into our flame colours a little later in another article.
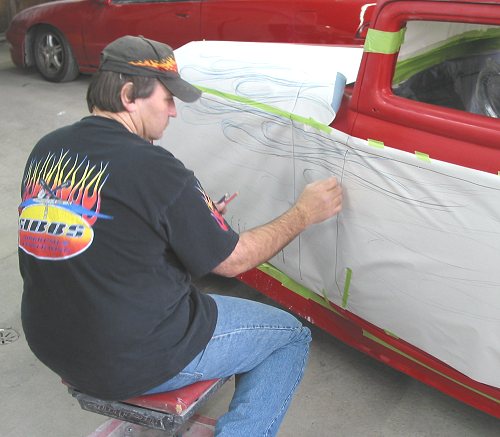
The “Flamer”
We were extremely fortunate to have secured the “Canadian Rat Fink”, Ron Gibbs, to flame our car. We have admired Ron’s work for some time and were especially drawn to Ron’s layouts. He manages to combine both the traditional elements with a flame that is neither too fat nor too narrow. And, he insists on an overall length that is right for the car – another critical design element.

Getting Underway
Ron and I had spoken on numerous occasions about the project and what we did and didn’t want. Fortunately, we were in sync from day 1 so getting down to it wasn’t a really big deal.
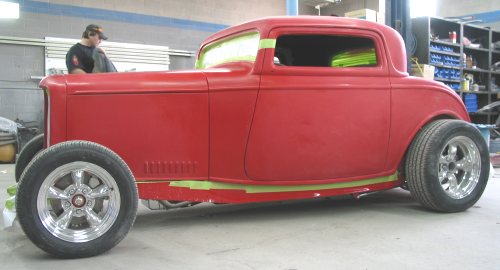
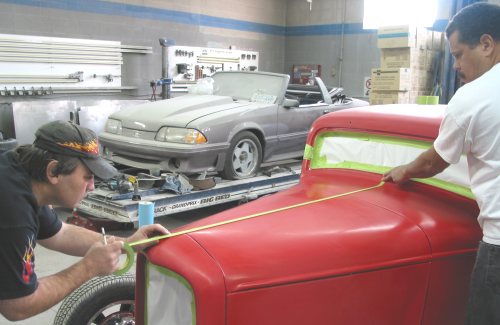
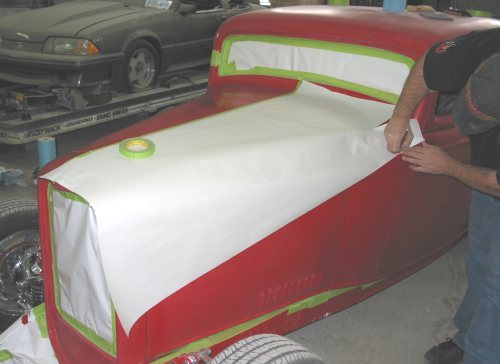
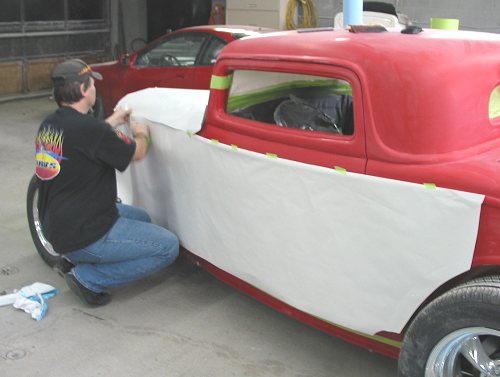
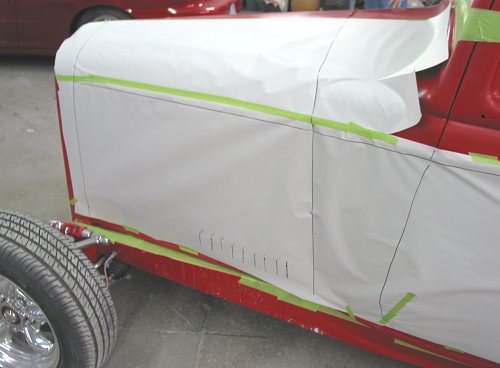
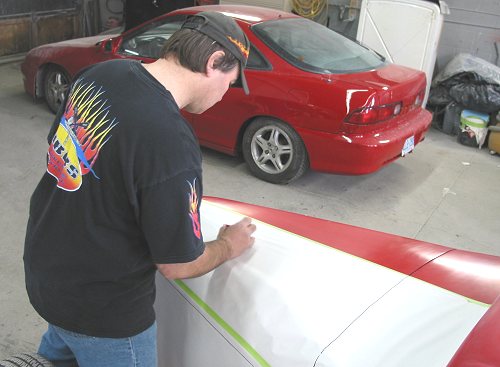
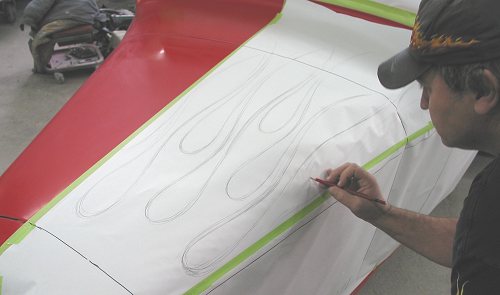
In order for Ron to do his thing, our painter, Dave Bell, took the gloss off our already clear-coated car with 600 grit paper. Ron then proceeded to find the centre line of the car from the cowl to the rad shell. The rationale for this is that Ron draws the flames on one side of the car (on paper) and then subsequently flips the pattern over to create a perfect, symmetrical other side. Some graphic artists will create the flames with tape right from the start. This can work too but getting symmetry is a real chore.


The "before" - a blank canvas
 

Ron measures across the windshield opening to establish centre.
 

With Dave Bell's assistance, centre is taped.
 
With the centre line established, Ron will move on to taping banner paper on the driver’s side of the car to the extent that the flames will extend back. In our case, they would extend almost the full length of the door. Ron also draws “registration” marks so that the paper can be repositioned later.
 

The first piece of banner paper goes on.
 

Then, enough banner paper to complete the design.
 

Registration markings are added to re-establish position later.
  With the relatively easy part complete, Ron begins the layout process starting on the hood. As we have discussed a conceptual layout, the idea is to work over to the edge of the hood, down on to the hood side then back across the hood side, the cowl and then the door.

Trust me here, this can be a slow process in order to get the right number of licks to suit the area, to get a progressive flow and an overall layout that not only covers the area but flows. Ron worked and reworked the hood top and side until he was satisfied with the spacing and the continuity of the licks. Moving back across the cowl and then the door moved a lot quicker.

Ron uses a series of different coloured pencils so that he can track his latest revision. Makes sense. Having said that, I was having a hard time following the final product with layer upon layer of drawings emerging. In fact, I was almost getting cross-eyed. Ron thought that was pretty funny. If you stood well back, you could see the overall layout better although it was still a jumble of re-draws. This is a fascinating process to watch and watch I did. I was with Ron through the entire process, which was spaced out over a series of four days.

When Ron was completely satisfied with the flow and positioning of the entire layout, he made his final tracing with a black marker then removed the banner paper in one piece. This constituted day 1.


Ron begins the layout with a light pencil sketch.
 

He then refines the layout by sketching in a new colour.
 

Notice the revisions as Ron moves down on to the side of the car.
 

See what I mean about going cross-eyed?
It will all make sense...
 

In this photo, Ron has used a black marker to nail down the layout.


Compare this to the "before". Stay tuned.