Let’s move on to talk about colour (and cost). To say that
we had plenty of time to select a colour is an understatement.
If you look at the dates in our article index you’ll understand
why. While we weren’t all over the map regarding colour,
we started with a colour in mind and then spent the first year
second guessing ourselves. After year one, while we liked our
first colour choice, we decided that it wasn’t for us.
Colour
is a very tricky thing and a very personal one to say the least.
If you’ve ever had to pick a colour, you’ll know what
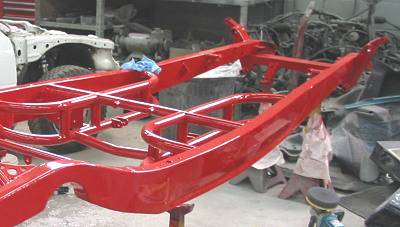
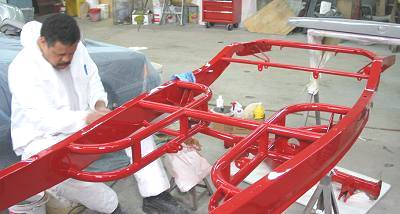
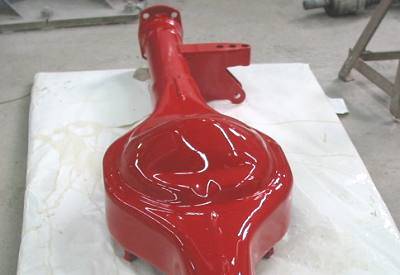
I mean. As we are painting our frame the same colour as the exterior,
and as the frame is seen, making a bad choice can be a disaster.
An exterior-only refinish is not an option.
We
spent the better part of year two talking about possible colours
(and getting frustrated). One thing that we didn’t want
to do (our opinion here – no preaching) was date the car
with it’s colour. There have been decades and part of decades
that have become well known for certain colours. Maybe you’ve
noticed?
Ultimately,
we (I?) decided on a factory colour in a very neutral colour (in
the grey scale) but continued the talking and second guessing
ad nauseum. Meanwhile, time marched on. Believe it or not, the
day came when Dave said (with gun in hand) “so, what colour
is it going to be?” Panic stricken, I went racing out to
look at the factory colour again at a nearby dealer. It was a
cloudy day and as I pulled into the dealer lot, I saw a car in
the chosen colour and, for whatever reason, immediately knew that
it wouldn’t work. Despite being a metallic, it looked flat
and lifeless. After all, a hot rod can’t look flat and lifeless.
Bummer. I had Dave with gun in hand and no colour.
We
went back to the drawing board – quickly. That evening,
we made up a short list of colours (very short list). After considerable
additional discussion, we narrowed it down to the two colours
that we had thrown out as non-starters way back on day 1. Unreal
but true. So, what were the colours? (pretend there’s a
drum roll here) Black and red.
Now
that we had the two, we had to decide on one. I happen to love
a full-fendered ’32 in black but had the reservation about
the amount of work to keep it clean. Regarding red, from day 1
I said that I wouldn’t have a red car as there were already
a ton of 32’s around in red. So, what to do? Well, hold
our collective breaths and choose or flip a coin. In any case,
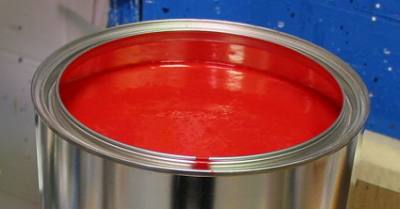
we did choose and we chose red.
With
that done, we had the simple task (yeah right) of choosing a red
from the hundreds, if not thousands, of reds. I told Dave we had
a colour and asked him to be patient for a couple of more days
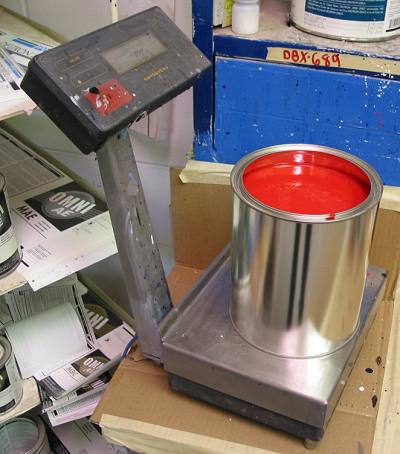
and headed off to our PPG dealer. It was a sunny Saturday so we
had the opportunity to take the colour samples outside. After
a serious amount of time, we had a lineup of reds to view. All
the traditional reds were there as well as a few new ones. We
were looking for something that was a very pure red not tending
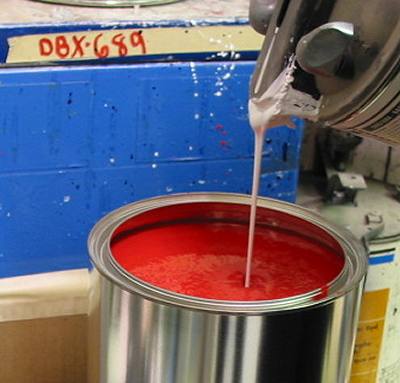
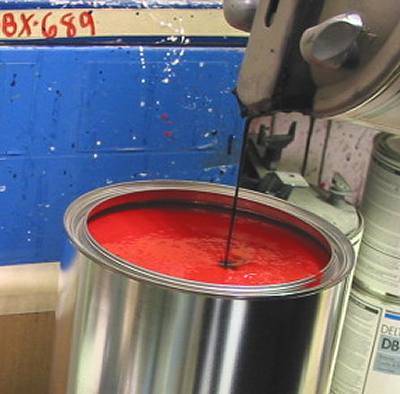
toward orange or to the darker end of the scale. We narrowed it
down to two and Greg of D&W Autobody Supplies in Cambridge,
Ontario was nice enough to mix up a couple of small samples. With
these in hand, we went home to mull it over until Monday. By Monday,
we had made our choice and I was able to to back to get the paint
mixed.