Interested in the origins of the dashboard? The word dash has
a number of meanings going back to medieval times: to ruin or
to splash or to break by striking. Or, as a noun, a sudden burst
or splash. The first dash board (as in wood) was used in horse-drawn
vehicles to protect occupants from water, mud or snow that might
splash up. Later, when the horseless carriage became motorized
the dashboard remained and, ultimately, it was fitted with various
gauges, controls, etc. More than you wanted to know?
When
it comes to dashes and dash layout, there really are almost infinite
combinations and layouts when you factor in all the items you
could put in a dash. That is, gauges, vents, switches, climate
controls, audio, etc. In our case, we wanted to maintain simplicity
in the dash simply because of the shape of the '32 dash.
Simplicity
is good in a '32 dash as there is not a lot of useable space to
put stuff in without it becoming cluttered looking. When you factor
in what's behind the dash, you may get a slight nudge toward simplicity.
Such was the case for us.
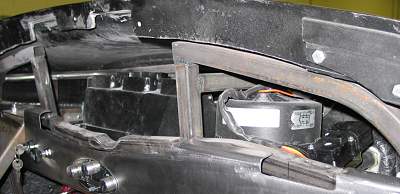
Despite
using the latest version of Vintage Air's Mini Spacesaver evaporator,
space became an issue behind the dash. There simply is not a ton
of room between the dash and firewall to begin with. The AC drier
was also put behind there to keep the engine bay clean. Also,
we had hood and trunk release handles in the top left corner and,
because we are going to run defrost, you have to leave room for
the tubing running to the vents.
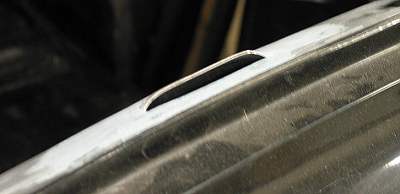
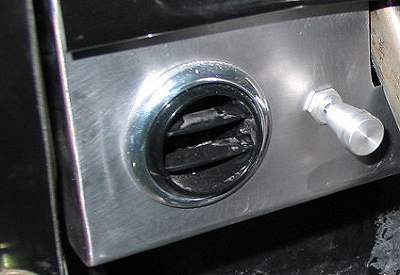
With
regard to the dash itself, we utilized the Ramrod dash that came
with the body. The dash incorporates a sealed chamber along the
top that can be used for defrost by added some sort of slot in
the top and connections for the tubing below. We added louver-shaped
openings for defrost fab'd from light gauge metal that was glassed
to the dash.
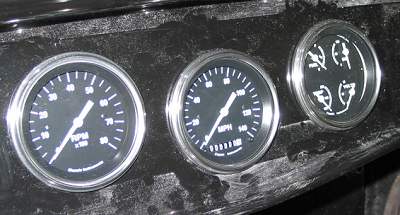
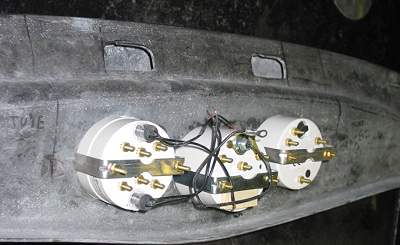
In
terms of what we would put in the dash, we opted only for gauges.
We chose Classic's Hot Rod series with black faces and white pointers.
These are a simple, straight-ahead "classic" design
that is without theme or colour scheme per se. We chose a speedo,
a tach and a quad cluster of gas, oil, temp and volts. All three
are the same size. The gauges were positioned in the centre of
the dash with the centre gauge slightly lower than the outside
two to compliment the shape of the dash. We had just enough room
between the back of the gauges and the evaporator - no exaggeration.
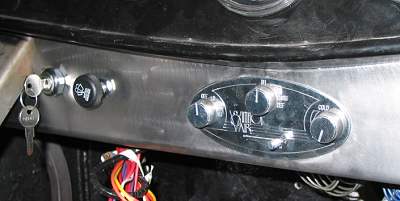
All
other required elements (except one) are going to be fitted into
a skirt panel, which sits below the dash. The metal skirt is independent
of the dash so that either can be removed separately. In this
skirt we will place AC vents, key, light switch, wiper control,
heat/air controls and audio.
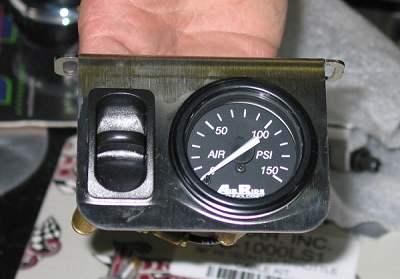
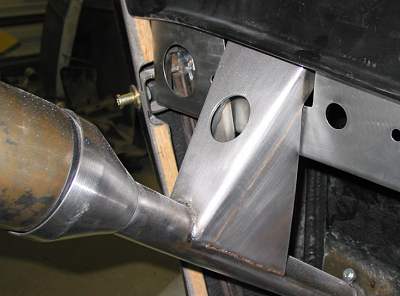
The
element not fitted in the skirt panel was the Air Ride gauge.
We modified the (already completed) column drop to accept the
gauge by adding side panels to conceal the backside of the gauge
and the switch that activates the compressor. The switch didn't
match anything else so we decided to hide it.
It
can't be over emphasized how much work and planning it takes to
get all this set up when you're staring from scratch.