Removing the Body & Chassis Prep / Paint
Text
and photos by Bob Klowak
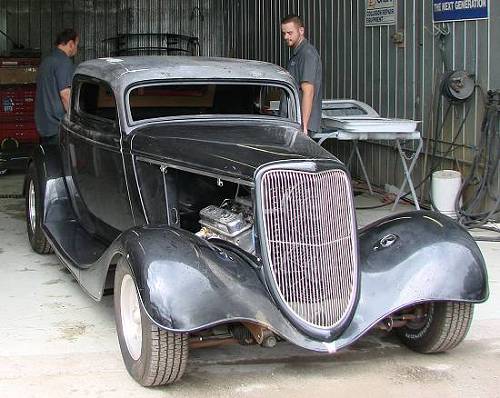 I arrived at the body shop at 10 a.m. on a Friday (where they close at noon). I told them I'd need a hand getting the body off the frame before they went home - they thought I was joking... |
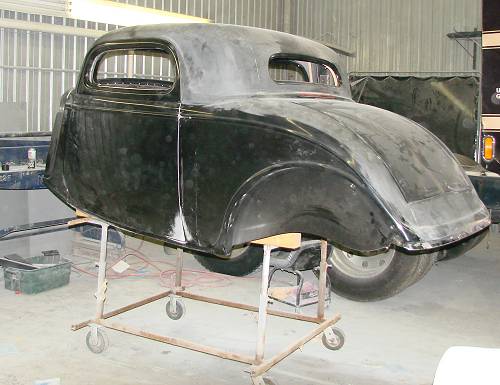 At 11:55 I had all the body parts off and it was ready to be lifted off. They couldn't believe it .On the dolly it went. |
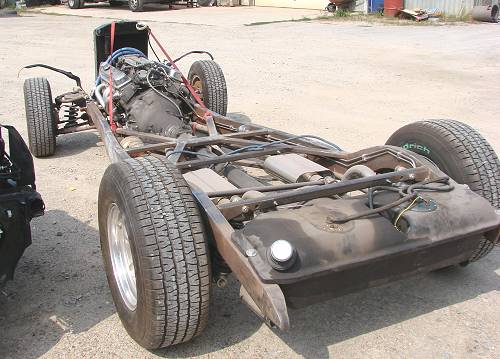 The rolling chassis was ready to loaded back on the trailer. |
 We got the chassis back in the shop and it was completely dismantled by 5 (and that included lunch). She sure was rusty due to it sitting unprotected for a few years. |
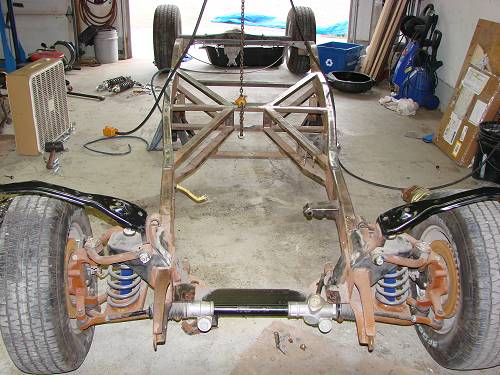
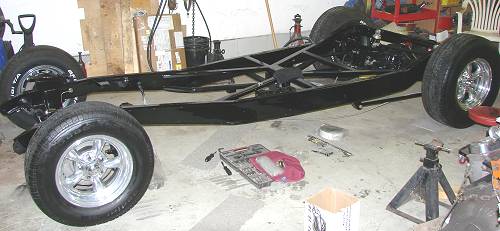 The frame was sandblasted and then epoxy coated and then smoothed. A finish coat of black urethane was applied .All other suspension parts were sandblasted and powder coated. What did not fit in my powder coating oven got epoxy coated and urethane finished. |
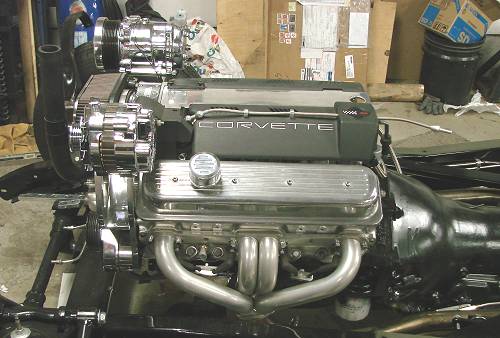 The engine was cleaned up and painted - first with a high-heat etching primer and then high-heat engine black .Most of this engine is aluminum so basically the bottom was painted and the transmission as well. It then was dropped into place. A new distributor and water pump were installed. We did this because it will be very difficult to do when the car is completely assembled. As it was, we discovered that the water pump had already been leaking judging by the slight black at the hole just under the pump. |
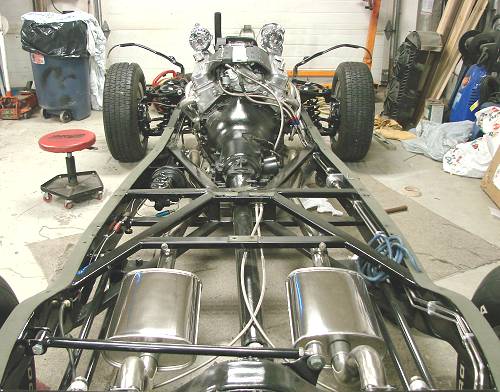 Finally, the break lines and fuel lines were polished and reinstalled .The exhaust was re-polished and then put back on. Then the emergency brake cables and gas tank..All fittings on the brakes were tightened and the master cylinder was filled with silicone brake fluid and the system was bled. No leaks were found. I put power to the fuel pump to check for leaks and found none. We installed webbing straps on the frame rails to accommodate the body .We are ready for the body at this point. |