|
The
Frame - Part 2
|
|
|
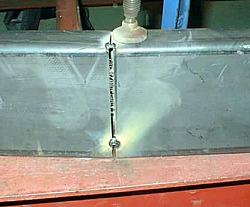
He made a contour template from the body to get an exact match. Obviously a lot of work to get both done and looking like this and a long way from the plain rails seen in the first frame article. |
 |
|
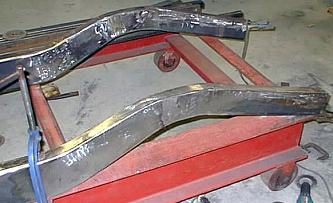
Having done this, Bob moved on to the task of changing perfectly straight rails into properly bent or contoured rails. This involved making a series of cuts, bends and adjustments. With a centreline in place, Bob began the process.
|
|
 |
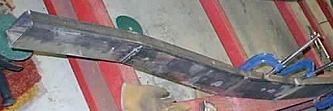
Here you see a typical cut that has been bent and then tacked. Bob comments that "the tricky part was to compensate for the pulling of the metal towards the heat, so it was not uncommon to cut a weld and adjust. After a while you got good at guessing." Again, a lot of work to get correct. |
|
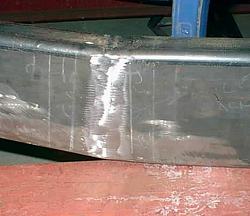
Here's a cut that is almost finished after having been welded and ground smooth. |
 |
 |
This
gives you an idea of one of the rails that was taking shape. Bob proceeded
until they were a mirror image of each other. Next time we'll show you the work on the crossmembers. |