|
The
Chassis - Part 1
|
|
|
More Tricky Work and Neat Stuff |
 |
|
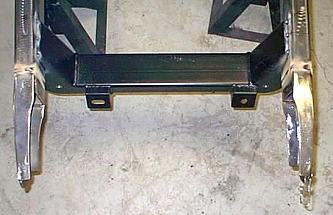
Needless to say, the next steps are critical. Placing the permanent crossmember correctly in the rails will establish correct geometry (or not). |
|
|
A triangulated measurement(s) to the rear was done, double checked, and then the crossmember was tacked into place. When
Bob was happy with it, it was welded in permanently.
|
|
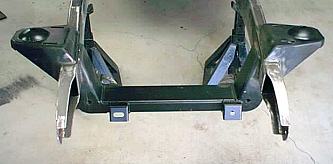
The shock towers came next. Again, triangulated measurements to the rear and welding-in. Looks good so far. |
|
|
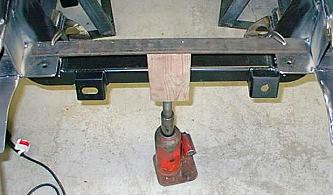
In this pic Bob was installing the rad mounts .They are the square unpainted plates with the holes in them.The bar across the top was temporarily holding the plates level and in position prior to tacking. Once Bob felt assured that everything was in the correct location, all was permanently welded and ground smooth. |
|
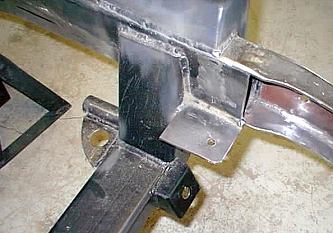
A close-up look at one side as everything comes together. |
 |
 |
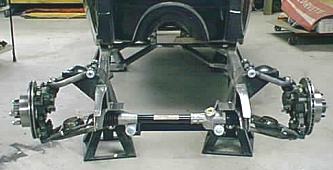
Ready for the bolt-ons. |
| Everthing except calipers and springs installed for a test fit. Bob commented that it all came together very vicely with no binding. |
 |