
Navigation
Install the app
How to install the app on iOS
Follow along with the video below to see how to install our site as a web app on your home screen.

Note: This feature currently requires accessing the site using the built-in Safari browser.
More options
You are using an out of date browser. It may not display this or other websites correctly.
You should upgrade or use an alternative browser.
You should upgrade or use an alternative browser.
55 IH Cabover build
- Thread starter hoitink
- Start date
haha I haven't actually built the cover for it yet as it is the air filter cover.
Well got the rear part of the steering going and drove it around the shop a little the system works great.Would have pictures but the cell phone took such crappy pictures. On a side note I did find my camera lol
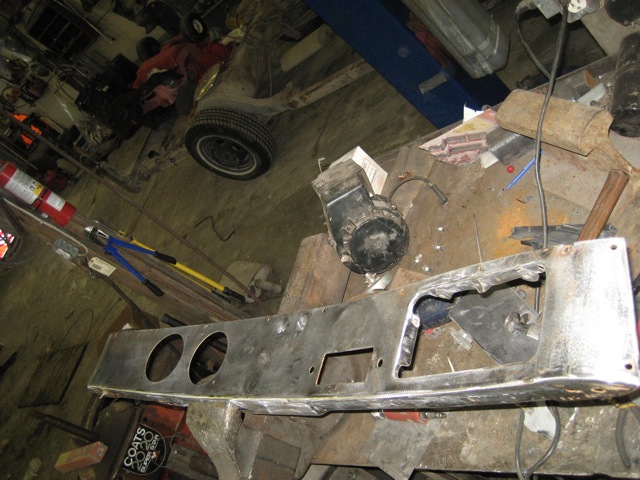
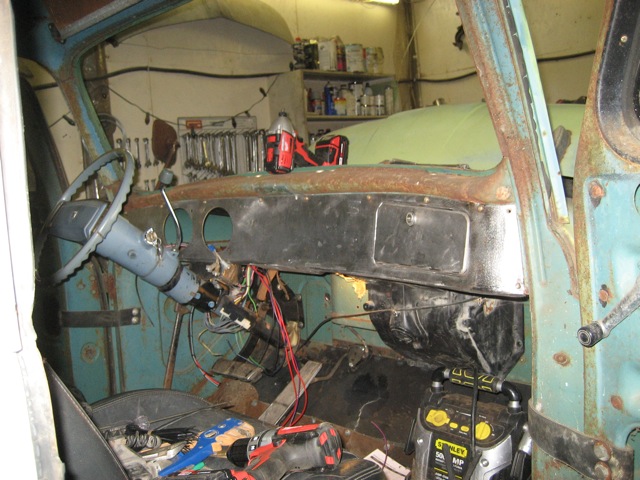
So I started smoothing out the dash.
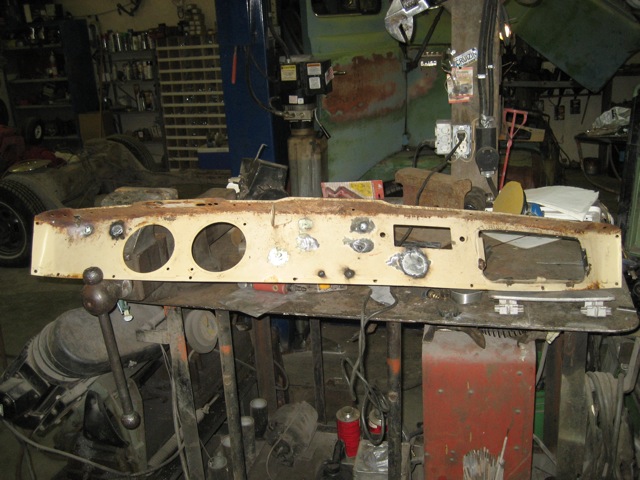
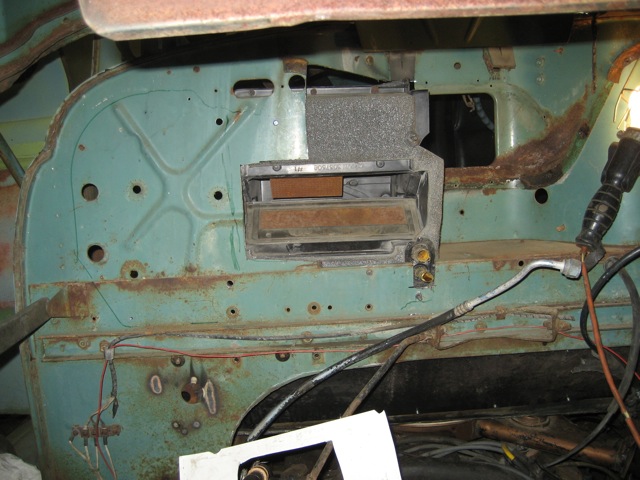
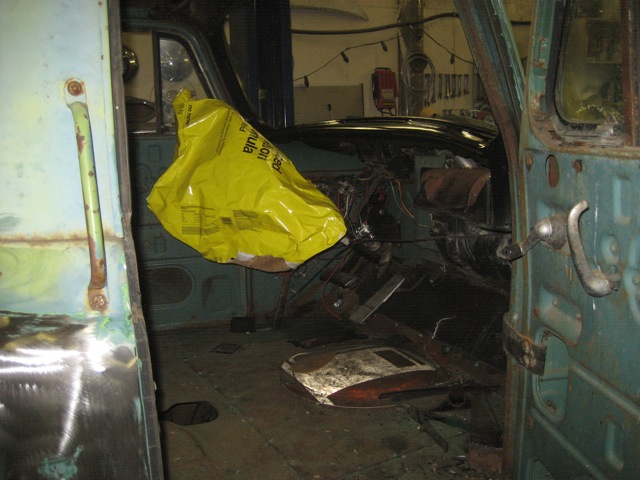
Next was getting the heater box in I have an old van outside and the heater box looked usable on it for this project.
Everything ready to cut
First of a bunch of cuts and a test fit
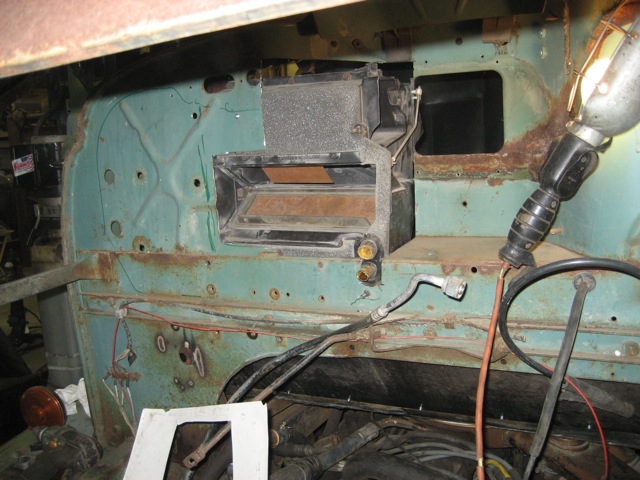
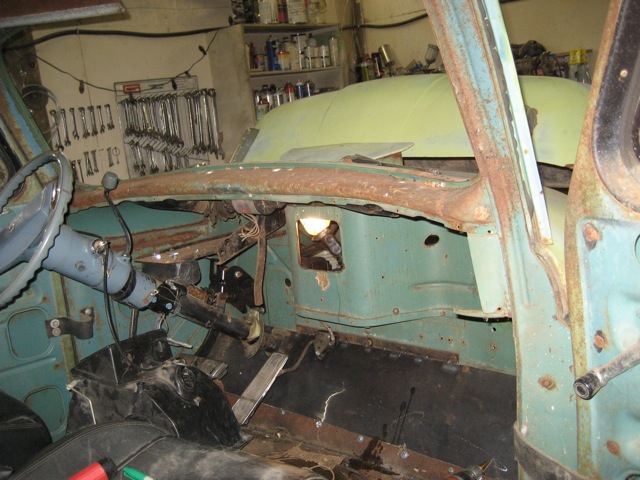
Fitting the front blower unit.
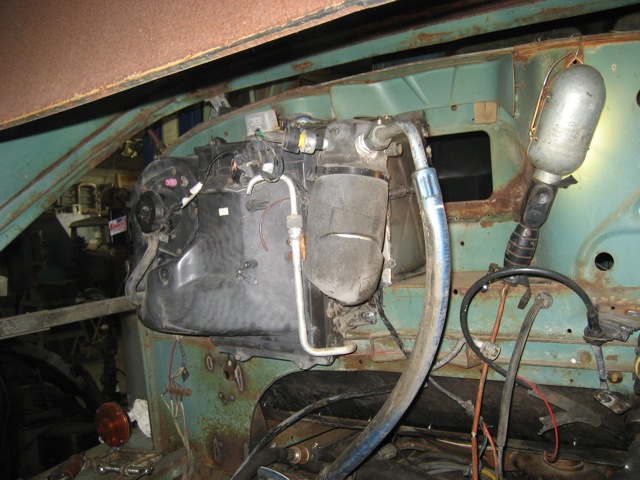
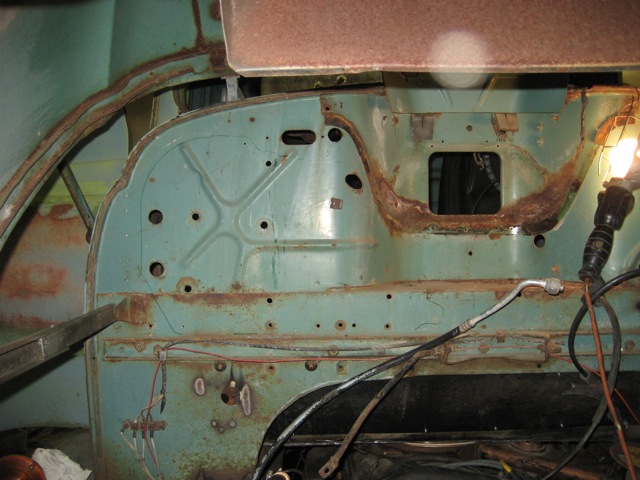
The inside.
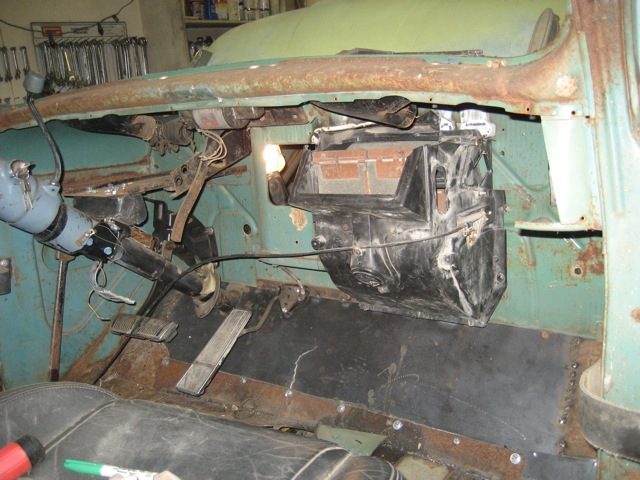
With dash.
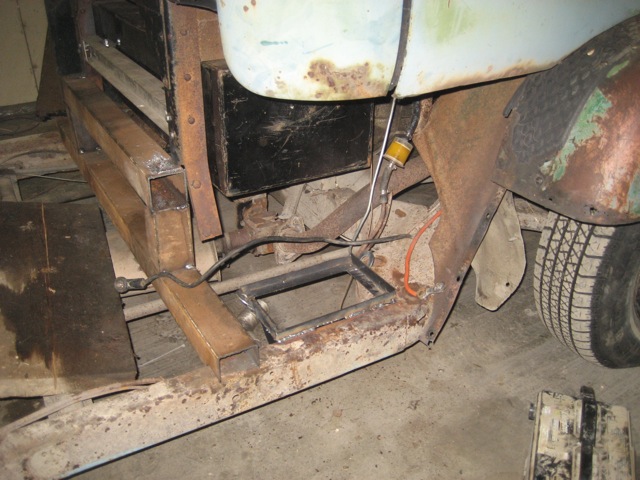
Also started setting up the battery box.
Well got the rear part of the steering going and drove it around the shop a little the system works great.Would have pictures but the cell phone took such crappy pictures. On a side note I did find my camera lol
So I started smoothing out the dash.
Next was getting the heater box in I have an old van outside and the heater box looked usable on it for this project.
Everything ready to cut
First of a bunch of cuts and a test fit
Fitting the front blower unit.
The inside.
With dash.
Also started setting up the battery box.
Alaska Gasser
Well-Known Member
This is looking great. Always wanted to build a cab over.
John in Oz
Well-Known Member
Great job there, something to consider while you can still get at it easily and that is perhaps consider putting a new core in the heater and then you will never have to worry about it again. Whenever I do a rebuild where there is a heater I always do that core while I can get at them. It can be a real prick later if it spils water on the floor etc.
I'll try and get some pictures tonight for ya it's a long setup pretty much a big Z to the steering box.
You say you got it steering around the shop, any pics of the steering joints mated together and are they then mated to a steering box ?
I was trying to picture it in my head as to how they'd work, I think I got it figured.
Well got lots done this past week.
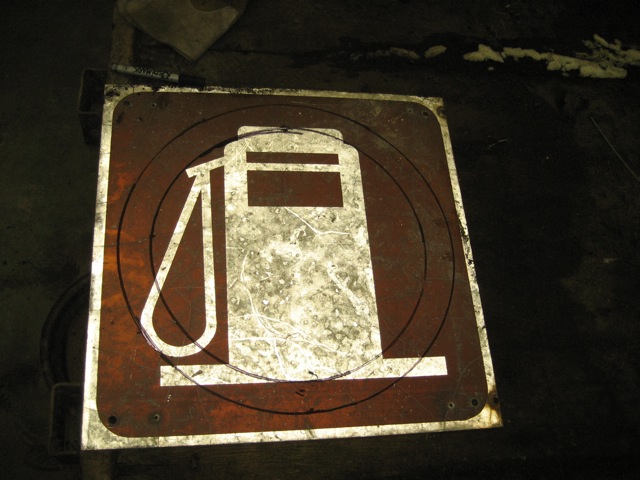
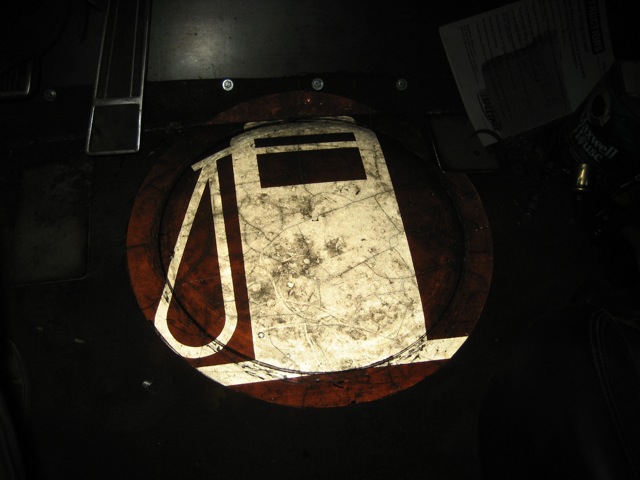
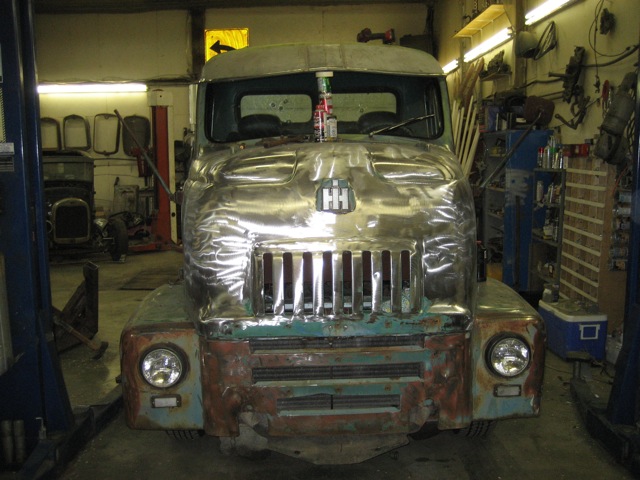
Made a cover for the hole in the floor where my air cleaner is from an old road sign. Think the one I chose is fitting for the motor and overall of the vehicle and all lol
Mark up to cut the outside ring off.
After a little work on the E-wheel
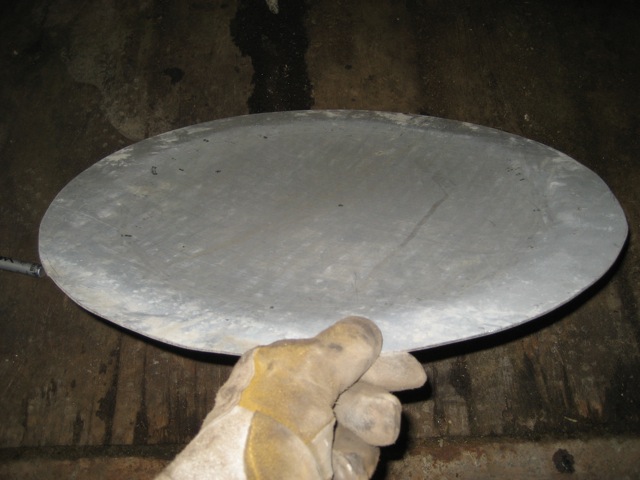

Kinda don't want to cover it up now when I get to doing the flooring haha
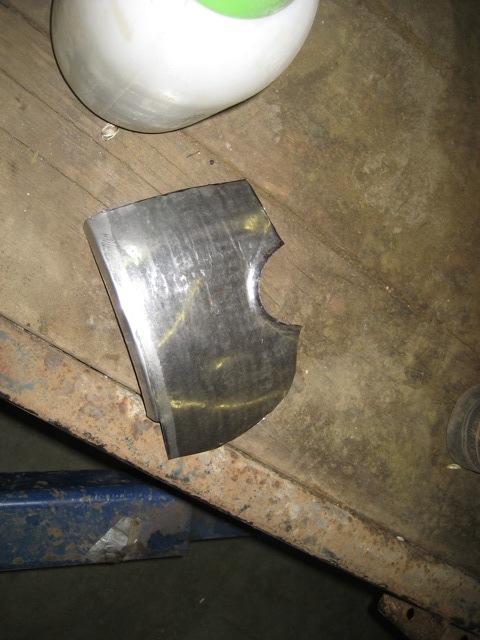
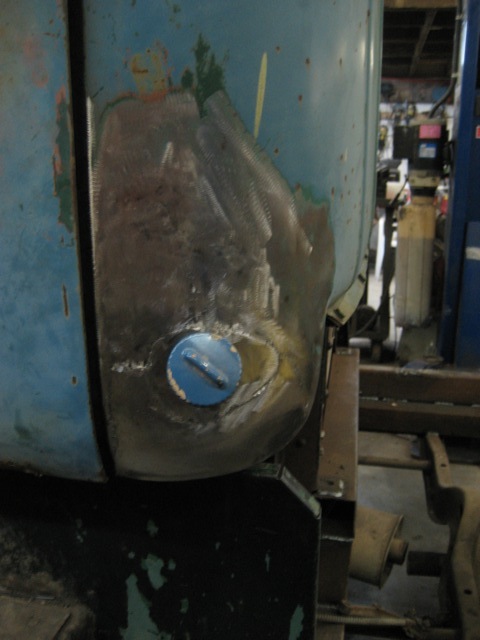
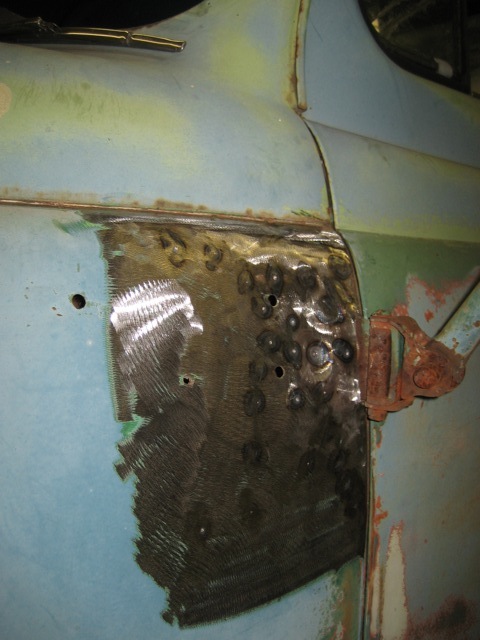
Next up was I needed a fuel filler and had to fix some rust at the same time.
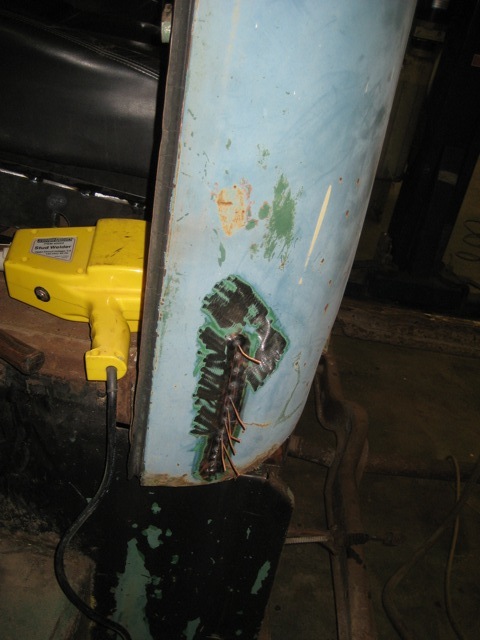
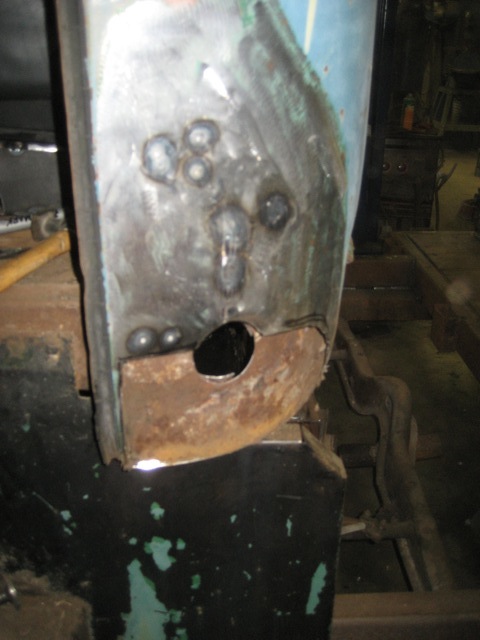
Lower patch
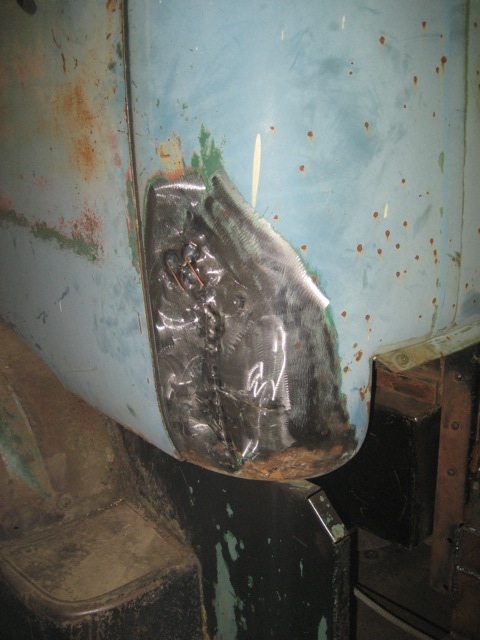
All finished up for now
Next was glass which I broke as usual lol. My dilemma here as I can't order new glass for the IH, at least all my attempts have failed.
So as a work around I walked around the yard and kept laying the glass down on windshields till something lined up. Turns out a 78 Rancharo has the same curve.
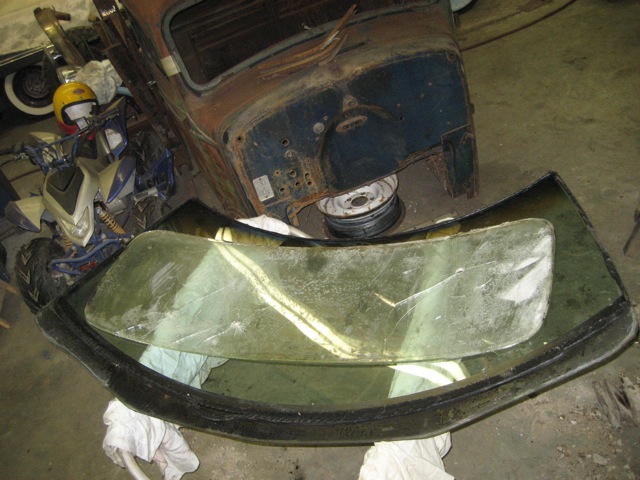
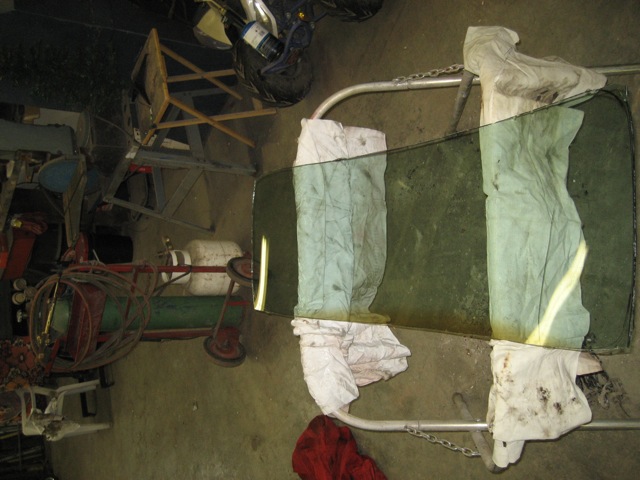
So after a little tracing this is what I hope to have.
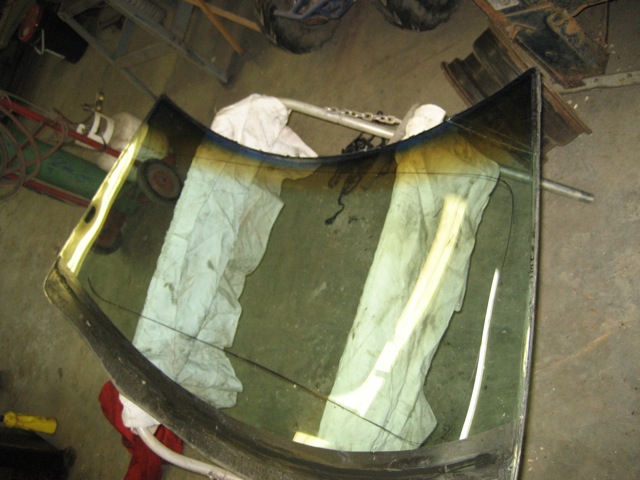
After some cutting.
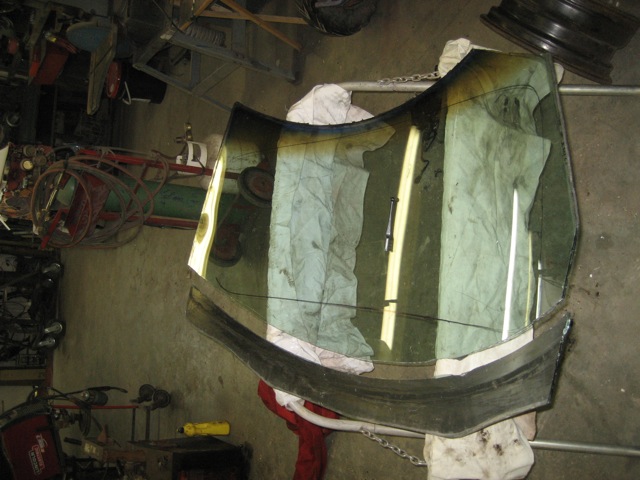
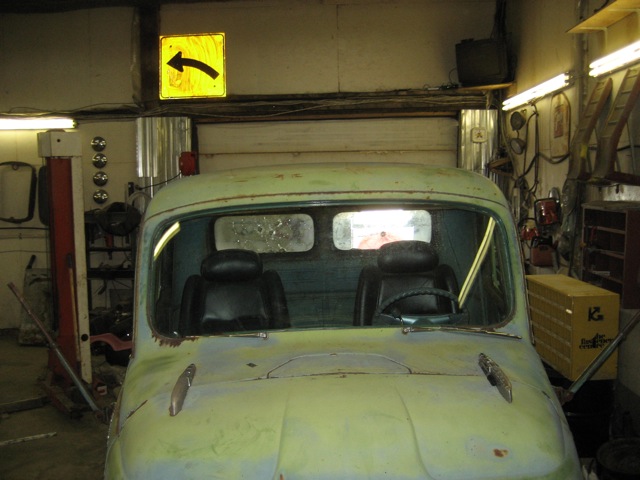
Just mocked up in the truck. Gonna just glue this on in for now even with the break. and hunt around for a original one. The one I cut is still better than the one I had with all the holes in it haha
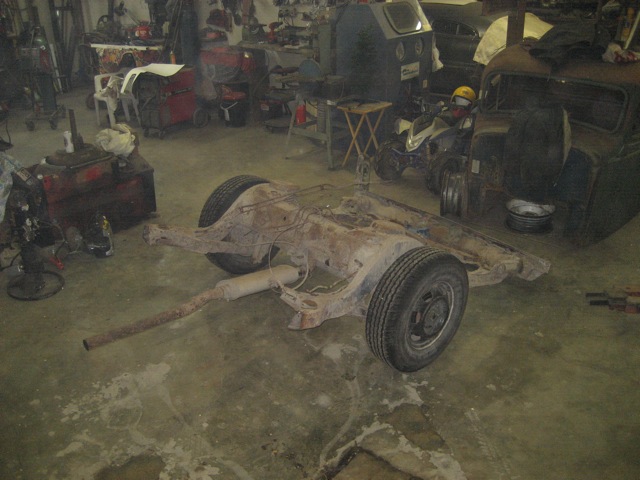
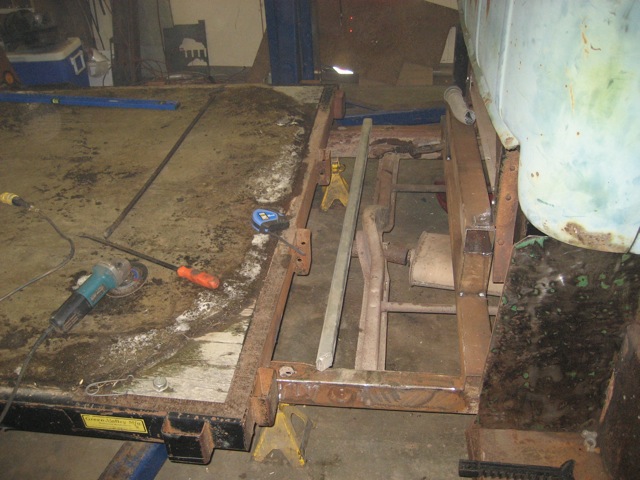
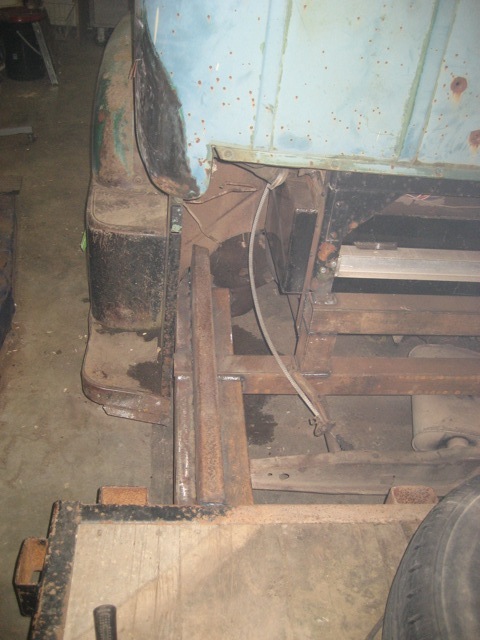
Next up was some major surgery.
Prepping the frame for the cut.
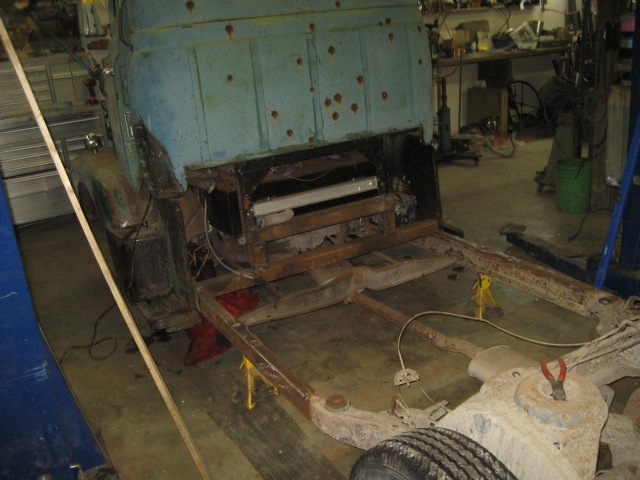
The donor be sacrificed for the cause.
Made a cover for the hole in the floor where my air cleaner is from an old road sign. Think the one I chose is fitting for the motor and overall of the vehicle and all lol
Mark up to cut the outside ring off.
After a little work on the E-wheel
Kinda don't want to cover it up now when I get to doing the flooring haha
Next up was I needed a fuel filler and had to fix some rust at the same time.
Lower patch
All finished up for now
Next was glass which I broke as usual lol. My dilemma here as I can't order new glass for the IH, at least all my attempts have failed.
So as a work around I walked around the yard and kept laying the glass down on windshields till something lined up. Turns out a 78 Rancharo has the same curve.
So after a little tracing this is what I hope to have.
After some cutting.
Just mocked up in the truck. Gonna just glue this on in for now even with the break. and hunt around for a original one. The one I cut is still better than the one I had with all the holes in it haha
Next up was some major surgery.
Prepping the frame for the cut.
The donor be sacrificed for the cause.

John in Oz
Well-Known Member
That is a great job you are doing there, OK so how did you cut the glass and what tip did yoy use on the Oxy to cut that with. The truck is looking very neat so far and some great work, you sure know what you are doing and thanks for the update.
Slow on the updates and little short on the photos but got some updates.
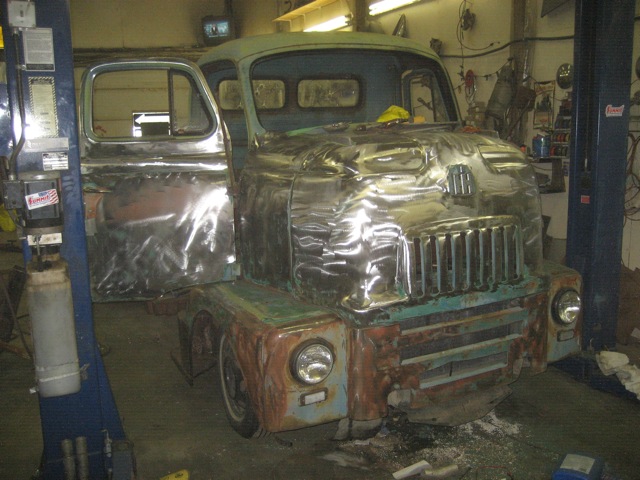
Some more dent pulling
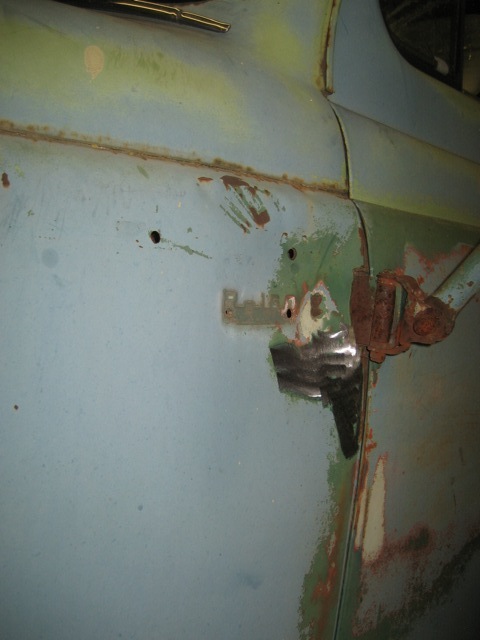
Not sure yet how I'll get everything smoothed out yet. As I can't get right into that panel to fix it better without cutting it out.
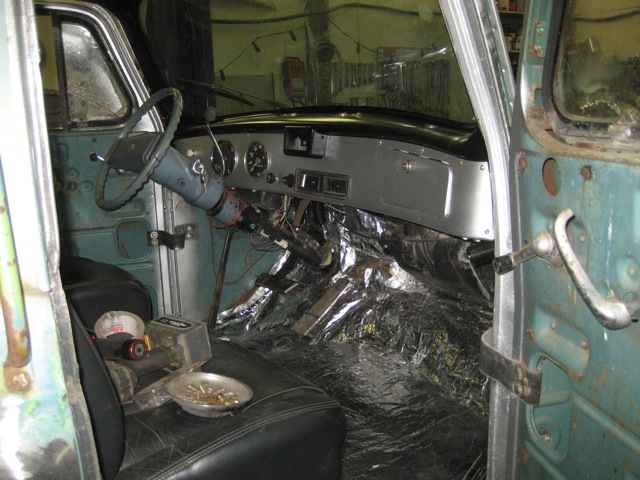
Stripped out the dash and jazz to paint everything.
And all the bits
Getting all the insulation in and dash all in and wired up.
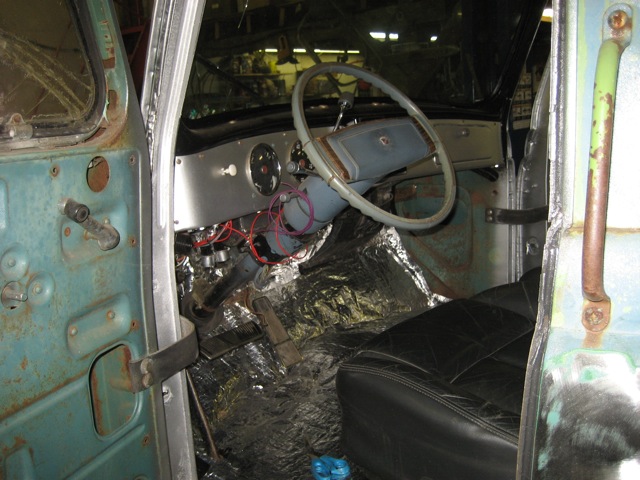
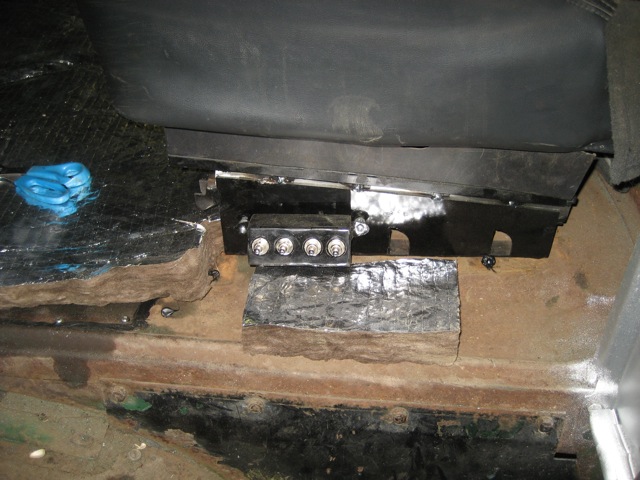
Built a switch box for the power seat stuff. Wiring that thing took a good part of the evening and I still have to do the other side yet lol
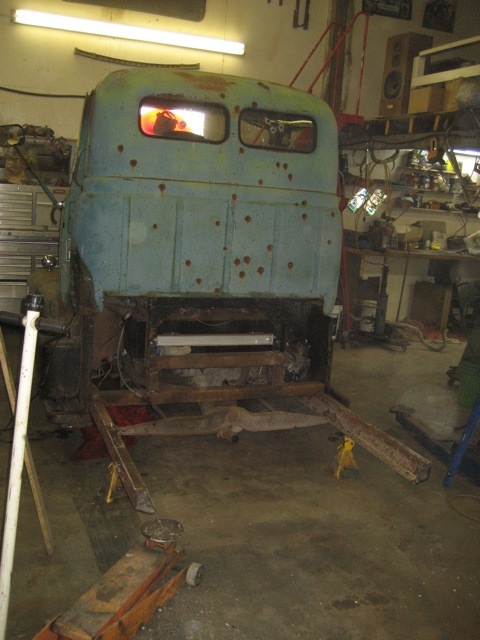
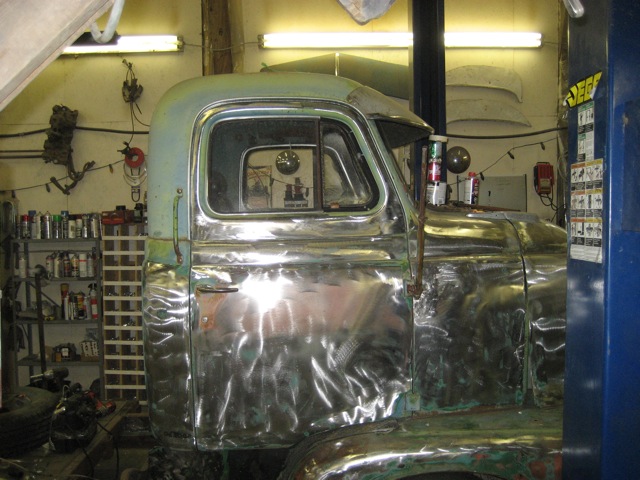
Decided to strip the cab so I have a good foundation, and I'm still waiting on finding a sleeper yet so it gave me something to do.
Got the glass installed
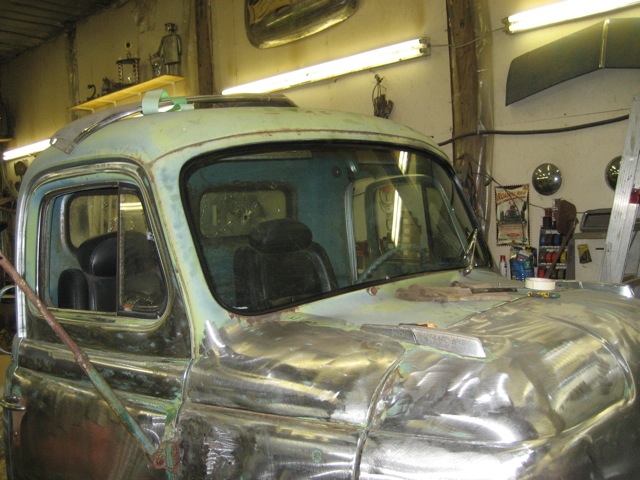
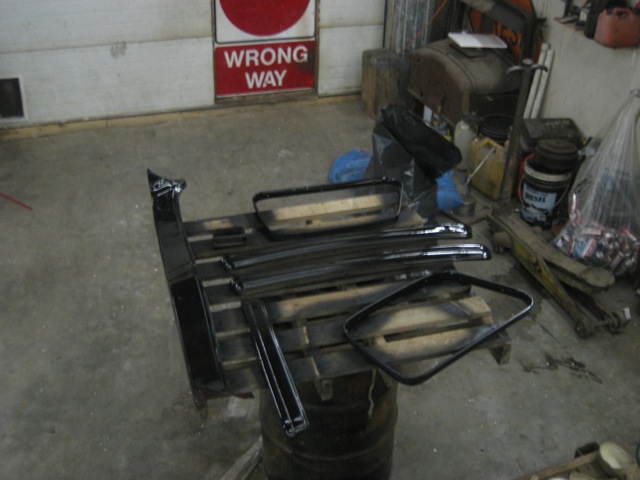
My buddy came over last week and saw a visor on the wall I said it wouldn't fit but we tired it anyway. Fit was pretty good
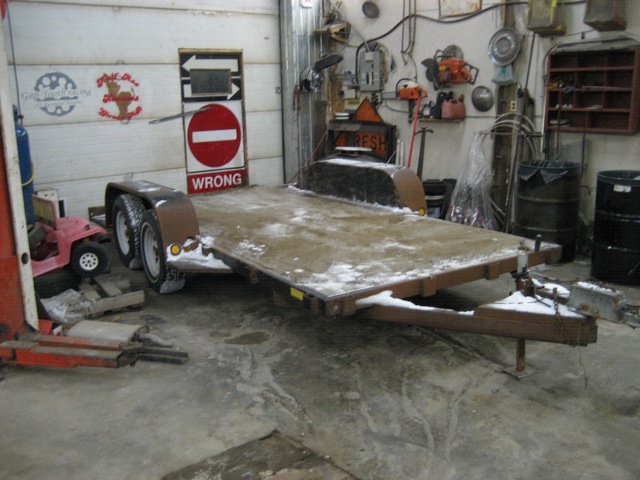
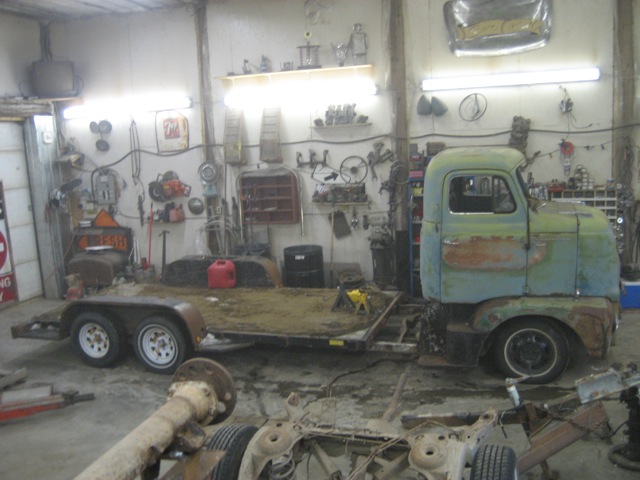
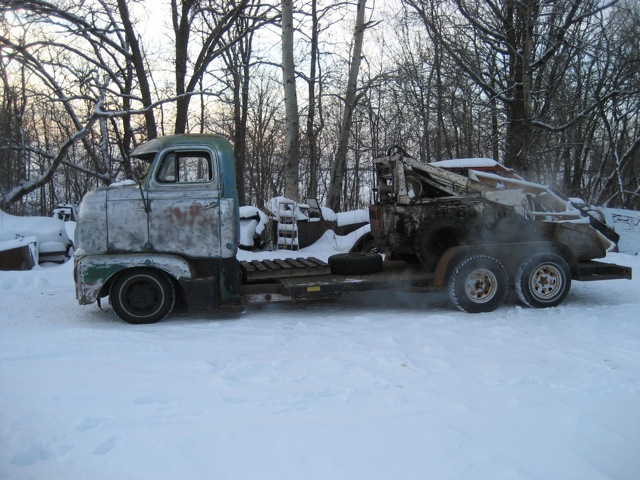
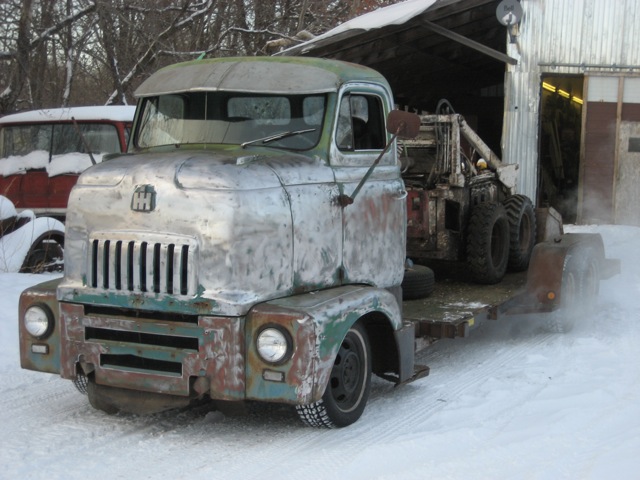
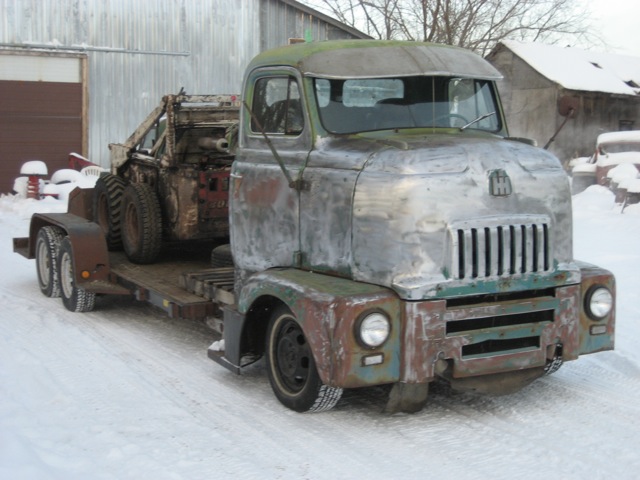
So took it outside to see what I have going on digging it just needs that sleeper. I'm going to with a 42" bunk that I found should be getting it next week. The pallet represents the sleeper.

Some more dent pulling
Not sure yet how I'll get everything smoothed out yet. As I can't get right into that panel to fix it better without cutting it out.
Stripped out the dash and jazz to paint everything.
And all the bits
Getting all the insulation in and dash all in and wired up.
Built a switch box for the power seat stuff. Wiring that thing took a good part of the evening and I still have to do the other side yet lol
Decided to strip the cab so I have a good foundation, and I'm still waiting on finding a sleeper yet so it gave me something to do.
Got the glass installed
My buddy came over last week and saw a visor on the wall I said it wouldn't fit but we tired it anyway. Fit was pretty good
So took it outside to see what I have going on digging it just needs that sleeper. I'm going to with a 42" bunk that I found should be getting it next week. The pallet represents the sleeper.
rustbucket
Well-Known Member
Great looking truck,keep up the good work.
Bob
Bob
bullet
Well-Known Member
Yes I agree, fantastic build. Great fit on the visor, really makes it.
Adding tha 42" sleeper makes for a shorter bed, what will be it's final deck length,
and was this COE expressly built to haul the Bobcat ?
What sort of braking is on the rear wheels, is it still the electric trailer brakes ?
Adding tha 42" sleeper makes for a shorter bed, what will be it's final deck length,
and was this COE expressly built to haul the Bobcat ?
What sort of braking is on the rear wheels, is it still the electric trailer brakes ?
Last edited:
SHIZMIT'58
Well-Known Member
Very Cool & different. going to paint/chrome bobcat to match???? Frank
Frank
Frankyeah bed will be shorter but I'm adding to the end of the deck, total length will be 15' deck. It'll primarily be used to haul my roadster long distance as anything over 4-5 hours isn't enjoyable in it haha.
The one axle had surge brakes(juice) I'll be adding another set to the rear axle along with some e brakes.
I just though the bobcat on to drop it off at the farm down the road and see how it felt on the back
The one axle had surge brakes(juice) I'll be adding another set to the rear axle along with some e brakes.
I just though the bobcat on to drop it off at the farm down the road and see how it felt on the back
Yes I agree, fantastic build. Great fit on the visor, really makes it.
Adding tha 42" sleeper makes for a shorter bed, what will be it's final deck length,
and was this COE expressly built to haul the Bobcat ?
What sort of braking is on the rear wheels, is it still the electric trailer brakes ?
OK thanks for that ..... did you get any pics of the Rodeo steering joints mated together ?
Sorry forgot to get some pictures I'll be doing is soon though. I need to add another ujoint to it as one is a little maxed out.