Fitting
the Remaining Body Pieces Part 2
by Frank Colgoni
As this is a continuation of the previous article, please read
the intro to article 27. The pics below are all related to Jim
Bailie's work on our hood and hood sides.
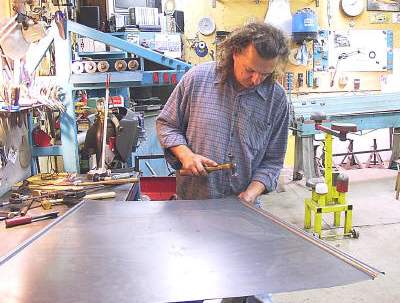
Jim
is using masking tape to locate where the bottom of the hood will
be
and to support the paper template he'll need to make the hood .
Jim makes one side of the hood's paper template then flips it
over to ensure that both
sides are the same. The masking tape holds the template in place.
It's important that this
template be very accurate or the beads on the sides won't line
up to the beads on the cowl.
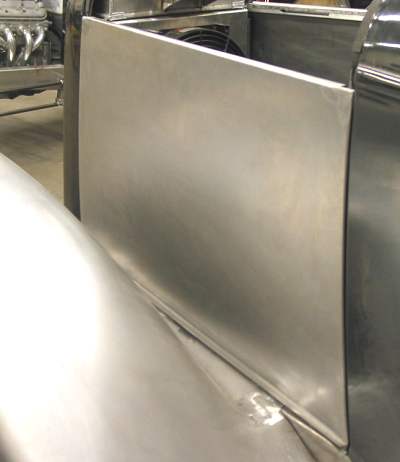
Jim
puts the beads in the hood then uses a hammer and
dolly to shape the point on the end of the beads (front of hood).
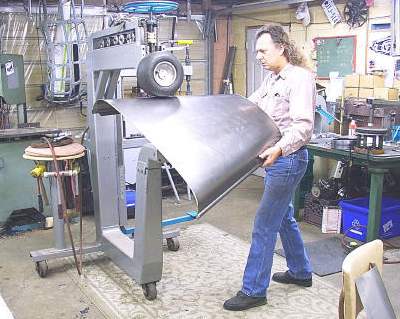
After putting the beads in, Jim rolls the curve on the sides
of the
hood using the English wheel with a rubber upper wheel.
Jim
then moved on to the hood sides using the
same process to create the bead and point.
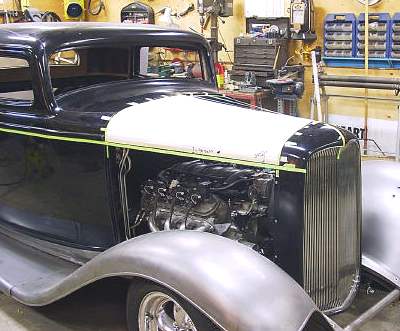
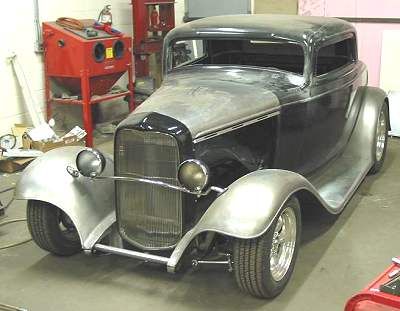
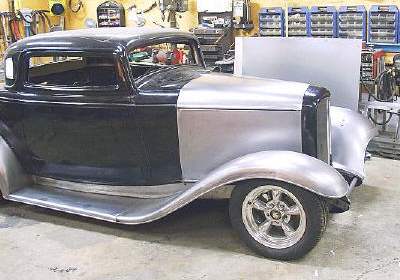
The
completed hood side in place.
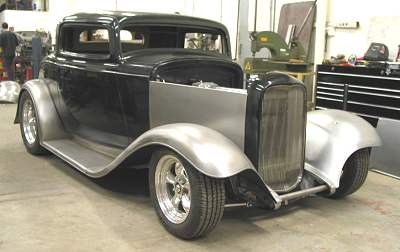
The
hood is in place and looking good.
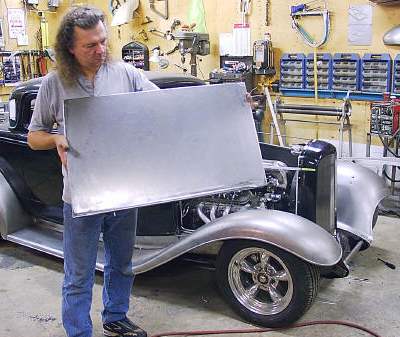
A
hood side only.
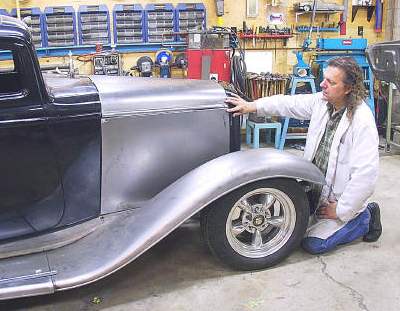
Jim
inspects the fit and alignment of the hood and side.
It's
ready to go. At this point, the hood is sitting loosely needing
braces, a hinge mechanism and latch. We'll get to that in the
next article.